Monday, May 31, 2021

Toolkit 2 - Submission

Character Design Project:


Substance Painter and Texturing:


Lighting and Rendering:


Pipeline 1: Jetpack Jones


Toolkit 2: Reflective Statement

  Coming to the end of year 2, I can honestly say that this year has been far better than the last. Although there is still a troubling climate, concentration and flow has been so much easier to direct now that some other pressures have been removed. I was able to work out my time well over the year and found that I was able to understand what was in front of me much better. These elements combined have allowed me to consider which aspects of the "Toolkit" can be used in my final animation.

The lessons from the lighting and texturing is going to play a invaluable role in the upcoming year. Being taught "Substance Painter" is now a important part of my workflow and will continue to used after the student version has expired. Although I prefer "Substance Painter", it's important to not forget how to use Maya own texturing connections. Studios may still use these, so remembering it will help out in the long run

Also, I'm quite happy with how the final design bible has turned out. It was quite a unlucky choice for me to get "Zombies" (due to my massive dislike of them) and "German Expressionism", so playing on the psychological allowed the art style to become a character. It's important to note that I was not going for a accurate representation of "psychosis", just one that allowed for artist  experimentation. Working with my tutors was highly enjoyable and the conversations meant I could maintain focus rather then wandering off and losing the concept.  

Animation however, does seem to be my biggest weakness in this "toolkit". It's something that doesn't seem to come naturally, but it is one that I aim to improve. The lessons have given me a stronger understanding of timing, weight and the graph editor, but something that is lacking is a personalised touch. I need to be able to place a small part of my own style into the work so to create more dynamic and interesting movements. This will be something to work on alongside the overall aim to continue grasping the animation principles. 

Completing Jetpack Jones is, for myself,  a massive achievement. It is a hugely in-depth and intense project, but doing it has shown me areas that I surprisingly enjoyed such a "Rigging". As a model, its come out not too bad, but the continuous movement of vertices was frustrating and I'm still not sure when to move geometry around to avoid "twisting". Truth be told, I will continue to use these tutorials as a foundation when creating my own models in the future, that's is until i'm confident in my own knowledge to work independently. Overall, I'm quite proud of the character I have managed to produce.

Moving into next year, I want to use the skills acquired from the "Toolkit" to help give me a head start with the year 3 projects over the summer. 


* "ISSUU" is creating problems and the large gap at the bottom of this post cannot be removed. Multiple attempts have been made but the problem still persists*


Toolkit 2: Life Drawing - Catch Up Session 3 (27-05-21)

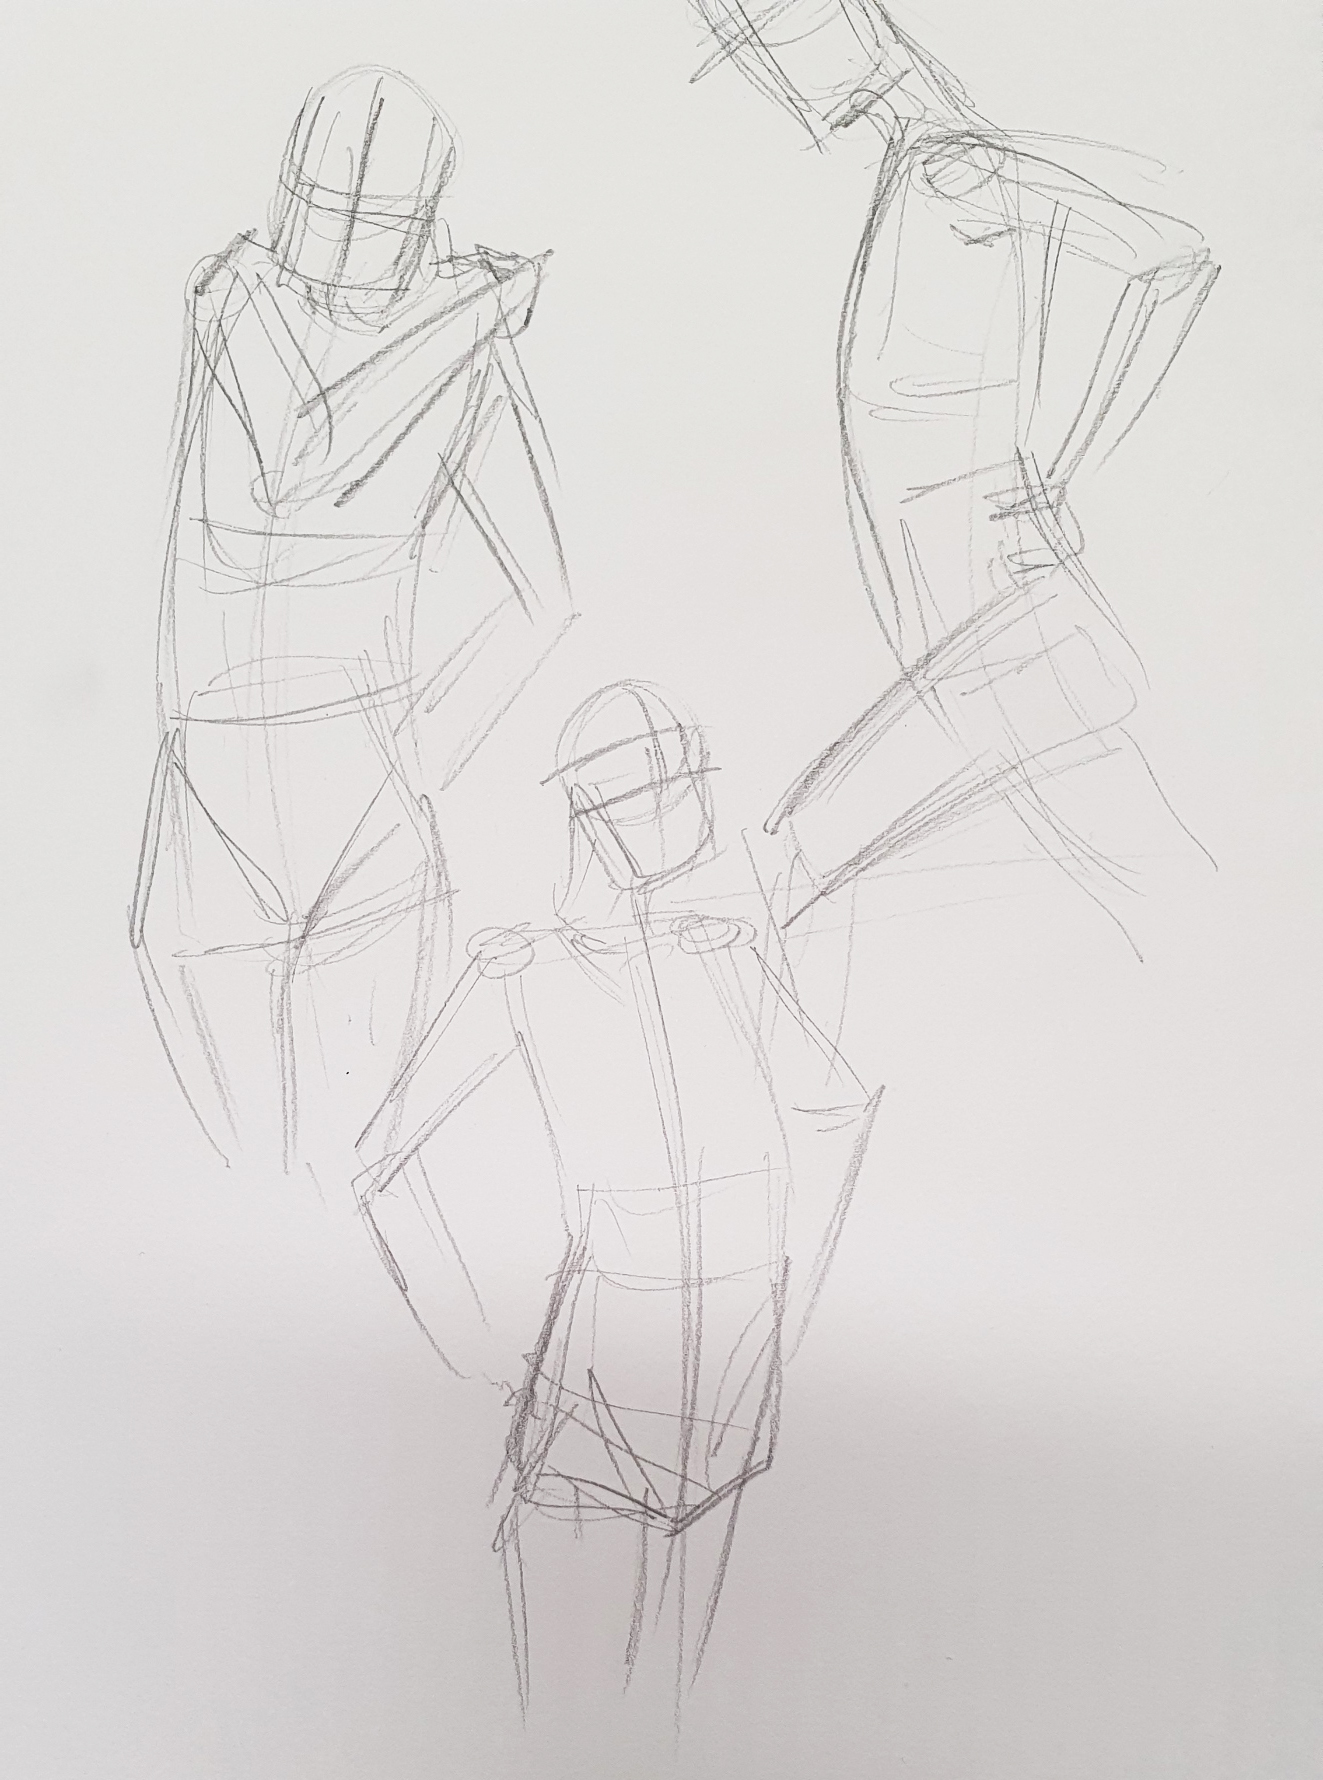
Coming to the final day of life drawing and after the warm up sketches, we was asked to draw just the "islands" where there was exposed skin. The goal was to not use measurement lines and to create flow, I ended up using lines as I found it unnatural to just "draw" them without having a idea of placement. A final piece was another long sketch, using coloured pencils enables me to define shadows. 

Warm Ups

Islands

Longer Piece


Toolkit 2: Final Lip Sync Outcome - Adding Blinks, Eye-Darts and Clean Up

 I feel I am a point where I have created a final outcome for the lip-syncing tutorials. Although it's not perfect and doesn't quite capture the audio, I am quite happy with how it has turned out. These tutorials has created a strong foundation which can be applied to my own animations in the future. 

Wednesday, May 26, 2021

Toolkit 2: Life Drawing - Catch Up Session 2 (26/05/21)

 As with the previous session, today we did a series of quick warm ups with a moving model for (30 seconds each pose), then a group of longer ones (30 mins to 1 hour).  


Monday, May 24, 2021

Toolkit 2: Life Drawing - Catch Up Sessions 1 (24/-5/21)

 Starting the full week of life drawing catch up, today we did a range of 1 minute to 30 minute drawings. It took me a little while to get back into the swing due to not doing any life drawings for a while, but I'm hoping that as the week carries further improvements will follow. 

I did do more than the ones shown below, but they was fair to faint to translate. 

1 Minute

1 Minute

10 Minute

10 Minute


30 Minutes

30 Minutes

30 Minutes

Wednesday, May 19, 2021

Premise: Submission Post and Reflective Statement


Final Animatic:


"Where Do All the Socks Go?" Presentation:


Reflective Statement:

Of all of the projects I have done so far, this one has been the most enjoyable. Not only because of its creative freedom, but its offering in the ability to grow as a creative.

At first, the idea of independently creating something from scratch was really daunting. Even with some guidelines in place, the process of being completely let loose was quite frightening and made be feel nervous about my ideas. I felt like I had a million thoughts running though my mind and was struggling to figure out what I really wanted to do.  Ultimately, I knew rigging was the area I wanted to focus on, but that on it's own just didn't feel like enough.

There was a flat spot in the middle of this project where I felt I just could not figure out a design for one of my creatures, therefore having a knock on effect on the rest of my outcomes. After some discussions with my tutors and with a new direction coming into light, the project quickly picked up speed again and resulted in the final production. I feel this outcome has a strong bases to go into year 3 with and will become a part of my Minor/Major projects. 

Overall, I am quite happy with how this project has turned out and actually feel quite proud of the work I have produced. Finishing this year, I have managed to keep good time management at university whilst successfully juggling a hectic work/home life. I would be lying if I said it was easy, it was not and there was times where I really struggled both mentally and physically. 

Areas that could have done with some improvement is the Maya testing. I only really concentrated on the texturing but there was some other areas that needed exploring. I feel this may be due to feeling "burnt out" and the focus on texturing was because of its creative aspects.  Also, its seems that even after 3 years at University, my confidence is still a bit wobbly when its comes to starting something new. However, I aim to tackle this by keep pushing forwards and proving to myself that I can complete that tasks at hand. 

To help with the workload in year 3 (and after a short break to mentally recover), the goal is to try and complete as much of the modelling and rigging as possible during the summer holidays. This will allow more time for texturing, animating and the post-production, whilst making room for any errors that will eat up time.

In terms of the careers pack, I will admit that's there is a lot that still needs to be done. I want to spend more time really thinking about who I am as an induvial before creating a brand, wanting to have fun exploring the creativity behind it. Working on so many other projects along the careers pack sadly has not allowed me to fulfil this, so this a goal I aim to complete over the summer. However, the lectures where highly insightful and the guidance with the CV has really helped me to make some decisions about my future aspirations.


Hyperlinks

Final Art of Document:


3D Tests:

Texturing: 


Lighting: 


Animatic: 


Animatic and Beat sheet:


Script:


Storyboards:


Narrative Development: 


Orthographics:


Environment Concepts:


Character Concepts:


Development Ideas:


Premise - The Art of "Where Do All the Socks Go?"

Pipeline 1: Jetpack Jones - Turnaround

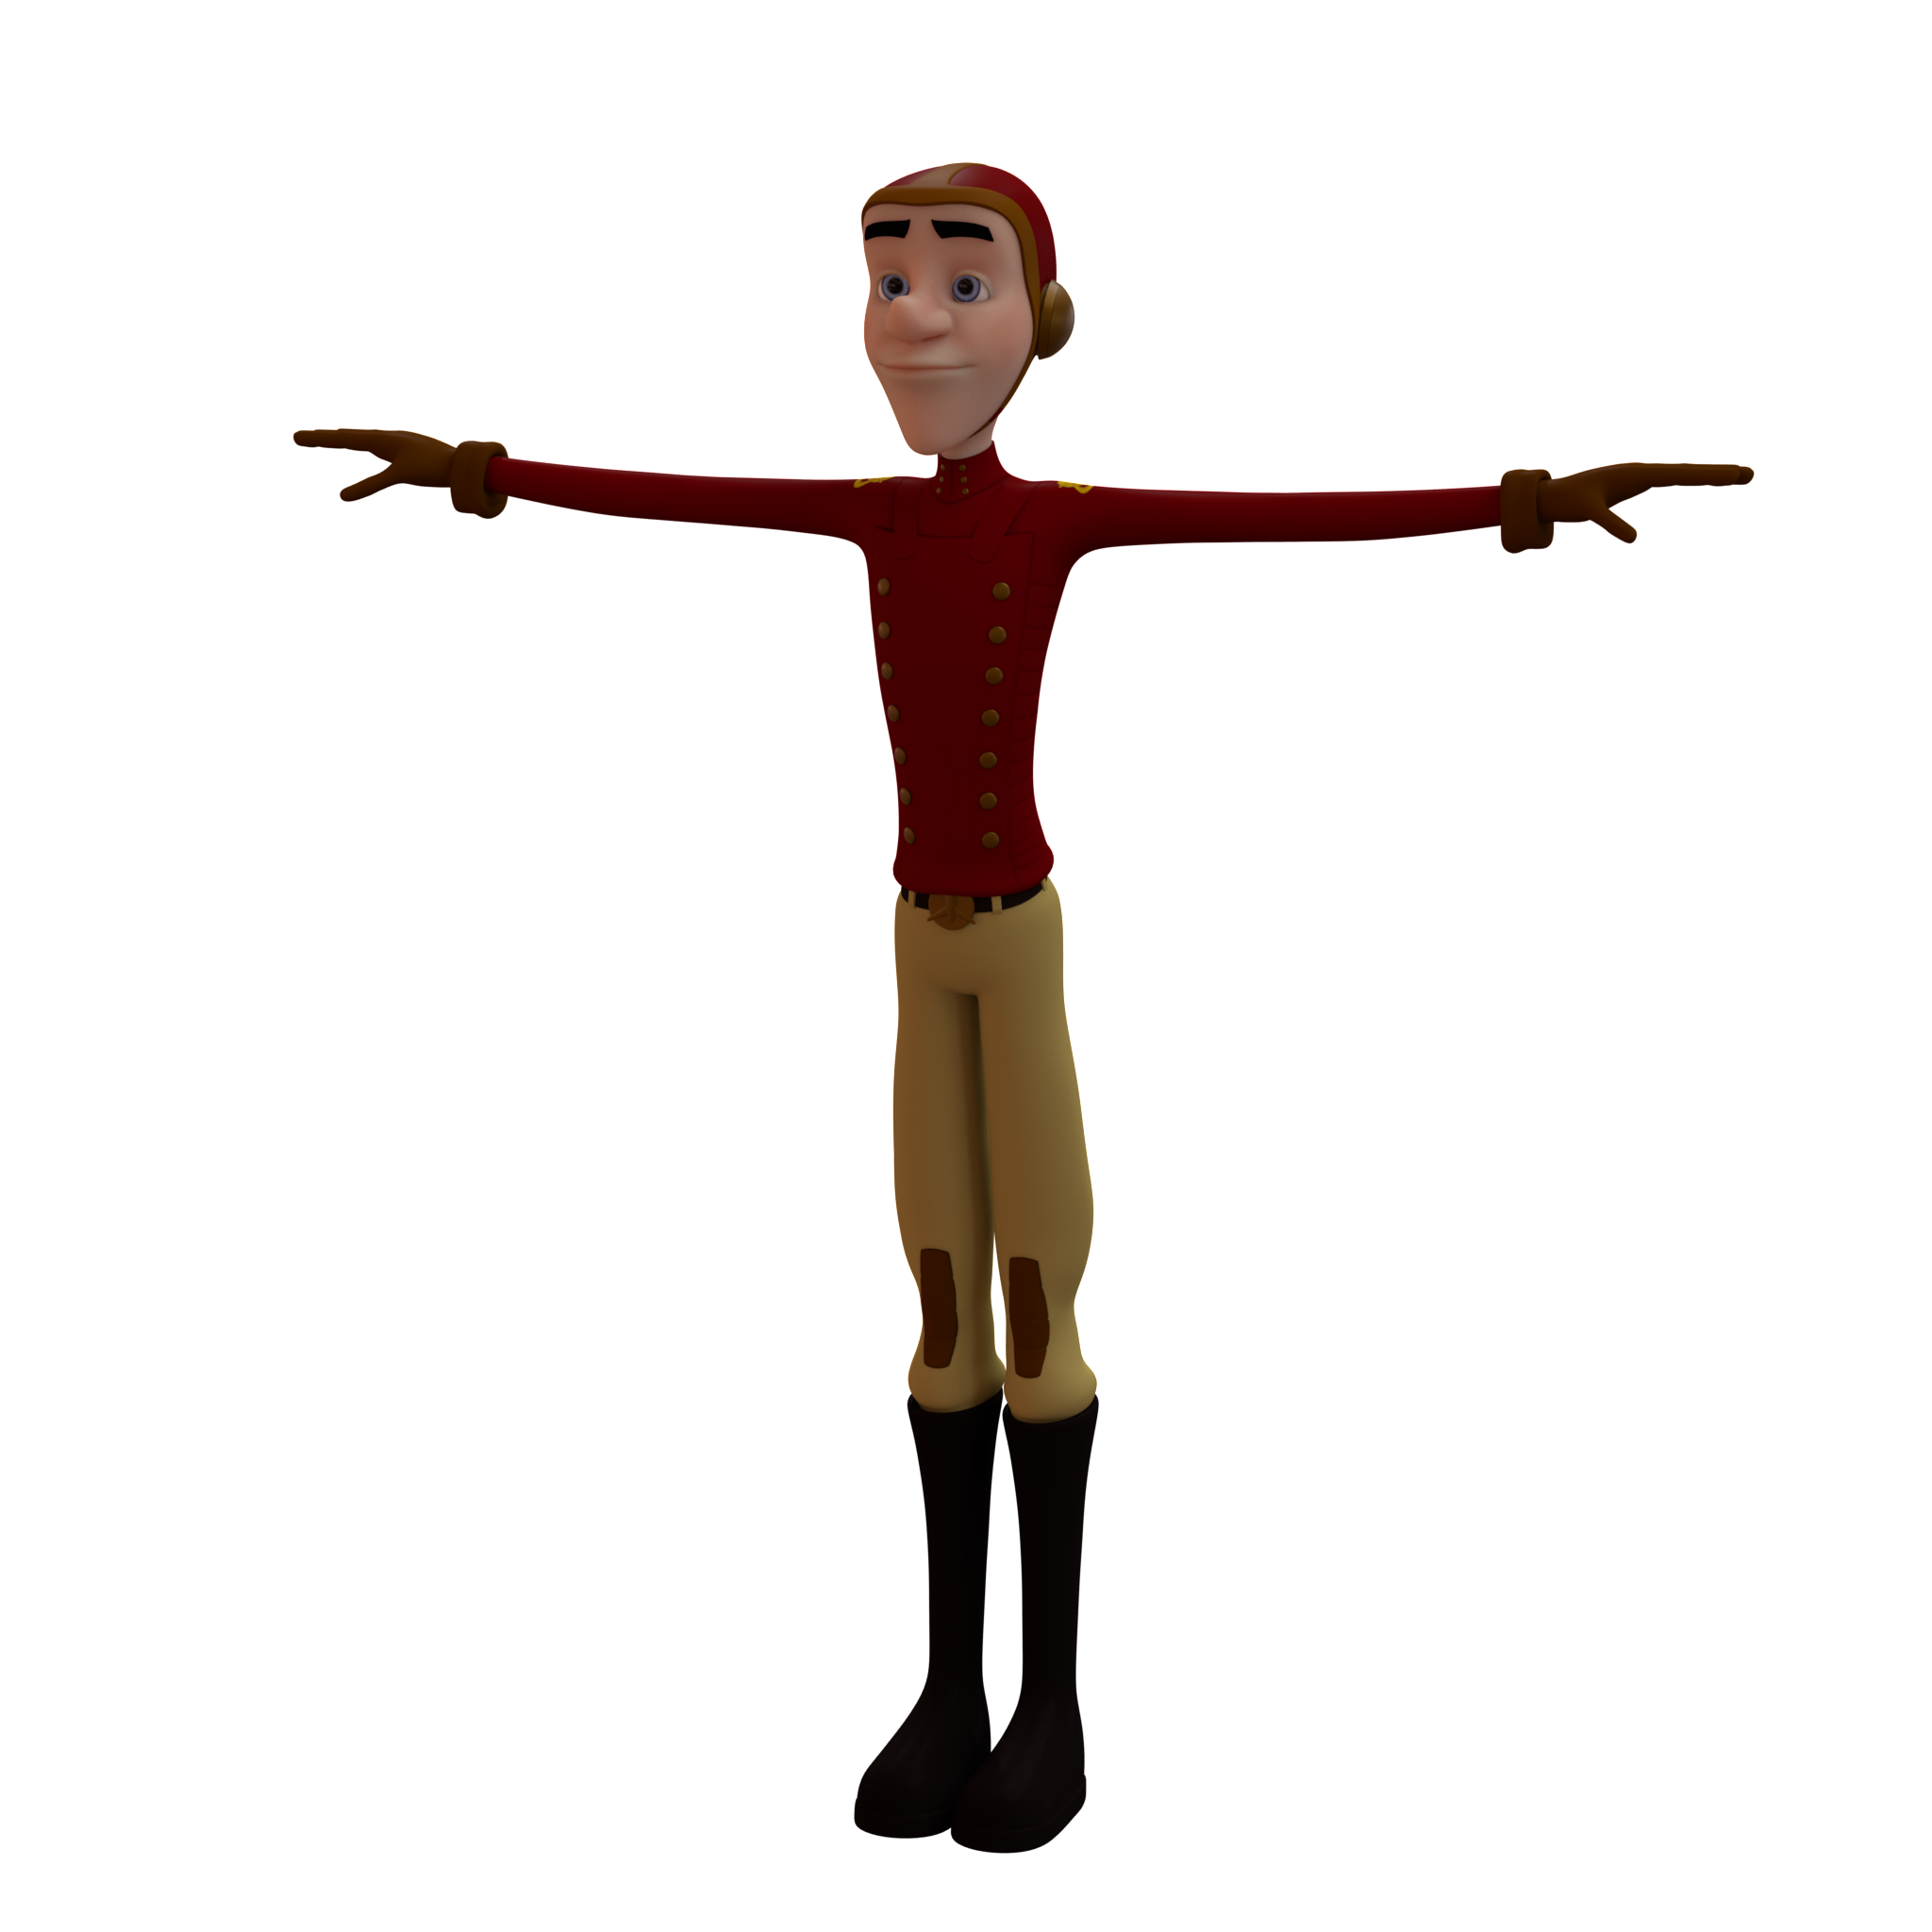
 Following the final tutorial, a turnaround was created showcasing both a sitting and standing pose. The standing pose rotates and fades to show the models beauty, clay and wireframe passes. The scene is lit with a sky dome and two directional lights to give the best lighting effect. Once all the passes was obtained, everything was placed together in Adobe After Effects to create the final outcome. 

For some reason there is some odd jarring in my turnaround which I can't seem to remove, but for a first turnaround its not bad. 

  It important to place text stating the project and what was created by the artist when piecing turnaround together. This shows where credit is due and to which artist. 


  Overall, the pipeline series was a real eyeopener into the amount of detail and work that is required when creating 3D models. At times, it could be highly frustrating but seeing the overall progression made it all worth it, giving a small sense of achievement when completing each tutorial. The knowledge obtained though  these tutorial is invaluable and will help me a lot in creating my own characters for my final animation. I'm sure I will relook over the videos multiple times when getting lost or confused, but a main focus is to continue building up my confidence in Maya. 

Tuesday, May 18, 2021

Premise: 3D Testing - Hair and Buttons

   Moving on to testing the hair for the "Sock-Stealer", I wanted to capture a twisted wool effect. However, it was apparent that the effect I wanted wasn't going to come across and the high density geometry may cause problems when animating.

In re-evaluating my options, I decided to create a more "sown" together piece and then place stitches to give it a "teddy" styling. This new model allowed for further experimentation in Substance Painter and even the chance to create a "fuzzy" style in Maya's Xgen grooming. I found that playing wit the Xgen grooming to be quite fun and I am becoming more confident in substance painter.

I won't use the Xgen groom in the final as it seems to take far too long to render and it too ram intensive.

First Hair Model

Second Hair Model

Substance Test 1

Substance Test 2

Substance Test 3

Maya Xgen Grooming (fuzzy)

Also as a little bit of fun, I decided to model some buttons to test out aiStandard Surface materials. As the "stealer" will have buttons on his arms and ears, I wanted to test how easy to would be to create different shapes. By far, the flower was that hardest to make but these have turned out pretty well. 

Button Models

aiStandardSurface Materials


Monday, May 17, 2021

Pipeline 1: Jetpack Jones - Body Texturing and Cleaning Up

  With the body "hi and low res models" exported out, ambient occlusion maps was baked via the Xnormals programs. Once exported out as a tiff, the AO map was then placed over the top of the diffuse maps (for both the body and legs) and all the areas around the hands was eased.

The AO map was reduced down enough to be visible but not enough to be overpowering.

Following the same steps for the head, the body and legs was duplicated again. These was then combined with the correct components and a lambert material applied, making sure to export in the non- smoothed mode.

Working on the torso first in Mud Box, another silicone material was added and double smoothing was applied to the torso/buttons. Changing the light strength to 1, a chrome material was added to the buttons. This was changed to a golden colour and the refection reduced to a matt. 

Locking the buttons, the diffuse texture was brought in to a new paint layer. Adding a new layer, the original texturing was tidied up with the base colour being painted over top (removing any dirty marks from the AO map). 

Some shading was made behind the buttons to help them stand out more, also the badge was applied.

Once repeat for the trousers and the smaller details placed on the skull cap, the maps was then transferred back in to Maya and rendered to give the final outcome.  Following this, the scene was cleaned up ready to create the "turnaround". 

Final Render

Sunday, May 16, 2021

Premise - "Sock-Stealer" Nose modelling, Texturing and Stitching

Continuing on with model testing, I decide to try and create the "Sock-Stealers" nose button and the needle threading that hold it. Once completed, the model was then placed into Substance Painter to test out different textures. These tests was loaded back into Maya to see the end results. 

Its fair to say the UV's needs little refining but as far as texturing goes, the last image definitely give the best outcome.

Model

Texture Test 1

Texture Test 2

Texture Test 3


Saturday, May 15, 2021

Pipeline 1: Jetpack Jones - Head Texturing

  For the eyes, a mix between the realistic and cartoon was used for the iris/pupil  and offering the best effects. The eye tiff was then placed into Maya and was linked into the colour channel and the subsurface channels of the geometry.

For the blue of the eyes, the colouring was altered depending on the cornea's reflectivity. The eyes position was also changed via the aim constraints so they don't look so straight.

For the skin, the colour management was turned off in Maya and the base colour chosen. In photoshop, the gamma correction was changed to 2.2 so to get the correct colouring we had in Maya.

With a light grey background, the basic colour was painted and was exported out as a diffuse tiff.

The head, eyes, eyebrows and skullcap was then duplicated and combined together. Placing a lambert material on the new model, it was then exported out as a unsmoothed object and was transferred into Mud Box.

I had a lot of errors coming up in Mud box dues to some odd geometry, but was quickly sort with some help from my tutor. 

After sub-diving it twice (so to have a completely smoothed mesh), two new materials was placed (one for the head and the skullcap) and the specular removed for both. Changing the head to silicone light, the skullcap/eyes/eyebrows was locked to avoid any painting.

With a new paint layer, the head diffuse was brought in and skin tones was applied to a new layer above it. The colouring was to be just a few shades redder then the current skin tone and was aimed around the nose, lips eyelids, cheeks and chin. 

Once done, the map was placed back into photoshop so to finish painting the inside of the cheeks and then plugged back into Maya. The final rendered result looks as so:


Premise - Finalising the Character Creations

 To finalise the character creation part of  the project, facial expressions have been painted for both the "Sock-Stealer" and the "Pipe-Dwellers". In these, I have tried to capture the grumpiness of the "stealer" and the more mischievous persona of the "dweller".  Also, A final concept have been done for the "Stealer", however I still need to do on for the "Dwellers". 

"Sock-Stealer" Expressions

"Pipe-Dwellers" Expressions

"Sock-Stealer" Final Concept

Monday, May 10, 2021

Premise: Final Animatic and Updated Shot Plan

Some final adjustment have been made to the animatic. This includes timing, shots and adding some music. 

For the music, I have only added it for the "Pipe Dwellers", there are two reasons for this. The first is I don't want to drown the animatic with too much music. The second was I have been unable to find anything that I felt represented the "Sock-Stealer" correctly, so this is something to sort out in the future. 

The music may also be a little loud, so if I get time I will alter it. however, its not the priority right now. 
Final Animatic

New Music: A Mouse in the House by Spectacles, Wallet and Watch (Adobe Stock).

Updated Shot Plan

Where Do All the Socks Go -... by Kimberley Davis

Premise: Sock-Stealer Texturing Test

After a break due to completing other university work, I have jumped back in to 3D testing. I wanted to experiment on how a material like skin would look  for the "Sock-Stealer". Firstly, modelling the forearm in Maya (this was enough to experiment with and gave me a inside into the best way to model this for the future), I managed to make the following outcome in Substance painter.

There has been a few problems with getting the UV's right in order to create something that looked consisted, rather then "cut up". When transferring the model in Substance Painter, there was some odd stretching. However, when placing a  UV tiling texturing in Maya, the stretching wasn't present. My guess is that this may be a graphic card error on my side.

Going back in to 3D, I was definitely rusty and it took me a while to figure out Substance Painter again. As happy as am with the outcome, Maya crashed whilst I was working and caused a corruption with the file for the maps, rendering them useless. However, on a bright side this just means I can experiment again and try to figure out the bugs.

I felt that he would be a little grubby and patched up, much like a teddy bear that has been in someone possession for a long time.

These are the renders from substance painter. 


"Sock-Stear" Arm Model

Final Texturing


Saturday, May 8, 2021

Pipeline 1: Jet Jack Jones - Subsurface Scattering

 For the face, tongue and gums, new aiStandardSurface was added. Under the texturing node, the skin present was set first (for all 3) and then the following was changed:

- Coat off 

- specular off

-Base off

Under the Subsurface menu, the scale was reduced down to 0.100 (this is due to Maya working in centimetres and the scale working in meters, so reducing the scale works to Maya measurements.). The weight was reduced down to 0.500, the base to 0.500 and the base colour matched the the subsurface colour.

This means that there is a more consistent colouring to the material and the subsurface radius changed to a more orange tone.

For the tongue, the previous process was repeat but a redder tones added. For the specular settings, the specular was brought up to give a wetter appearnce (the roughness was also reduced). 

On the eyes, a new aiStandardSurface was placed and the skin preset added again. The base and subsurface colours was changed to white. for the base, it was changed to 0.7 and the subsurface to 0.3 (adding up to 1), finally the was radius reduced.

For the Cornea, the glass preset was chosen. Then under the specular menu, we changed the IOR to "diamond (2.520) and the weight reduced so to be not so reflective. For the skin specular, is was was brought up enough to see a small amount of highlighting on the nose, eyelids etc. 

To finish the starting textures, the teeth base colour was made a off white and the roughness/specular changed. Also, the skull cap was altered to obtain a better speckled effect.

Toolkit: Lip Sync Pt 3 - Blink and Head Turns

 Continuing on with the lip syncing tutorials, this step involved adding the blinking and head turning. Overall, I felt the talking was a little menacing and condescending, so I tried to capture this in my animation. 

I have left the head turns in stepped currently so the next step will be cleaning up. 

Wednesday, May 5, 2021

Pipeline 1: Jetpack Jones - Base Colours

 To start with, the uvs was exported out again so they are up to date. Then selecting each part of the model, a new aiStandardShader was placed and was coordinated via the UV maps. The normals maps was then reactivated via the geometry sub menu.

Currently, there is no need to add the face and eyes shaders as they will be a subsurface shader.

Creating a new shot cam with a focal length of 60, some lights was added to allow maya rendering. This included a Skydome (with a hdr map and the visibility removed) and a directional light. The normal map was then reversed from the bump map section, flipping the red and green options off. The normal maps now work correctly when rendered.

First Render

In photoshop, the base colours was placed onto the upper and lower UV's. The alpha channel was removed and the colours picked from the reference image. these colours  was reduced slightly in tone and the black for the boots was more of a grey, allowing them to help it stand out better in maya. 

The normal maps for the knee pads was selected and a new mask placed via the refine edge option. Then everything outside of the selection removed and the colour placed for the knee pads. For the belt, I decided to paint it freehand rather then use the magic wand tool.

A background was placed so to help paint the colours correctly, a slightly off white colour was chosen. The base colours was then exported as the first Diffuse.Tiff and the PSD version saved to allow any alterations. 

Upper Body Diffuse Map 1

Lower body Diffuse Map 2

Going back into Maya, the diffuse map was applied to the shaders thought the colour channel. Some specular was placed onto the boots and small amount on on the trousers/torso. The shininess on the gold was also reduced. Lastly, the Quadratic filter needs to be off on the diffuse maps to allow the textering to be shaper. 

Maya Viewport
Basic Colours Render.

Major - Submission Post: Final Animation, Reflective Statement and Links

Final Reflective Statement When starting the Major Project, there was still quite a lot of work left over from Minor for the planned final...