Thursday, April 29, 2021

Pipeline 1: Jetpack Jones - Adding the Rivets

 Importing the buckle and the button into the scene, the buckle was then resized and positioned to best fit the model. The same was done with just one button to begin with (making sure to keep one the side for duplicating) , then multiple was made and placed down the front guard. Happy with the positioning,  they was then grouped, duplicated and mirrored in the Scale -1 so to create a matching set across the front of the bodyguard.

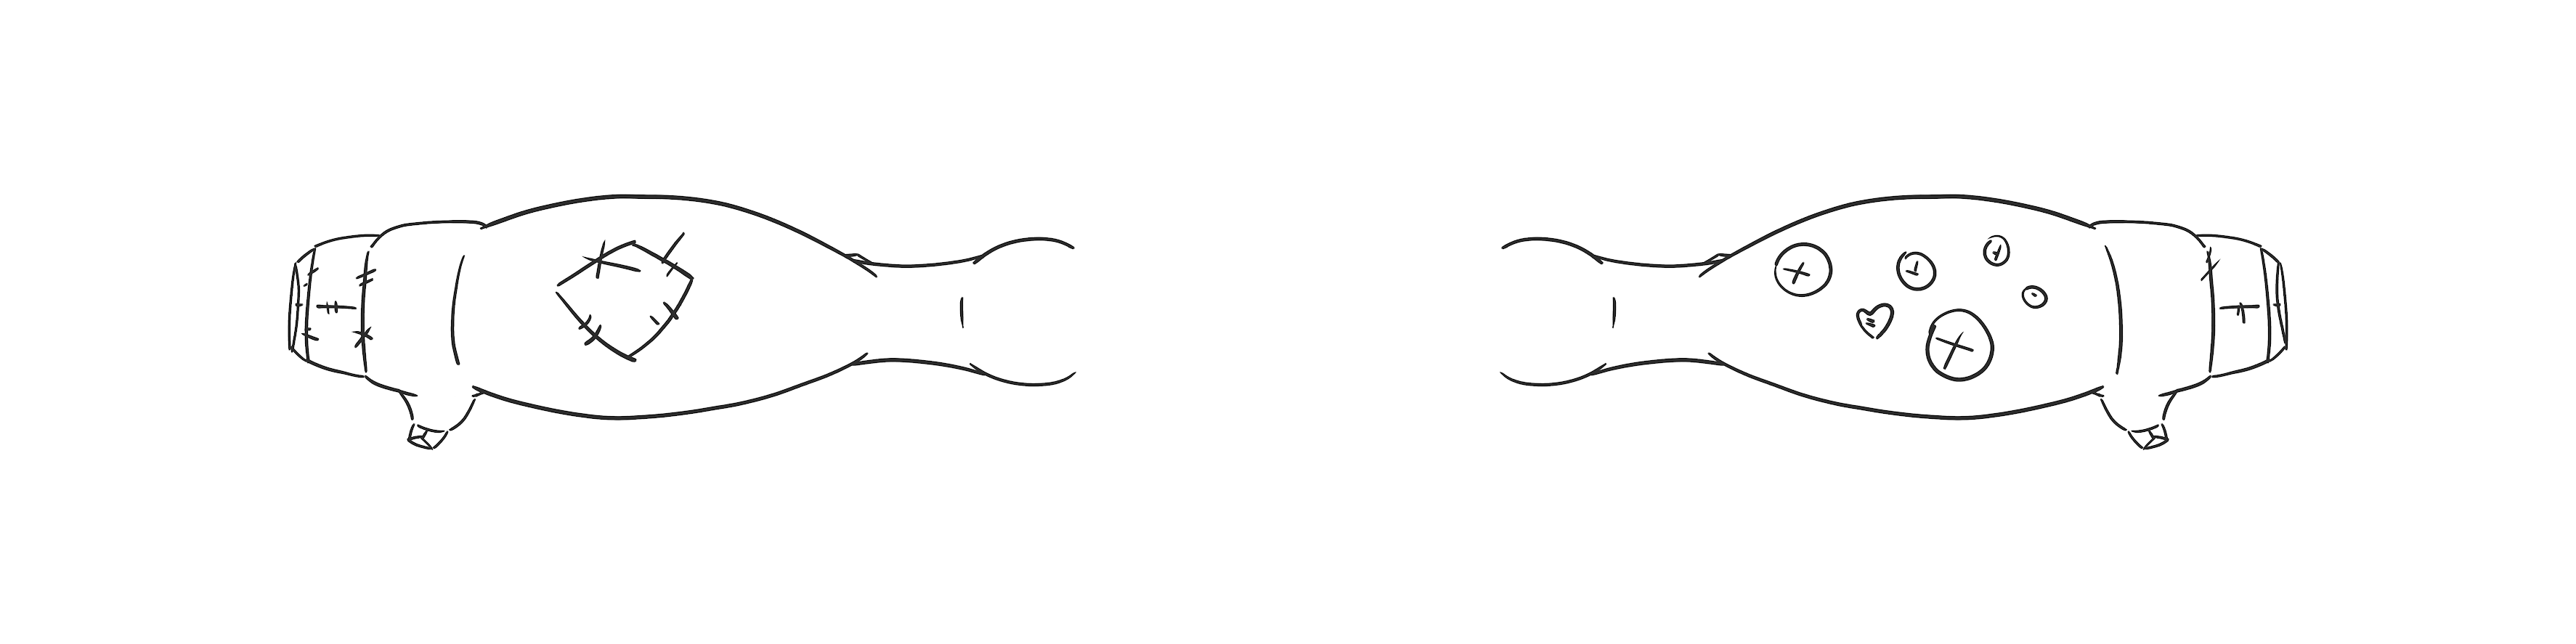
Placing the Button and Belt Buckle

The same was then repeated for the back part of the bodyguard and the neck collar. (It's important to use the correct orthograph when positioning and that they are named relevant to their placement).

Back Buttons

Front Buttons

Following this, the belt buckle was bound (skinned) to the pelvis joint at maximum percentage (100%).  

A duplicate was made of the torso (removed from group and given its own layer) and then reskinned back to the skeleton. The floating joints also needed to be skinned. The skin weights was copied across from the rigged torso to the duplicate, allowing the duplicate to move correctly with the joints.

Working in the non-shaded mode, the duplicate torso was then smoothed to make it denser and allowing for better placement of the rivets. Large areas was removed using the symmetry tool and the grow selection, leaving the areas where the buttons are placed. 

Removing the Dense Torso

Bringing in the rivet script (mel: source script:  Rivet.mel), a button was made so to make it easily accessible. Going through the buttons, two edges was chosen that was the best suited to the positioning and a new locator was created (via the Rivet script). The local scale on the locators was reduced down so to work better with the button size, and then the buttons was parented to it. 

With the global control selected, a scale constraint was placed for each buttons so thier sizes change with the character. 


The same was then repeated to the back and the collar buttons. 

To help with the notable lag when moving the model around (due to the high density of the replicated torso and the history), the non-deformer history was removed. This keeps the skinning cluster node and rivet connection intact but removes all other unnecessary data.

To clean up, the layer with the duplicated mesh was hidden and the locators removed from the view port (via the show menu). The rivet mesh and buckle was then placed in the Geo-group. Finally, the rivets was grouped and then relocated in to the character_grp, making sure the "inherit transformed" option is turned off.

Toolkit 2 - Lip Sync Pt 2: Phonemes and Visemes

  Moving into the second stage of lip syncing, and with the jaw bounce set, it was time to place in the movements for phonemes and visemes. Sadly I was unable to attend class due to being poorly, but my friends was kind enough to lend me their notes to help me complete this step. 

Although it's not perfect, I found analysing the video on the tutorial website also helped understanding the muscle movements. Some further work may be needed to really get the syncing right. 

Wednesday, April 28, 2021

Pipeline 1: Jetpack Jones - Baking the Normal Maps

  For the knee pads, a normal plane was created and placed over the knee joint on the trousers. This plane was then sectioned using some edge loops, altered to fit the design of the knee and then extruded back into the trousers. The creases was bevelled to add a bit more detail to the knee pads. Once happy with the pad, it was duplicated, grouped and then placed in the scale -1 to create one pad on each knee. 

Modelled Knee Pads

As with the torso, the pads/trousers was combined and then smoothed with the previous settings. The low res trousers was also smoothed. 

The normal maps was then made via the "Transfer Map" options, placing the low res into the target and the high res into the source. In the Low_res options, we need the display to be both and the search envelope to be just big enough to fit everything in the radius. 

Search Envelope

In the output map, we needed to bake the normal maps with the following select options:

- File option to be Tiff. 

- Map space as tangent space.

-  Connect maps as a new shader. 

-  Map width/depth of 4096.

- Sampling quality of high.

After the map was baked, they was transferred into photoshop and anything that not needed removed (painted the same colour blue as the background). These was then placed into the source images folder.

Torso Normal Map

Trousers Normal Map

When going back into Maya, the normal maps now works in the viewport in the material options. The normal maps created in maya have the colour management turned off so to work correctly in the viewport. However, when first doing these maps, I seemed to have a little problem with seams appearing.

Seams Appearing

After discussing the problem with my tutor, the uv's was causing a bit of a problem. After relaying laying them out and sorting out the seams, they now  work . 

Going back to the rigged versions, the applied Lambert on the torso/legs was changed to a Blinn (in the attributes) and the specular was reduced down. In the OpenSubDiv menu, the uv bounding needed to have "Preserve Edges and Corners" on otherwise more seems can appear.

Working Torso Normal Maps

Working Trousers Normals Map

Sunday, April 25, 2021

Pipeline 1: Jetpack Jones - High and Low Res Modelling for Normal Maps (Torso)

 Making 3 new duplicates of the torso/trousers, one was named as default, hi-res and low-res. The front and back orthographics was then imported into the scene so we can switch between them when needed.

Duplicated Torso and Trousers for the High-res

Cleaning up the model first to make sure everything is aligned, the first part for the hi-res model was the create the chest piece. Selecting all the edges up the torso and beveling, the settings was changed to a fraction of 0.3 and a segment of two.  The middle edges was then brought inwards to create the divots of the straps and the history removed.

Added Bevels

Making another duplicate of the original model (and cutting it in half), areas was then removed as seen in the orthographic to make the front chest plate. The edges and vertices was slightly altered to fit the design, mirrored and then the geometry brought forward to sit just in front of the high-res model. The normals was used to expand it rather then just bring it forward

To finish the front plate, the outside edge was extruded back till it just past the hi-res geometry and the offset used to create a angle. (Normal maps need to have angles more the 90 degree to be notable). To stop the collapse, the corners and front edges was bevelled again with a segment of 2 and the n-gon subdivide on.  (Deleting History again).

Finished Front Chest Guard

As with the front panel, another duplicate of the original torso was made (halving again) and areas was deleted as via the orthographic to creating main base of the back chest piece. The multicut tool was used to create the main outline and the point at the bottom. Following this, more edges was added with the multi-cut tool, repositioned and the triangles removed. Edges was then selected and brought out just above the hi-res model geometry. 

Mirroring the back piece, the normals was used again to bring it out and slightly expand it. Removing half of the panel again, two edges was extended to meet with the front panel. Edge loops was then added along the strap and repositioned to create a strap around the shoulder. 

The front of the strap was moved and altered to match the orthographics a bit more. After mirroring, the outermost edge was then extruded inwards and angled slightly. As with the front part, a bevel was applied to stop the model collapsing (making sure sub-divide N-gons is on).

Front Strap

Mirrored Back Part

Bevel and Angling Applied

A final copy of the original chest geometry was made and the geometry removed apart from around the neck to make the collar. The normals was used again to bring it out and the bottom edge was extrude inwards, using the offset to bring it downwards. Another bevel was applied to the edge before going into the chest but the fraction kept bigger for a smoother effect.

A bevel was place on the middle edge of the collar (front) and then extruded inwards so to create another divot. Removing half the model, some edge loops was placed to give a little definition around the divot and then mirrored. 

Collar Unsmoothed

Collar Finished

Combining everything together (and removing the history and removing the extra nodes in the outliner), both the hi and low-res models are smoothed. Making sure the model is in the unsmoothed option and going to teh smooth options, wee ned the following setting to make sure the UV also smooth correctly : Divisions 2,  legacy: map borders  "smooth all", legacy on and to turn off preserve geometry/section borders. 

Using these options means the uv borders also smooth with models. The model can now be used to bake the normal maps.

Smoothed Torso

Saturday, April 24, 2021

Pipeline 1: Jetpack Jones - Rigging the Eyebrows and Cleaning up.

   As with the previous facial movements, a blendshape is required for the eyebrow movement. This time, the duplicated head is created with the skullcap and the eyebrows, which was then wrap deformed onto the duplicate head.

A new joint was then placed onto the chin and the forehead, the joint on the forehead was rotated to fit along the head's geometry. After binding the skin to the new joints, the weights around the eyebrows was painted (some animation place onto the forehead joint in up and down positions) and then mirrored across to the right side. 

When painting the weights, we have to be careful so to not to warp the skin around the brows too much. A duplicate shape was then made of the eyebrows being up and down, which was then plugged in the original duplicate as a blendshape. 

With the blendshape active, we use the paint weights option under the deform menu. With only the left side of the head selected, the skin weights was flooded (up and down) and the center vertices made to be 0.5 so there is a smooth transition between the brows when moving.

New dulipcates was made in the on/off position and placed to the side. Following this the "on" option was turned on the paint weight tool and areas painted around the brow was painted as "off", creating a surprised/angry brow shape. 

With all four of these positions completed and copied for the right side, the blendshape (history) was removed from the original duplicate. Connecting all the blendshapes back into the original, the shape targets for the right side was flipped in the shaped editor so they move the correct eyebrow. 

Activating the eyebrow blendshape to the Jetpack Jones model, the duplicated eyebrows and the skull cap is also created as a blendshape so they move with the eyebrows. To finish this blendshape, a new control is placed next to the head (a star nurb) and the set driven key menu used to connect them. Limits are also placed so not to break the skinning on the model and the animation changed to linear in the graph editor.


To clean up the scene, we removed anything we don't need. This Involved:
- Removing the extra nurb controls
- Placing all the mouth rigging onto one layer
- Making sore the blink and brow blendshapes are on the correct layers.
- Exporting the extra heads from the blendshapes. 
- Making sure the inherit transformed is turned off on the geo_group
- Turn off the joints in the viewport.
- Making sure the whole model has a Lambert 1 material rather than the UV Material.
-Optimizing the scene. 

The next step will be doing the texturing. 

Thursday, April 22, 2021

Premise - "Pipe Dweller" Environment and Lighting Pt 2

  Finishing up the concept art, the environment for the "Pipe Dwellers" is now a bit more solid. I tried to capture some lighting to show the sock nests and the different types of pipes. As with the room, I made the grey/blue scale first and then placed it over the colour palette.
Line Work
Blue-scale
Final Outcome
  In terms of 3D work, I'm still trying to figure out the best way to capture the night-time lighting. This is the second attempt with just the moonlight, lamp and stars. This one has come up much cleaner, the next step is to try and figure out the Fairy Lights without boosting the rendering times up too much.. 

Second Night-Time Lighting Attempt

Tuesday, April 20, 2021

Premise - Maya Lighting Pt 1

Today I attempted to create some night time lighting in Maya, as by my concept art. As a first attempt its not bad but it's fair to say there is a lot of work needed. The lighting is much too light without the AO multiply layer and with how I have the atmosphere set, It's far too murky. 

Still this is a learning curve and I'm going to try again in a few days. 

AO
Original Lighting
AO + Lighting

Pipeline 1: Jetpack Jones - Adding the Blink

  For the blink,  another head duplication was made and placed it up above the rest in the viewport. The eyes was also copied and the handles was turned on to allow accuracy with the joints/blendshape. 

After placing the joints around eyes (one pivot joint base and one on both the upper and lower eyelids), the orientations where then changed to work along the X axis. A duplicate of the eye joints was made for the right side.

Placing some animation on the new joints (left), the weights where then painted and smoothed out around the eyes, making sure to lock any areas we don't want to have weights painted on. When finished, the weights was then copied to the right eye. 

Working on the lower eyelid first, a new blendshape was made to correct any errors in the blink. After this, we moved onto the top eyelid, making sure the line around the eye was straight and the corners matched. 

Once done, the blendshape was connected to the main model and new control was made (a star Nurb). The blink was then tied in via the Set driven key menu and the graph editor made to linear. 

Monday, April 19, 2021

Pipeline 1: Jetpack Jones - Extra Face Controls

 Following the tutorial set for the extra facial details, the nose, cheeks and chin now has a set of fully functioning controls. Next will be adding movement to the brows and blinking.

Completed Extra Facial Controls 
Puffing Out Cheeks
Flaring the Nosrils

Moving the Nose

Premise - "Pipe Dwellers" Orthographics and Colour Variation

I have now done the orthographics for the "Pipe Dweller" and done some colour variations, however I'm not sure if I'm happy with the colours for the "Stealer. Although it's meant to be more adapted to the room palette and be brighter, I feel the blue is better suited so these may change. 

I have only done a front and side orthographic for the "Dweller", if it is needed I will make a back version.

"Dwellers" Front Orthographic

"Dweller" Side Orthographic

"Dweller" Head Front Orthographic

"Dweller" Head Side Orthographic

"Stealer" Front Colour Orthographic

"Stealer" Back Colour Orthographic

"Dweller" Front Colour Orthographic

"Dweller" Side Colour Orthographic


All that is needed is a bag orthographic for the "Stealer" and then to move on with 3D testing. 
 

Friday, April 16, 2021

Pipeline 1: Jetpack Jones - Cheek Thinning

 Before moving into the final steps for the facial rigging, a corrective blendshape was created for the cheek thinning. This was done in a similar way to the other blendshapes.

  Two heads was duplicated with the skinning node off, one open and one closed. The open one was duplicated again and both was renamed as positive/negative, the last one is going to be the cheek thinning connection.

Positive/Negative Heads

  Following this, some geometry was chosen around the corners of the mouth and using the symmetry/soft selection, was brought inwards. Using a  parallel blendshape  connection between these and the to the closed head, changing the channel boxes to 1/-1 brought the final shape. 

  The new head was then added as a blendshape (under the Input_Bshape) and a set driven key placed so the cheeks only thin when the mouth is being opened.

Without Cheek Thinning

With Cheek Thinning


Premises - Animatic Version 2 and Revised "Sock-Stealer" Orthographics.

 Following the OGR discussion with my tutor, some changes have been made to the Animatic. This included some shot changes, revision of timing and some alterations to the sounds. The Animatic is now over 4 minutes long as the previous being only 3 and a time code has been added. 

Where Do All the Socks Go? Animatic Version 2.


Added Timecode


The "Sock-Stealer" Orthographics

  I have also completed the orthographics for the "Sock-Stealer", I tried to keep them as accurate as possible but some alterations may be needed. I have brought the shoulders down a little and added the tail detail to the original designs. Also, I have made two sets of arms as I'm not sure whether to create a "mit" structure or something closer to a hand. 

  I haven't worried too much about placing button detailing on them as I'm hope to model these separately and use rivets to attach them. 

  The jacket will also be modelled separately but as I have already drawn the orthographics, I decided I can use these to model it. 
Front With Jacket
Front Without Jacket
Back With Jacket

Back Without Jacket
Side With Jacket

Side Without Jacket
Front Head View

Back Head View
Side Head View

Top View Version 1

Top View Version 2

Major - Submission Post: Final Animation, Reflective Statement and Links

Final Reflective Statement When starting the Major Project, there was still quite a lot of work left over from Minor for the planned final...