Thursday, April 30, 2020

Fantastic Voyage - Playblast Scenes 1


  So far, these are the first 5 scenes play blasted. I've tried to keep them quite colourful and give as much information as possible. Currently, I am unable to render so it would be ideal to make these as high as quality as possible.


For Scene 3, I had to slow down the ncloth tearing in premiere as there was some difficulties in maya. Nearer the time of putting all the scenes together, I will work on making the rip much smoother.


Friday, April 24, 2020

Maya Tutorial - Lighting filters

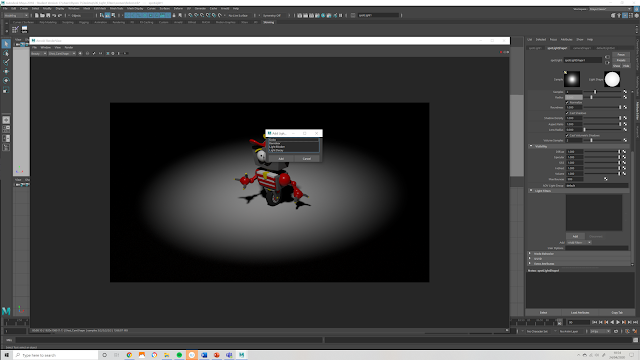
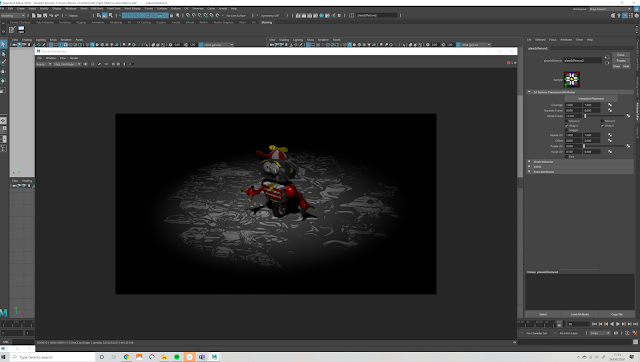
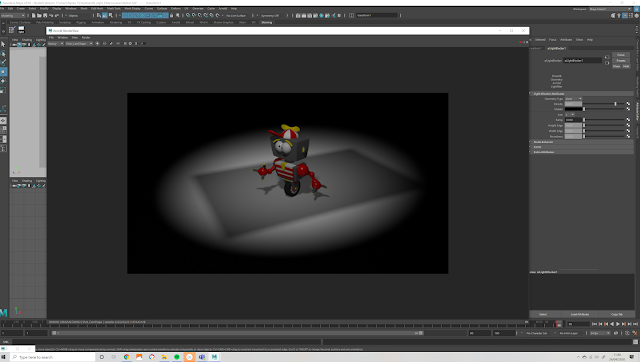
  For this tutorial, we looked at how light filters can help enhance our scenes. The first one is Gobo, found under the light filters section of our spotlight attributes (normally Maya spotlight), We placed a tree image.

filters

Tree Image on the gobo filter
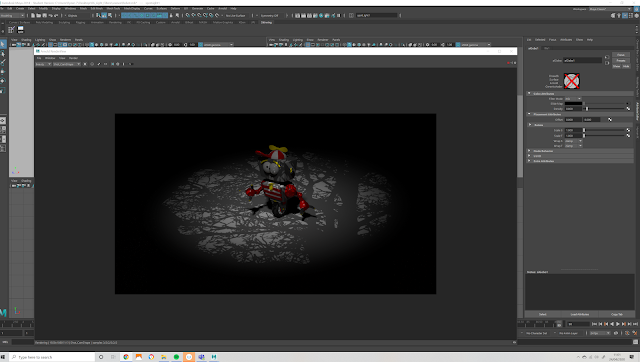
   Within this filter, we can change the mix to make the image more translucent, and use the filter node to change the placement. This is good for scene backgrounds rather then modelling a lot of models.

Changing the mix.

changing the placement to alter the image.
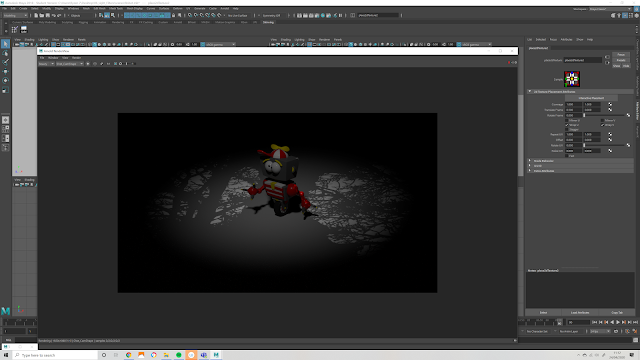
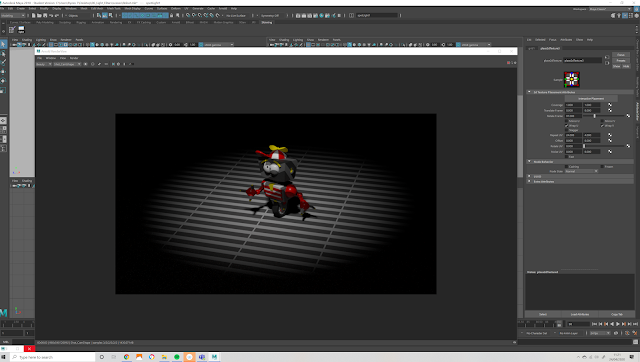
 Placing noise onto the noise uv attribute can create different effects. In this example, the tree stated to give a more watery ripple appeal, and the rotation uv allows a differet perspective of the image.
Changing the noise UV's.

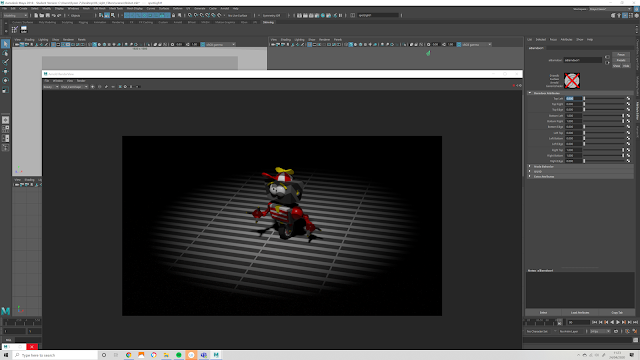
Multiple filters can be placed with Gobo to get a range of effects. To make a blind, we firstly placed broke the connection with the tree image, then placed a grid.
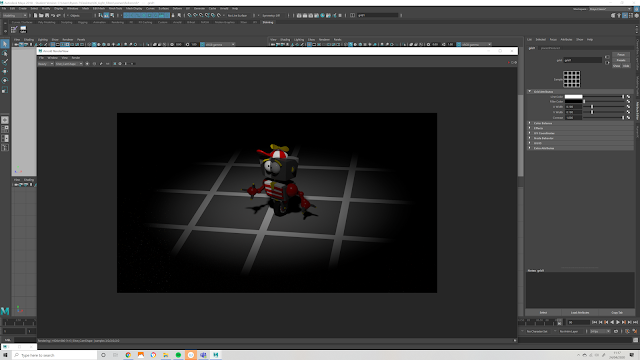
Grid Image.
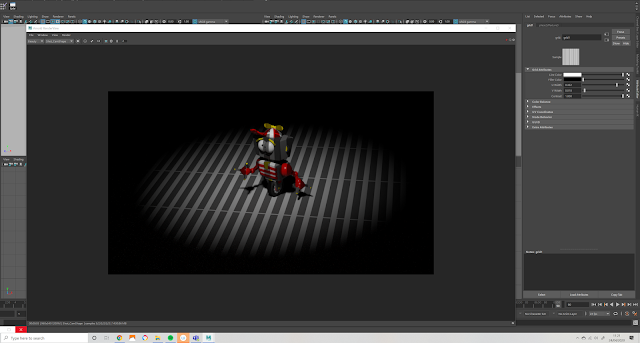
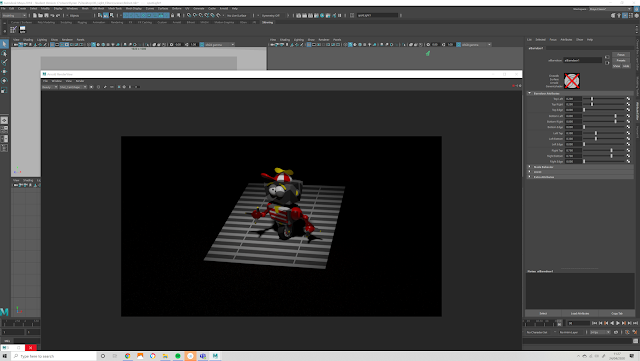
   Increasing the repeat UV's, we then change the rotation to horizontal.

Increasing UV's

Further Increasing UV's

Changing Rotation
   Once all this was in place, using the Barn Door filer creates the square limitation that is often found on theatre spotlights.
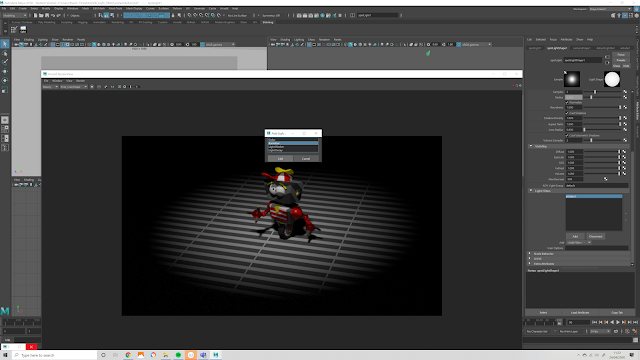
Barn Door Filter

Changing the Edge Limits.

Creating the Window Effect.
   Placing a light Decay filter give control on drop off, so we make the light at the time more fade with the Far Attenuation. If we wanted to change the light closer to the front, we would use the near Attenuation.

However, the blind is giving us light the wrong way, so we inverted the image under the filter node, and created a small amount of blur under filter offset. The shadows where also much too dark, so the shadow density helped to bring this down.

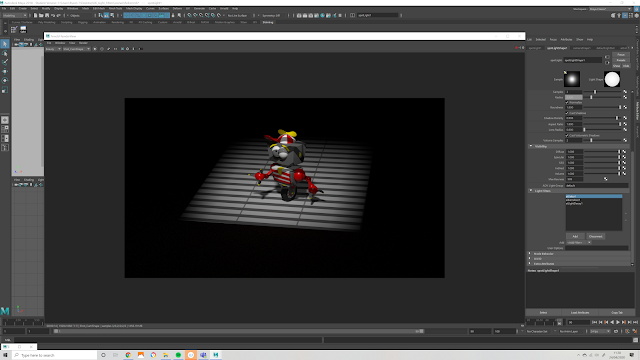
Light Decay and Inversion.

  The light blockers (also applied under the filters section) work by stopping light entering a part of the scene, the higher the density, the less light is allowed though.  Light blockers work as geometry, can can be altered to particular shapes. Using the Ramp control (and the axis) can help create a fall off effect.

Light blockers

Tuesday, April 21, 2020

Maya Tutorial - Lighting and Rendering 2


Stylised Internal Lighting

  This tutorial is aimed at using stylised lighting to give a scene more life, and show at how sampling can improve the shadows/ reduce noise. Firstly we created a pointlight to act as the main lighting source, changing the exposure to 12 and increasing the shadow samples. This was done without the objects present in our sense so to get an idea of how well it would light up the room. Once happy with this, we placed another point light in the hallway to light up the shadows, and then two directional lights to give the feel of midday sunlight. 

Main scene

Scene with out lighting
   When taking a render, we placed the test render at 50%, this allowed a decrease in render timing at a lower quality. Increasing the samples also decrease the amount to light spotting present, this can be common when lighting is too close to a plane/ object.

Main point light 
      As the shadows was much too dense, we brought up the radius to soften them out.


Increased shadows/ softened shadows.
  Placing two directional lights though the window planes give a strong sense of sunlight, we wanted a just a touch of light to be present on the window plane itself. For the background outside, we just change the maya world to blue, this is just temporary but allows us to judge our colours better. 

Added directional lighting


  With the objects back in place, we had some "blow out" on the plates/ cups, losing the finer details. The shadows was much too dark, so we changed the exposure and the shadow density on the lights to improve the quality. However, we needed to identify where some of our shadow noise was coming from, so under the area light and main point light, we placed a light decay. Using the near and far attenuation, we was able to use the arnold render to single out the diffuse. This showed that the direct diffuse was clean, but the indirect was very noisy, so we increased the sampling.


  Once happy with the render, we saved the file out as a EXP and placed it into photoshop. Choosing to have the transparency options on, the EXP file keeps the colour quality to its highest standard at 32 bit. We wanted to lighten up the scene a bit as its much too dark still, so going to adjustments, we brought the exposure up.


  Finally, as the colours are too blue, placing a photo filter of sapia allowed a warmer presence. Looking at the background though the windows, the EXP file removed the maya world colour (using a jpeg would keep it, but would lower the colour quality). Placing a layer underneath, we paced a two tone colour (blue and yellow using a soft brush to blend) to give a sky appearance.

Image before Photoshop (jpeg 8 bit)

Final Image


Arnold AiSurfaceShader

   Following the tutorial, we learnt a few more value of the Arnold AiStandardSurface shader.


   Selecting each of the above objects, we placed a surface shader and then changed the settings to created each the items below and gained an understanding in how to obtain them.


Fantastic Voyage - Models and Animation Tests

  Currently, these are currently my models with some animation attached. The next step is to place textures on them and start animating creating my scenes. The animation will require some tweaking when in use. I have taken longer to get these right so to do my pre-viz and hopefully the animation at the same time, this may help in reducing time.


  Also in regards to scenes, this is the lab. But it seems to have rendered out far too dark, so it will be a case of placing some more lighting and changing the settings/ sampling. 


Saturday, April 11, 2020

Fantastic Voyage - Models 2 and Animation Layering Practise

  Starting the week, I have received my narration back from the voice actress. I am very happy with how is has come out and she has crafted it beautifully as well as making them into separate tracks for me.

  Thus far, I have completed the models below, and hoping to finish up on the Dynein today. Next is to make the scenes and complete the centriole model. I will have to go back and look at the geometry on these models to make sure it is all correct before jumping into UV making and texturing. These seem to be taking me a lot longer than hoped to make, I'm not sure if this comes down to my low confidence in Maya/ lack of experience. But, I aim to keep moving forward and improving.

The Nucleus Front View

The Nucleus - Side

The Nucleus - Front Open

Chromosome

Chromosome

The Cell

DNA Strand

  Also this morning, I had a practise with animation layers. this helps to keep multiple animation on one model tidy and easy to change. The main thing to keep note of is making sure the base layer is locked, otherwise it will place all the keyframes on this layer and can be very messy. I still need to figure out a rig for as few of these models but I have found a few videos on rigging and scripting that may help.

Animation Layer


  I took a few days off at the beginning of the week due to feeling exhausted, but time is quickly running out. I may have to make a few choices to change some aspect due to timing. I hope to use my pre-viz as my base for the animation, then make improvements to use for the final animation/ rendering. If I take my time making for the lighting/animation/texting is all correct first in the pre-viz,  this will help make things a lot easier.  

  Another note I need to make is I have made a spelling error on the Dynein production art, but for some reason the file that I made before flattening the image has disappeared. I will have to think of a way of correcting this error. 

Wednesday, April 8, 2020

Fantastic Voyage - Models in Progress 1

   Today, I have started making the models for the Organelles and the nucleus. The models will hopefully have a rubik twist effect, but not a 9 way one. It will be more the case of a rotation and twist in some areas, keeping the movement simple but effective. They are quite straight in edges, this is to keep with the rubik aesthetic. Hopefully, they will look quite effective with the paper texturing. 

Organelle 1

Organelle 2

Organelle 3

Some extra Organelles

  There is still quite a bit to do on the Nucleus model, and I need to figure out an effective way of opening the front of the cell. At present, this was done with positioning the pivot points and rotating it, however they doesn't seem to like staying rotated.

Nucleus

Nucleus 2

Nucleus 3

  Sadly, these models seem to be taking me longer than I hoped due to figuring out the styling and feeling a bit under the weather. But, I hope to have these made, textured and possibly the environments done by the end of this week. Then it will be a case of rigging.


Saturday, April 4, 2020

Fantastic Voyage - Final Animatic and Soundtrack

  I have now completed my animatic and soundtrack ready to move forward. I have also been in contact with a voice over professional for the narration, the next steps is to start modeling and rigging.


Friday, April 3, 2020

Fantastic Voyage - Final Script

 I have gone though my script again and change a few bits. I now feel we have reached a final script.

Fantastic Voyage - Production Art 2

Coming towards the end of my production art, I'm quite happy with how these have turned out. In thinking about the names of the cells/proteins, I'm wondering whether to have the appear alongside them rather than them to twist and reveal the name. This is still a step to figure out.


I still need to think about the lab environment, and locking down the final appearance of the centrioles. But for now, I'm going to move on to finalising the script. Perfecting the animation/soundtrack, searching for a narrator, then moving on to modeling and pre-viz.


Matte Paintings

Wednesday, April 1, 2020

Fantastic Voyage - Production Art 1


So, today I've made production art for Chromosomes and Histones. I used the paper cut style to influence my design, and experimented with colours more.


Major - Submission Post: Final Animation, Reflective Statement and Links

Final Reflective Statement When starting the Major Project, there was still quite a lot of work left over from Minor for the planned final...