For this tutorial, we looked at how light filters can help enhance our scenes. The first one is Gobo, found under the light filters section of our spotlight attributes (normally Maya spotlight), We placed a tree image.
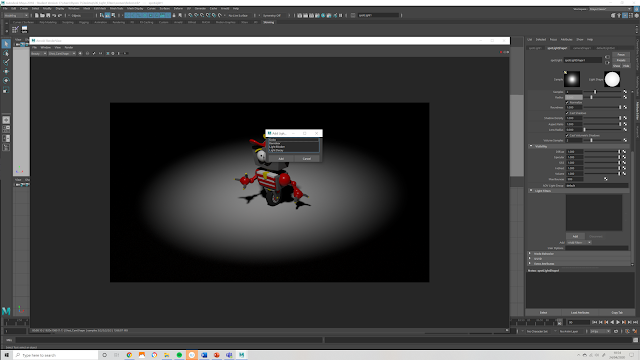 |
| filters |
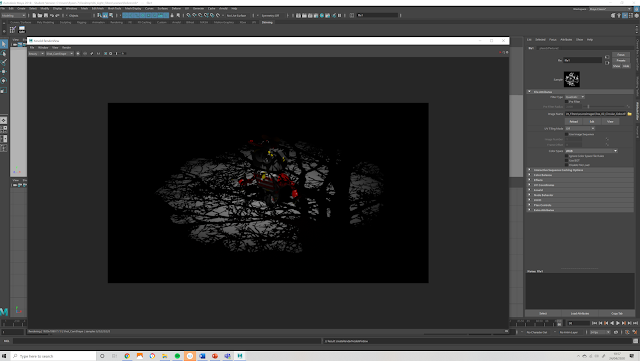 |
| Tree Image on the gobo filter |
Within this filter, we can change the mix to make the image more translucent, and use the filter node to change the placement. This is good for scene backgrounds rather then modelling a lot of models.
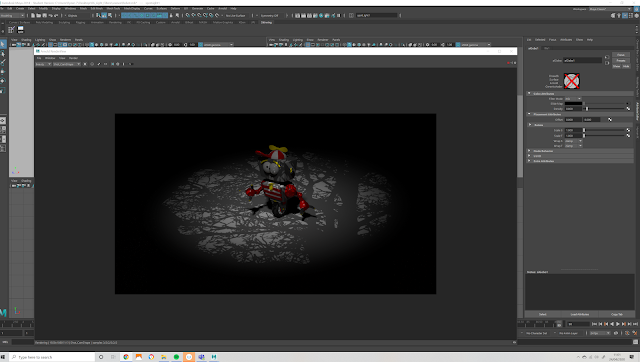 |
| Changing the mix. |
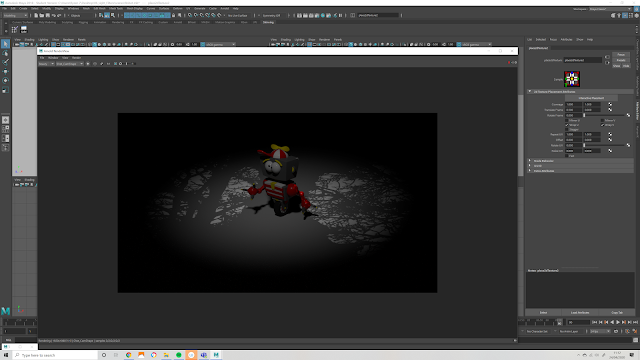 |
| changing the placement to alter the image. |
Placing noise onto the noise uv attribute can create different effects. In this example, the tree stated to give a more watery ripple appeal, and the rotation uv allows a differet perspective of the image.
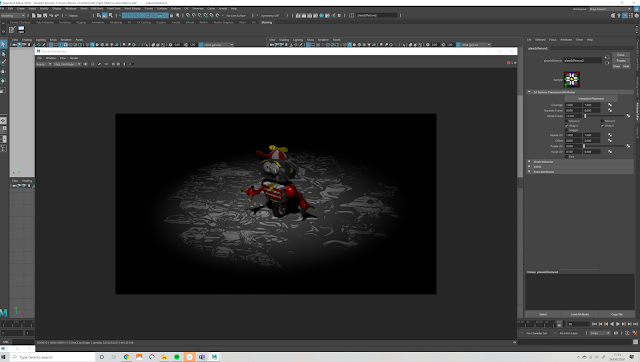 |
| Changing the noise UV's. |
Multiple filters can be placed with Gobo to get a range of effects. To make a blind, we firstly placed broke the connection with the tree image, then placed a grid.
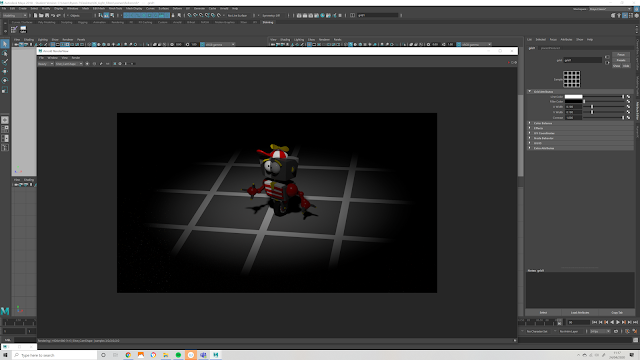 |
| Grid Image. |
Increasing the repeat UV's, we then change the rotation to horizontal.
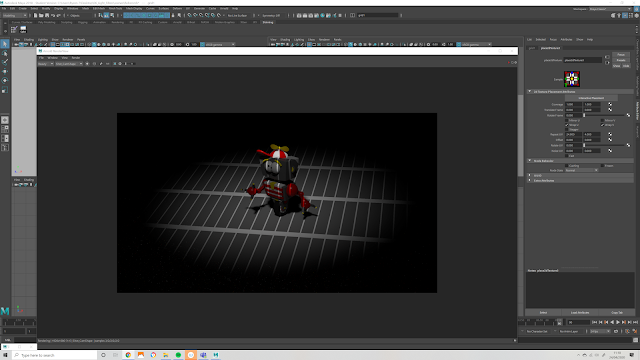 |
| Increasing UV's |
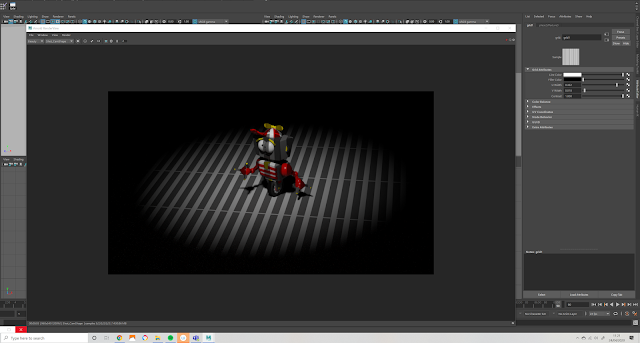 |
| Further Increasing UV's |
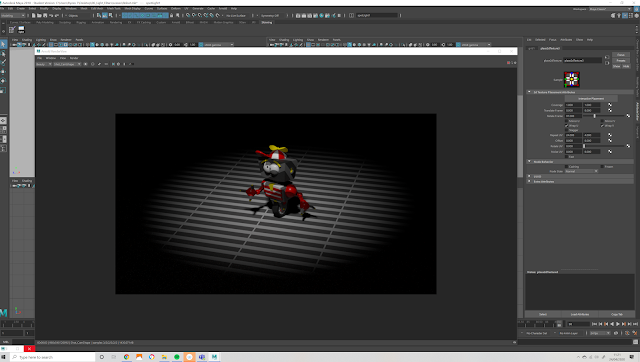 |
| Changing Rotation |
Once all this was in place, using the Barn Door filer creates the square limitation that is often found on theatre spotlights.
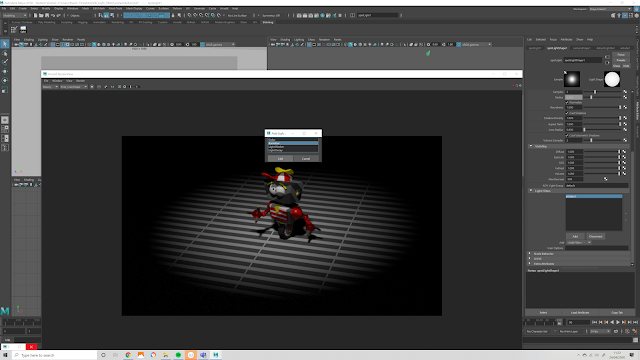 |
| Barn Door Filter |
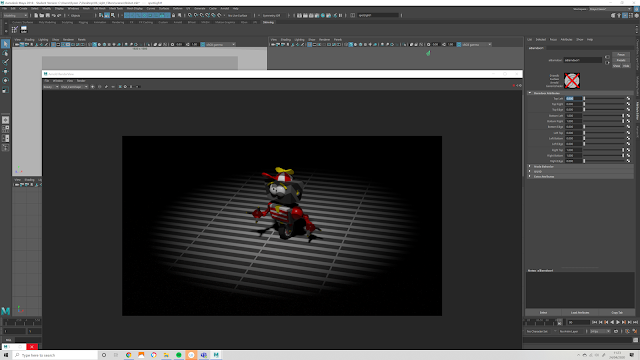 |
| Changing the Edge Limits. |
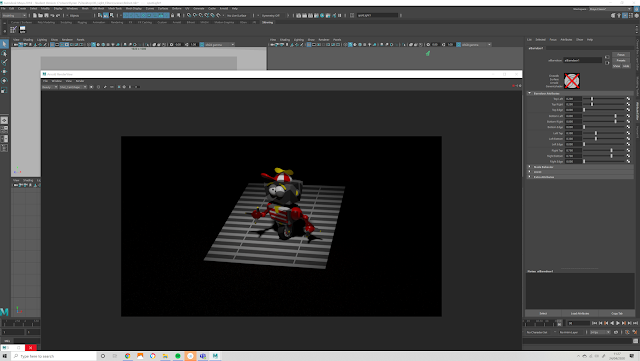 |
| Creating the Window Effect. |
Placing a light Decay filter give control on drop off, so we make the light at the time more fade with the Far Attenuation. If we wanted to change the light closer to the front, we would use the near Attenuation.
However, the blind is giving us light the wrong way, so we inverted the image under the filter node, and created a small amount of blur under filter offset. The shadows where also much too dark, so the shadow density helped to bring this down.
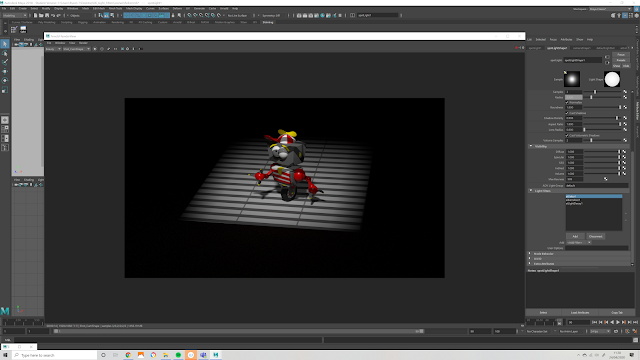 |
| Light Decay and Inversion. |
The light blockers (also applied under the filters section) work by stopping light entering a part of the scene, the higher the density, the less light is allowed though. Light blockers work as geometry, can can be altered to particular shapes. Using the Ramp control (and the axis) can help create a fall off effect.
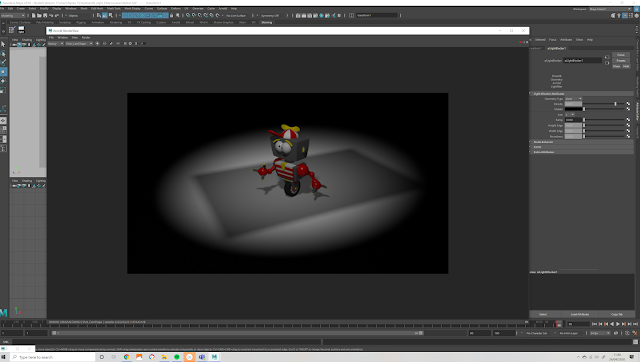 |
| Light blockers |


No comments:
Post a Comment
Note: Only a member of this blog may post a comment.