Using the robot provided by the university, We will be going through the lighting tutorial to help with rendering and sampling.
Something to remember is that the Maya ambient and volume lighting does not work in Arnold render, so this removes them completely from the list of useable lights.
It's best to leave the intensity of the lights to 1, and change to exposure. Most lights will have a low exposure to start will, its a case of carefully bringing them up till they are right.
Robot
Point Light
A finer light from a point in space, has a wider range of light.
Point Light
Radius - Spreads out the shadows on the point light, need more sampling to clean up noise (2-5 is best).
Normalize - Stops blow out in the lighting and keeps in natural.
Cast Shadows - Turn shadows on/off.
Shadow Density - Turns the shadows more translucent.
Turning off normalise
Diffuse loses colour value
Specular - Looses highlights
Light Attributes - Changing colour
Using colour Temperature - 0 is warmer
Using Colour Temperature - 8000+ is cooler colours.
Directional Light
The place of a directional light is irrelevant, the direction is the most important. This light works like the sun, and has no fall out as it is a wall of light.
Will give sharper shadows.
To soften the shadow, use the angle in the Arnold menu.
The higher the Angle, the more samples will be needed to clean up the shadows noise.
Directional Light does not have radius, just angle.
Directional Lights
Moving the direction and softening shadows
Area Light
Area light does rely on it place in the Maya viewport, and scaling can make the light bigger or smaller.
Creates fall off and softer shadows.
Resolution sharpens shadows (but its best to keep it at 512).
Spread makes the light spread out further from the sources, and removes shadows.
Area light is good for creating natural lighting and studio point lighting.
Area Light - sharpened
Spot light
This spot light can be moved around by used the look though option in the panels manu, this allows for better positioning.
Spotlights are normally the light positioned the furthest away from a object.
Roundness - Can be turned off and made into a square instead.
Aspect Ratio - Squashed the ratio of the light.
Low Radius - increase the diameter size.
Cone angle - Widens the cone the light shines from.
Penumbra Angle - Softens the light inwards.
Drop off - Softens the light outwards.
Spotlight - Round
Turning off roundness
Aspect Ratio
Penumbra Angle
Drop Off
Arnold Area Light
Arnold has a lot of options that are the same as the Maya area light, except this light works a lot better in the Arnold renderer. There is also some extra areas in this light then the previous one.
The fall off is a lot more accurate.
The exposure is softer.
This light can be change between a plate, quad or cylinder.
The first tutorial of the day was to look at sampling, and how it can affect our render times. The main thing to remember is that the higher the sampling, the longer the render time will be.
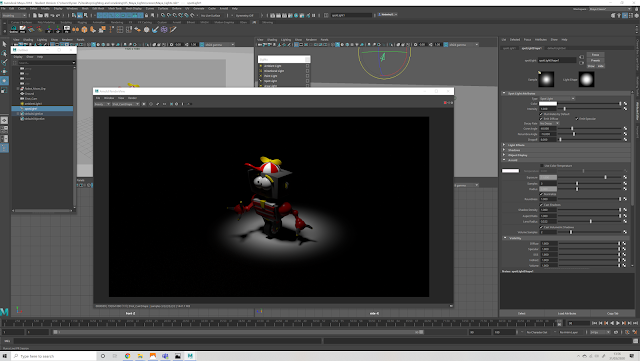
Sample Scene
Looking at our sample scene of the robot though the arnold render, there is a lot of noise in the shadows. This can come down to two things, the samples in arnold rendering, or the samples in our lighting.
Noise noted on the robot.
Changing the light sampling.
Sampling in light smooths out the shadows, but can increase the noise. Anything about 1 in the sampling will help to reduce noise (the average sampling is between 3-5). In this picture we used the section tool, took a render to see the noise level, and then changed the samples on both area lights to 3. When retaking the render, the shadows where much better.
Using sampling in the Arnold Render Setting
Sampling works by subdividing and recalculating (subdividing pixels to get a better shape).
When using the Arnold Sampling, it's best to know what each one is for.
Camera (AA) = Accuracy
Diffuse : Colouring/ Reflections
Specular: Glossiness
Transmission: Transparency
SSS: Subsurface Scattering (Skin, Marble, Etc.)
Vol Indirect: Bounce Light ( Fog/ Atmosphere)
By turning off unneeded options, It can reduce your render time, but increasing other will bring it back up.
The camera option is alway nxn, so if you have camera set at 3 it will be 3x3 = a sampling rate of 9. Then, to gain the sample rate of each option below, the calculation works out Camera (AA)2 x N2.
Example: Camera(AA) 3 x Diffuse 2
(3x3) x (2x2)
9 x 4
= 36 Samples for Diffuse.
This calculation happens to each option underneath the camera, either increasing or decreasing the render time.
Final Render
When creating a full animation, in the Arnold sampling menu, its best to have lock sampling pattern. This will take the same amount of samples for each scene.
Ray Depth
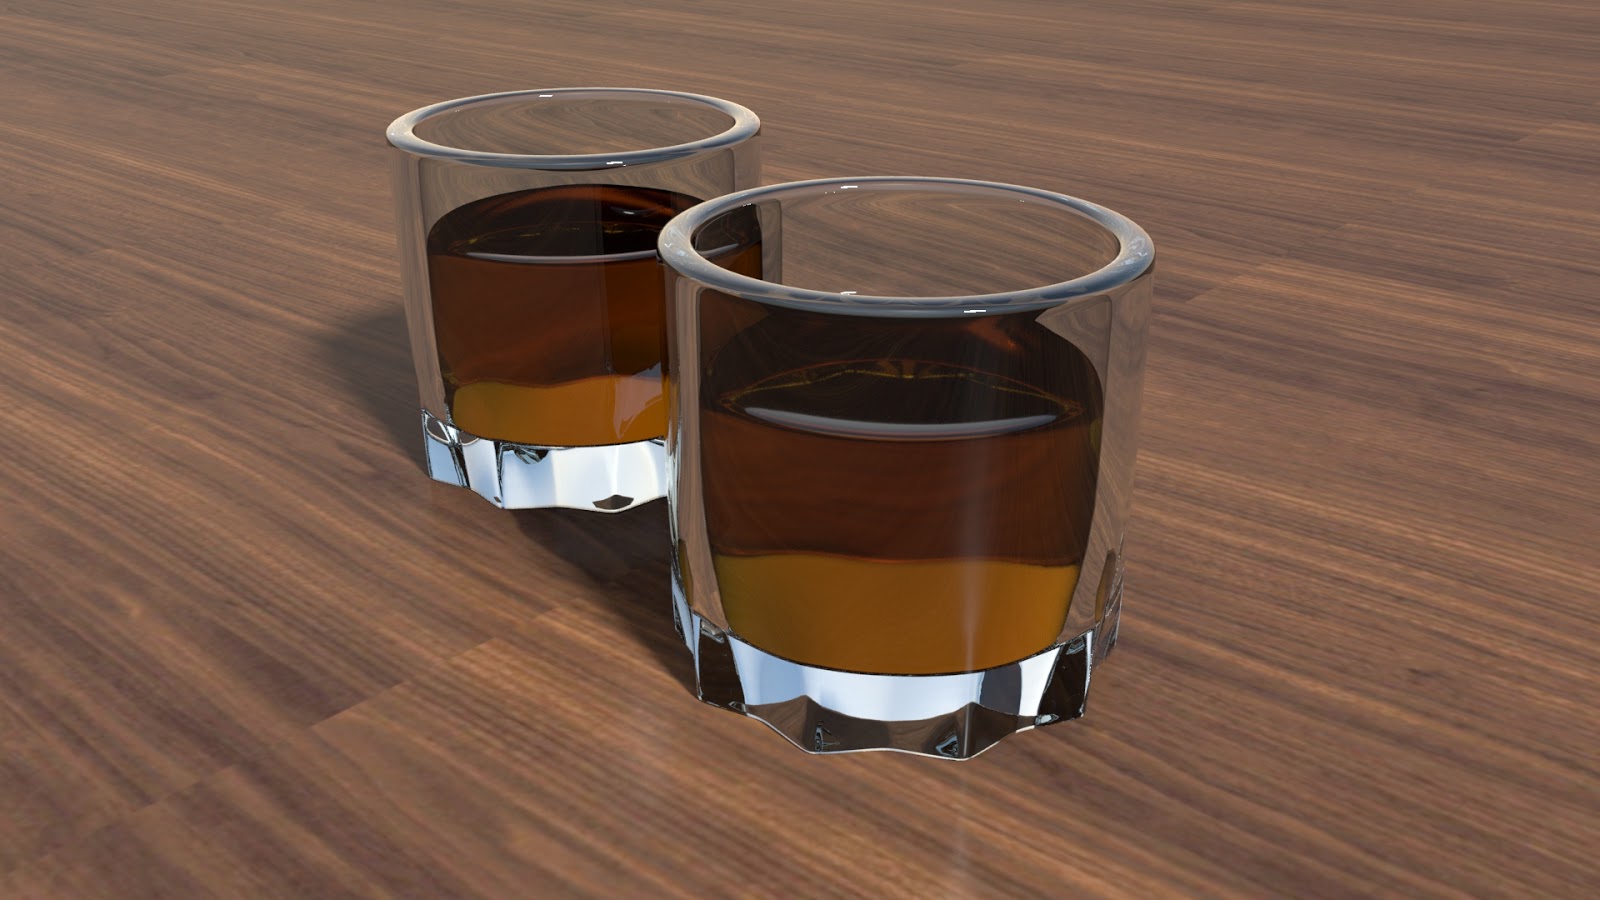
Ray depth is the bending of light though transparent (Transmission) objects. In the example given, the glass in front was not showing the glass behind correctly, the area that should have been seen though was solid colour.
Glasses in the viewport (Wireframe)
First render
Turning down Transmission to 1.
The options under the Ray Depth Menu in the Arnold Render Settings have their own way of manipulating how light bounces.
Total = This limits the amount of rays in a scene. So, if it's set to 10, then no more then 10 rays will show.
Diffuse = The amount of light bouncing around in a scene. The higher the valve, the more the light will bounce (too high and it will bounce off too many surfaces and will illuminate everything.
Specular = Highlighting and Reflectiveness.
Transmission = Transparency.
Volume = Atmosphere/ Fluids/ Fog etc.
Transparency Depth= Allows transmission through multiple objects.
When turning the transmission down in the glasses became solid, when bringing it back up we still had the same problem.
Changing the settings.
So, to solve this, we increased the transmission to 12. But, we also needed to increase the Total to allow these extra rays. When looking at our normal sampling, we removed the SSS and Vol.Indirect, these was not needed. However, even with removing these, the render time was quite long due to the high samplings in the depth ray menu.
I have now started experimenting with music and sound for the animatic, and have found a few tracks that I liked. Although this has been uploaded, there may still be some changes to the music. here isn't too many sounds, as I feel the pre- vis will require a few adjustments. The next step will be research into voice-over styles and searching.
As for the script, some adjustments have been made but there may still be room for improvement.
As we are still working from home and communicating through teams, today's life drawing was more of a sketch jam. Using a generator, we was given 3 animals and we had to make up how they would merge together. Overall, we had 4 sets, each having a time limit or 25-30 minutes.
Flamingo, Panda and Armadillo
Monkey, Hamster and Goat
Elephant, Duck and Bear
Toad, Porcupine and Lamb
This was a lot of fun, and I enjoyed it immensely. This is something I would love to do again as it allows for a lot of creativity. As I prefer to draw animals/ monsters, this was where I felt most comfortable.
Also, I have completed my second animatic with my own voice as a draft narrator. There is still some timing issues to think of, and some thoughts are needed in terms of music and a narrator style.
So, today I have revised my script a second time. Whilst I was recording my voice as a draft narrator for the animatic, I found myself rewriting part again. There is still some work to do, but I feel this is coming quite solid now.
In this tutorial, we looked at how to use blend shape in betweens to help with our animations. This means taking 3 extremes, and placing them onto one control, so we don't have to keep playing around with the characters attributes.
Importing the files provided by university, we have our little alien creature. First we select the alien group (containing the eye and creature) and placed it in to component mode. This is so they link together, then created a lattice deformer. We changed the lattice size to make it bigger, moving the pivot point to the grid so the character will squash and stretch correctly.
We squashed the character, duplicating it and moving the new copy aside. We also did this for the stretch.
Squash
Duclipated
The same was done for the stretched version.
Blend Shape Editor
Animation Editor
Opening the Blend Shapes and the Animation Editors, we made sure the settings was clear. Firstly in our options, we check the In-between box. This will allow us to combine shapes and make a whole new control. With this on, we firstly clicked on the round alien, then the squashed and then the stretched, programing the forms and giving us the control needed. So, as we don't need all three Aliens present, we hid the round and squashed versions. The blend shape control is now on the stretched one, and will become our template.
Blend Shape Control
Connection Editor.
Next we made a NURB control for the alien using a circle, sizing it upwards to fit the whole creature. Opening the connection editor, we linked up the attributes to each other, but we need one more. So, with the NURB selected, we went into the channel box and opened the add attribute menu, and created the Squash attribute.
Added Attribute and modified limits.
Selecting the squash slider from the blend shapes menu, and reloading into the connection editor, we could link the control and the squash attribute together. As the squash and stretch was so extreme, we placed a limit of 0.2 for the squash and 0.7 for the stretch, keeping a default shape of 0.5 (most rounded).
Fixed Limits in the Attribute Editor
So once these was done, placing keyframes on our timeline gave us the squash and stretch motion. Then using translate X, we added a forward movement on the squash, and static on the stretch. We then placed a off set infinity control on the pre and post cycle. when expanding our time line, then alien creature then continues to bounce off the screen.
Playblast of a single Alien
Following this, the goal was to duplicate the aliens, but with all the animation and connection it would be difficult. So, We used the duplicate special option to create a exact copy and placed 5 of them in different places.
Duplicating Aliens
The final Set.
So to not make them all the identical in movement and add some contrast, we used the translate tool in the graph editor to give them different motions and speed. I could not get my computer to render, so I makes a few playblast and a final image render.
I have also put in place the first draft animatic for the Mitosis: The Great Divide animation. There is a lot of work to do on it, some parts need speeding up and slowing down. Firstly, I want to perfect the dialogue, so then I can time the animation and transitions to this. I will be recording myself speaking and using this as a guide for when I find a voice actor.
These may not also be the final colours I'll use, there may be changes.
This is the first script draft for the Mitosis : The Great Divide animation. It's quite basic at the mo to act as a guide, I will use this to as more life and character into my narrator dialogue. Firstly. I just wanted to get ideas down, and then improve. I would like a female narrator for the script, but will need to do more research, thinking about narration style. However, I am open to the idea of changing this.
As we have moved into online teaching due to the current situation, our first maya lesson was looking at nonlinear deformers. These are to help us in the creation of our science animations. Overall, we looked at bend, flare, sine, squash and wave.
Once I had completed the tutorial, I created them on a pre and post cycle, and made a 5 second animation of each.
For some reason, scribd has make the pitch document below quite dare (it's actually white but is showing up grey/brown here). I plan to move over to Issuu quite shortly.
This is just a test, so the timing and transition are off. Hopefully, I'll be able to upload a full one in a few days and then start working on the sound track, script, and production art. This animatic is still open to change. I placed colour as I wanted to see how they would work together.
Here is my revised storyboard, I have cut out the DNA replication part as I felt it would take the animation way over 3 minutes. Also, it would have meant more modelling, rigging and concepting. As I'm still not overly confident in Maya, having what I already have is going to be challenge without adding more. In regards to the shot, I have tried to add a more interesting variety so it won't be some mundane. This is still in the planning process, and will probably have another storyboard variation to come.


