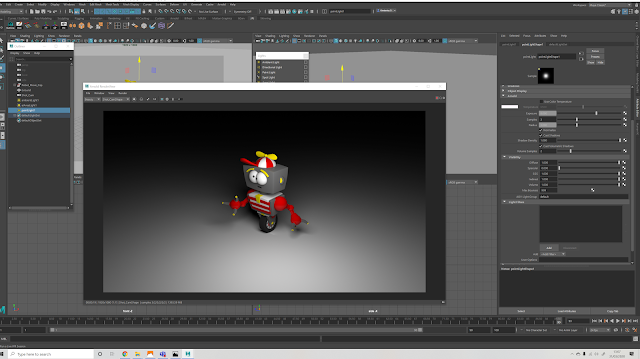
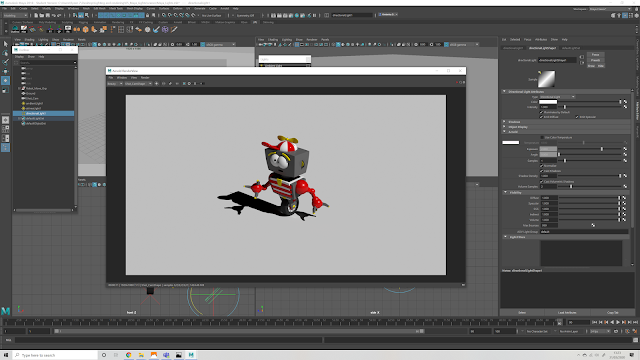
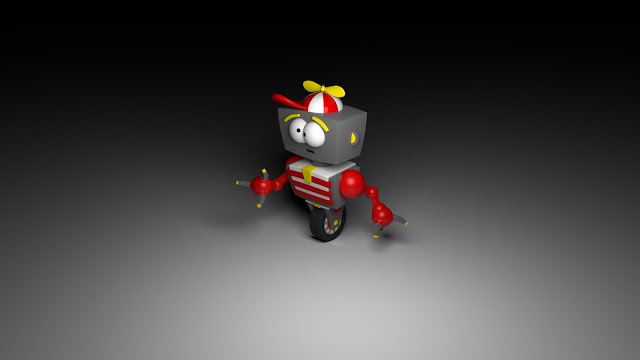
Using the robot provided by the university, We will be going through the lighting tutorial to help with rendering and sampling.
Something to remember is that the Maya ambient and volume lighting does not work in Arnold render, so this removes them completely from the list of useable lights.
It's best to leave the intensity of the lights to 1, and change to exposure. Most lights will have a low exposure to start will, its a case of carefully bringing them up till they are right.
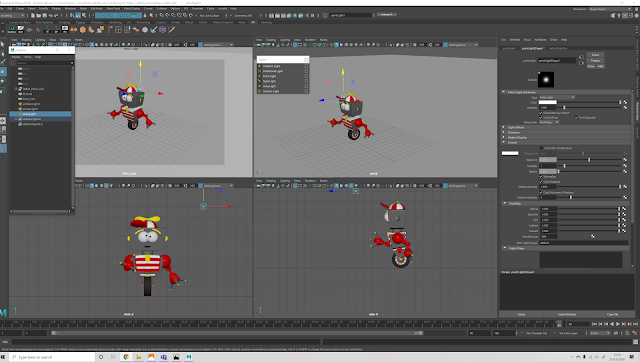 |
| Robot |
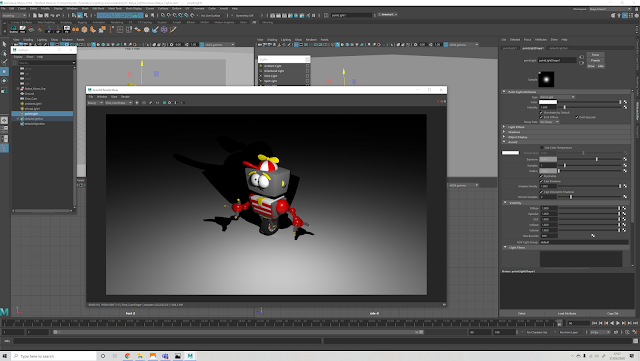
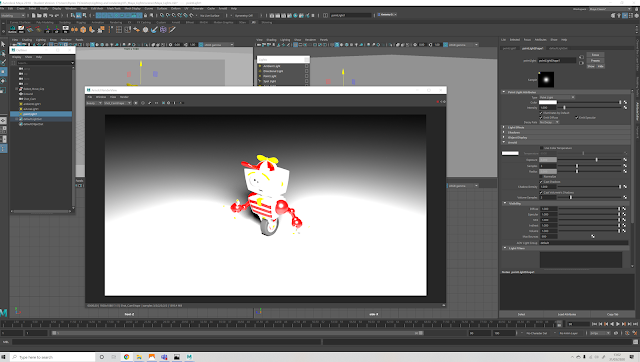
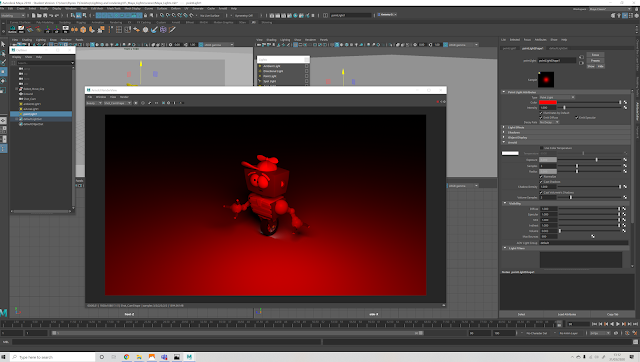
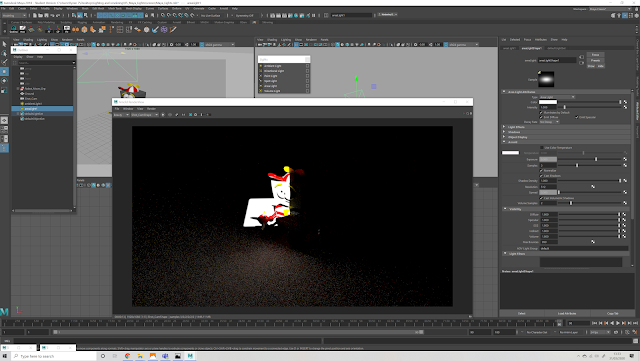
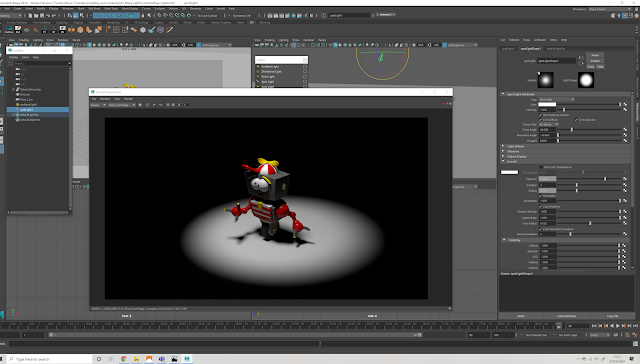
Point Light
A finer light from a point in space, has a wider range of light.
 |
| Point Light |
- Radius - Spreads out the shadows on the point light, need more sampling to clean up noise (2-5 is best).
- Normalize - Stops blow out in the lighting and keeps in natural.
- Cast Shadows - Turn shadows on/off.
- Shadow Density - Turns the shadows more translucent.
 |
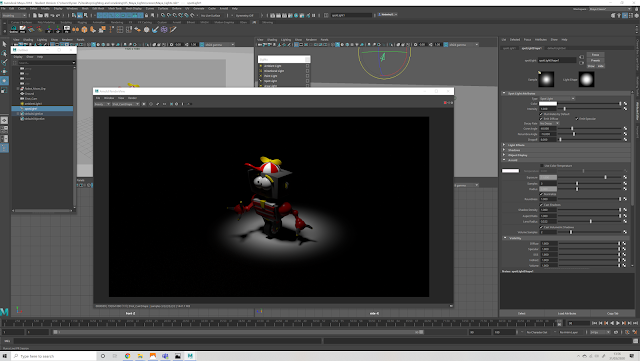
| Turning off normalise |
 |
| Diffuse loses colour value |
 |
| Specular - Looses highlights |
 |
| Light Attributes - Changing colour |
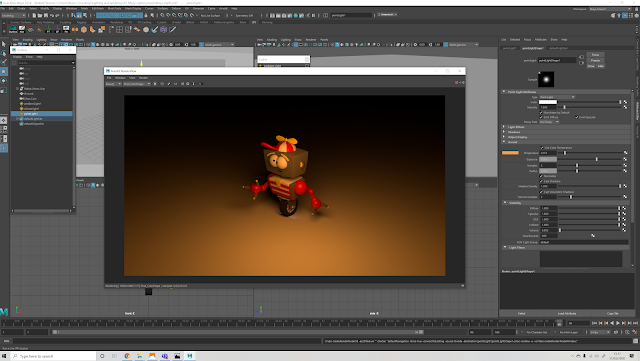 |
| Using colour Temperature - 0 is warmer |
 |
| Using Colour Temperature - 8000+ is cooler colours. |
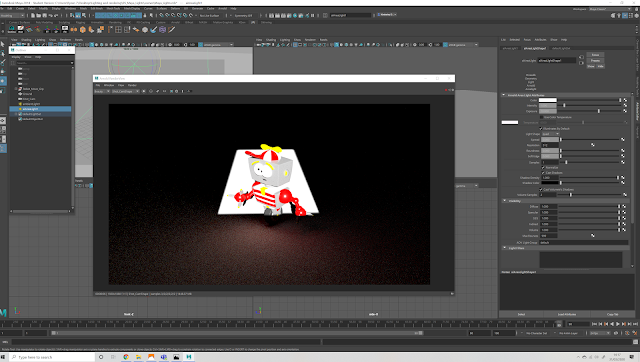
Directional Light
The place of a directional light is irrelevant, the direction is the most important. This light works like the sun, and has no fall out as it is a wall of light.
- Will give sharper shadows.
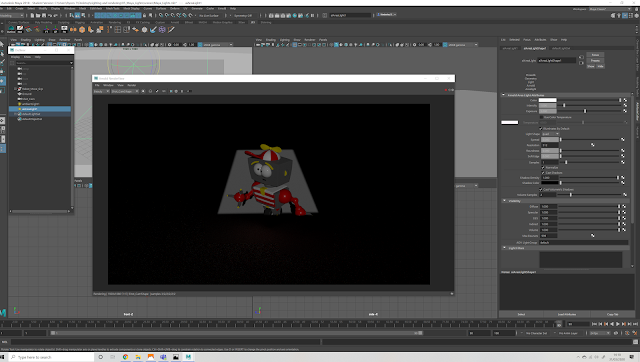
- To soften the shadow, use the angle in the Arnold menu.
- The higher the Angle, the more samples will be needed to clean up the shadows noise.
- Directional Light does not have radius, just angle.
 |
| Directional Lights |
 |
| Moving the direction and softening shadows |
Area Light
Area light does rely on it place in the Maya viewport, and scaling can make the light bigger or smaller.
- Creates fall off and softer shadows.
- Resolution sharpens shadows (but its best to keep it at 512).
- Spread makes the light spread out further from the sources, and removes shadows.
- Area light is good for creating natural lighting and studio point lighting.
 |
| Area Light - sharpened |
This spot light can be moved around by used the look though option in the panels manu, this allows for better positioning.
- Spotlights are normally the light positioned the furthest away from a object.
- Roundness - Can be turned off and made into a square instead.
- Aspect Ratio - Squashed the ratio of the light.
- Low Radius - increase the diameter size.
- Cone angle - Widens the cone the light shines from.
- Penumbra Angle - Softens the light inwards.
- Drop off - Softens the light outwards.
 |
| Spotlight - Round |
 |
| Turning off roundness |
 |
| Aspect Ratio |
 |
| Penumbra Angle |
 |
| Drop Off |
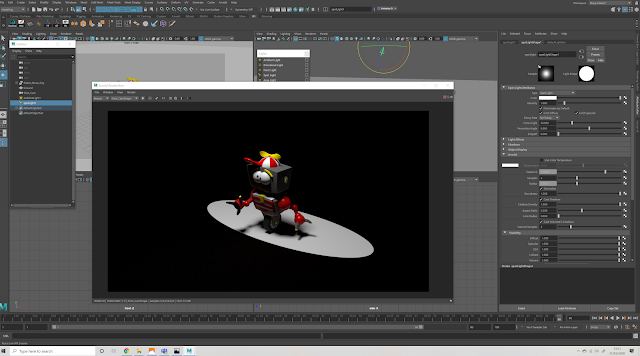
Arnold Area Light
Arnold has a lot of options that are the same as the Maya area light, except this light works a lot better in the Arnold renderer. There is also some extra areas in this light then the previous one.
- The fall off is a lot more accurate.
- The exposure is softer.
- This light can be change between a plate, quad or cylinder.
- Allows a more concentrated direction of light.
- The corners of the square can be softened.
- Softer edges makes fall out.
 |
| Area Light |
 |
| Lower Exposure |
 |
| Softened Edges |
 |
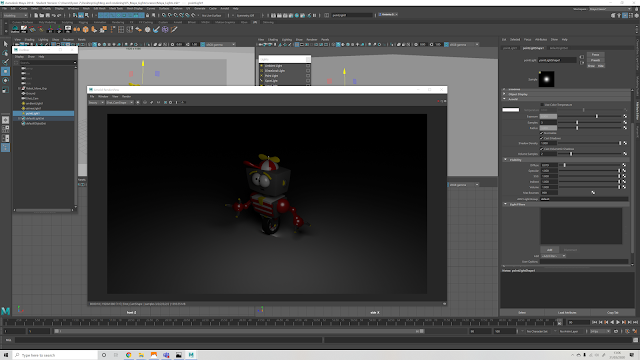
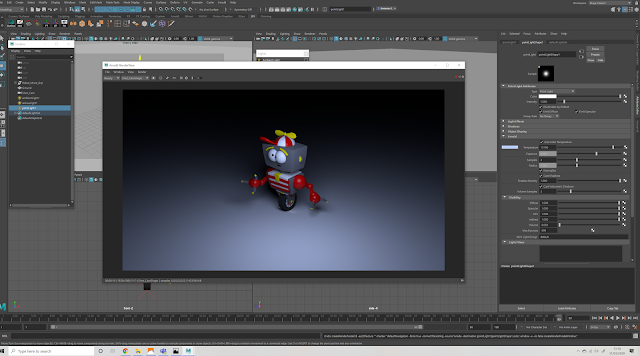
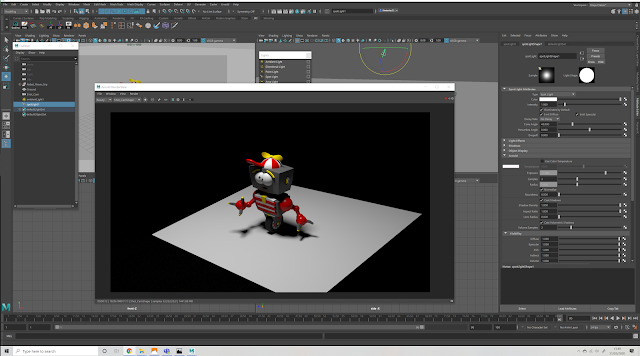
| Rendered with Point Light |


No comments:
Post a Comment
Note: Only a member of this blog may post a comment.