
Sampling and Rendering
The first tutorial of the day was to look at sampling, and how it can affect our render times. The main thing to remember is that the higher the sampling, the longer the render time will be.
 |
| Sample Scene |
Looking at our sample scene of the robot though the arnold render, there is a lot of noise in the shadows. This can come down to two things, the samples in arnold rendering, or the samples in our lighting.
 |
| Noise noted on the robot. |
 |
| Changing the light sampling. |
Sampling in light smooths out the shadows, but can increase the noise. Anything about 1 in the sampling will help to reduce noise (the average sampling is between 3-5). In this picture we used the section tool, took a render to see the noise level, and then changed the samples on both area lights to 3. When retaking the render, the shadows where much better.
 |
| Using sampling in the Arnold Render Setting |
Sampling works by subdividing and recalculating (subdividing pixels to get a better shape).
When using the Arnold Sampling, it's best to know what each one is for.
- Camera (AA) = Accuracy
- Diffuse : Colouring/ Reflections
- Specular: Glossiness
- Transmission: Transparency
- SSS: Subsurface Scattering (Skin, Marble, Etc.)
- Vol Indirect: Bounce Light ( Fog/ Atmosphere)
By turning off unneeded options, It can reduce your render time, but increasing other will bring it back up.
The camera option is alway nxn, so if you have camera set at 3 it will be 3x3 = a sampling rate of 9. Then, to gain the sample rate of each option below, the calculation works out Camera (AA)2 x N2.
Example: Camera(AA) 3 x Diffuse 2
(3x3) x (2x2)
9 x 4
= 36 Samples for Diffuse.
This calculation happens to each option underneath the camera, either increasing or decreasing the render time.
 |
| Final Render |
Ray Depth
Ray depth is the bending of light though transparent (Transmission) objects. In the example given, the glass in front was not showing the glass behind correctly, the area that should have been seen though was solid colour.
 |
| Glasses in the viewport (Wireframe) |
 |
| First render |
 |
| Turning down Transmission to 1. |
The options under the Ray Depth Menu in the Arnold Render Settings have their own way of manipulating how light bounces.
- Total = This limits the amount of rays in a scene. So, if it's set to 10, then no more then 10 rays will show.
- Diffuse = The amount of light bouncing around in a scene. The higher the valve, the more the light will bounce (too high and it will bounce off too many surfaces and will illuminate everything.
- Specular = Highlighting and Reflectiveness.
- Transmission = Transparency.
- Volume = Atmosphere/ Fluids/ Fog etc.
- Transparency Depth= Allows transmission through multiple objects.
When turning the transmission down in the glasses became solid, when bringing it back up we still had the same problem.
 |
| Changing the settings. |
So, to solve this, we increased the transmission to 12. But, we also needed to increase the Total to allow these extra rays. When looking at our normal sampling, we removed the SSS and Vol.Indirect, these was not needed. However, even with removing these, the render time was quite long due to the high samplings in the depth ray menu.
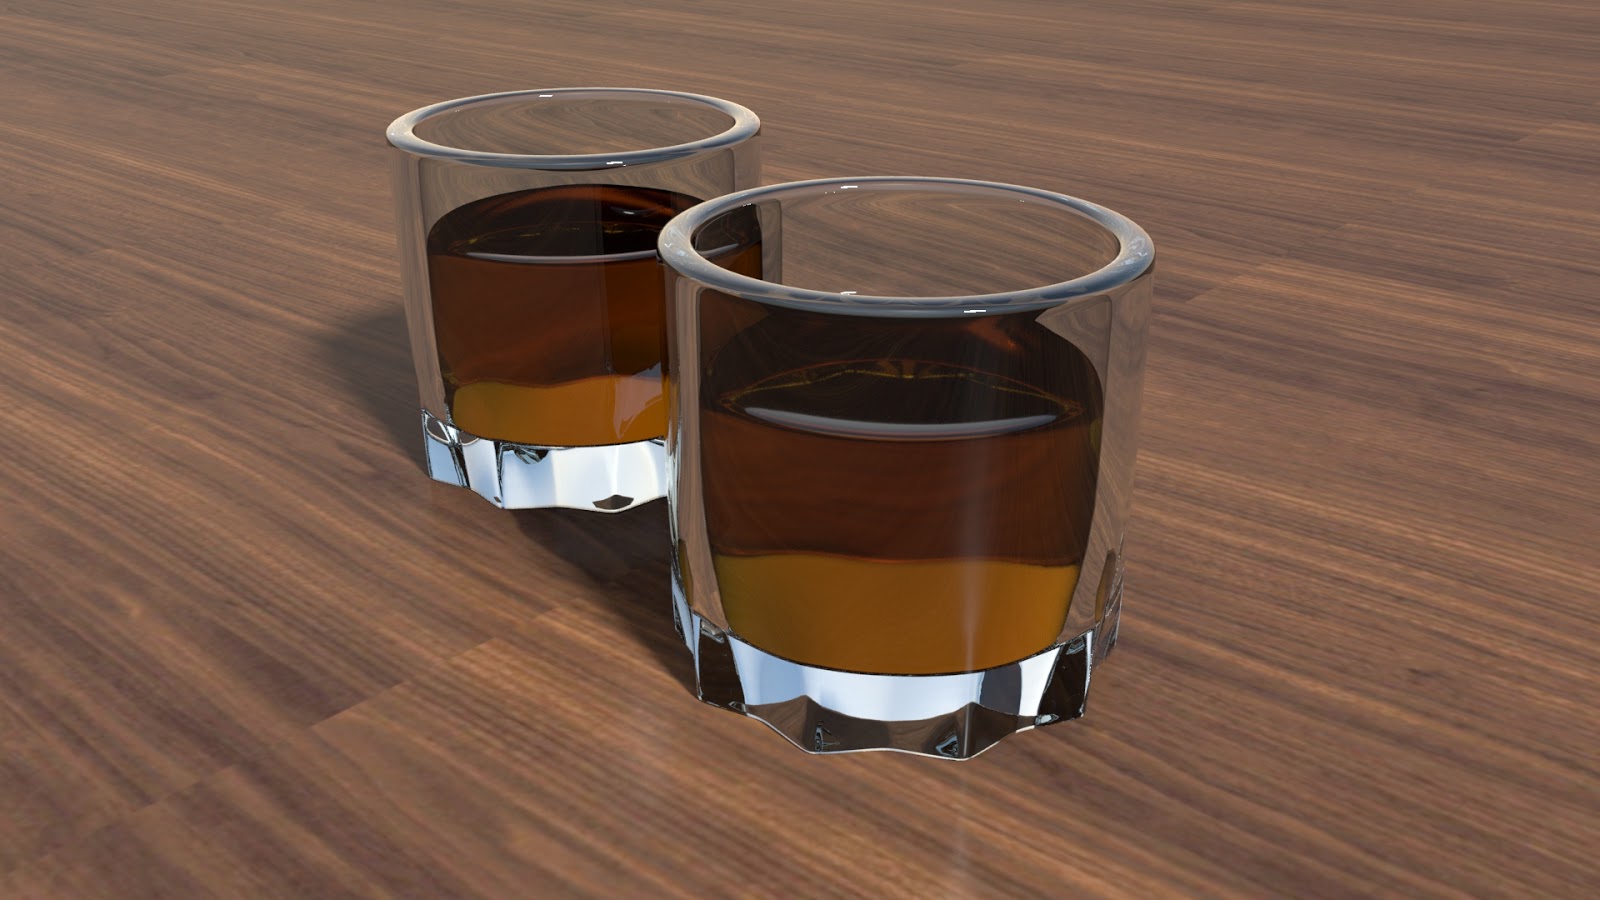 |
| Finished Render. |


No comments:
Post a Comment
Note: Only a member of this blog may post a comment.