For today lesson, we continued on where we left off for our basic rig and controls. The first point was to create a foot roll, this isn't done with the connection editor, but rather an animation.
Firstly we opened up our outline and looked for the left and right roll groups of the left foot, then we went in to the key menu via the animation sub group, and place these as our driven attributes. Whilst holding shift, we went into the view port and selected the left foot Ctrl. The values then appear into the driven port, by selecting all of the driven and drivers, it opens up all the attribute in the box opposite.
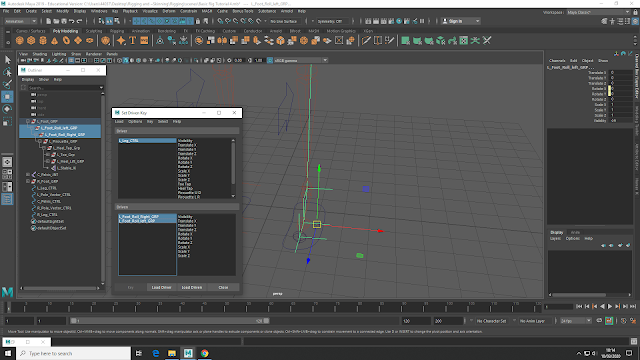 |
| Placing everything in the Key windows |
We then selected the
foot roll group in the driver and the
Rotate X in the driven, pressing key to make a connection (this key isn't like a key frame in the timeline, its a invisible connection)
After this, we go the the Foot Roll in the attributes menu and place it at 30, this sets a bounder for how far the foot rolls and not popping the joints.
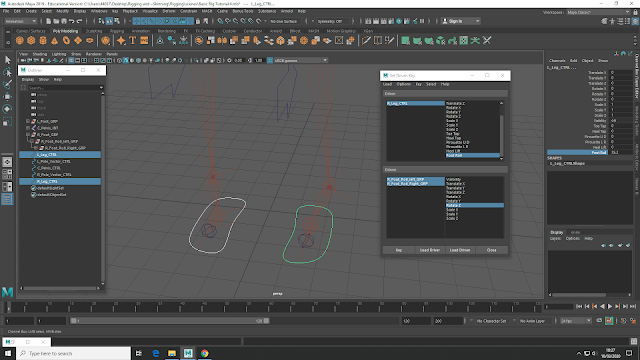 |
| The foot rolls working together in opposite directions |
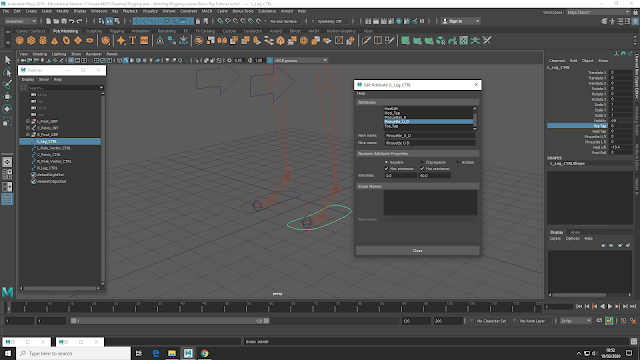
So now we have all the connections made, it's time to lock down the other attribute of our other controls in the foot.
This is done selecting the attribute wanted first, then going into edit attributes, making sure its selected and the key-able option is on. Then we place the correct positive/negative numbers needed in the max and min boxes. This places a limit on how far the joints can move.
 |
| Add caption |
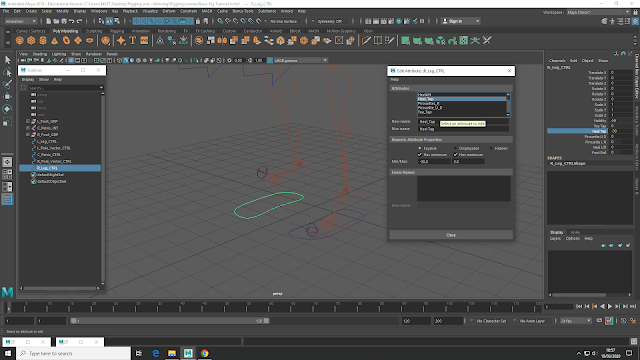 |
| Placing the key-able limits in the attribute editor |
moving on to place the spine, this was done firstly by creating 4 new joints. Starting from adding another joint over the pelvis, 3 more joints was created in a line upwards. (these are in a upwards hierarchy chain of child to parent).
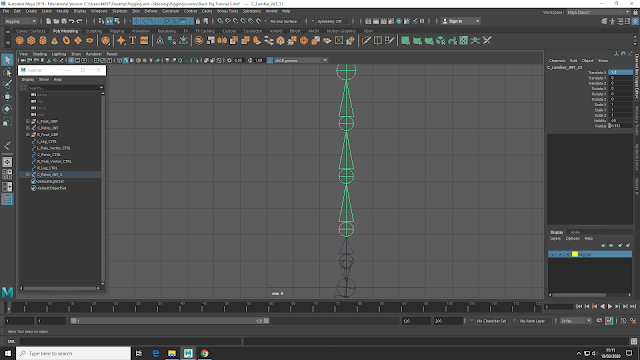 |
| Placing the joins 2 paces each |
 |
| Changing bone lengths |
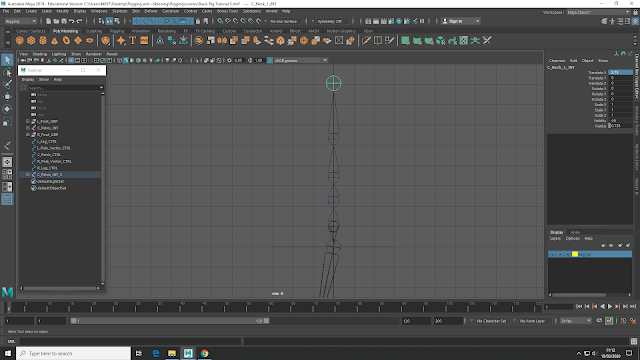
The spine joints are then named correctly depending on the placement (C_Lumbar, chest and neck), and the bones made shorter/ longer depending on what is needed.
We then make 4 NURB controls for each of these joint, resizing and rotating 90 degrees to be parallel (Rotate Z) to the joints.
The pivot point was then moved to the joints using D + V keys, then selecting the joints and the control opposite, we create another parent.
 |
| Parenting the control together, the one above to the one below. |
Starting from the top control, we work our way down to make a parent hierarchy. These will all work together to make a flexible spine.
 |
| A flexible spine |
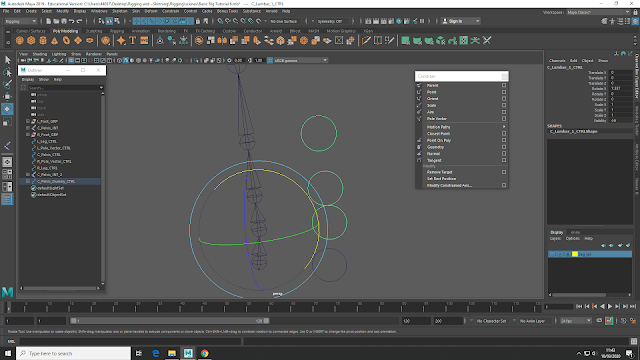
To replace the dummy circle, we make a cog shaped control. This COG is a representation of the center of gravity. But, firstly we have to change the number of vertex so to be able create the cog shape.
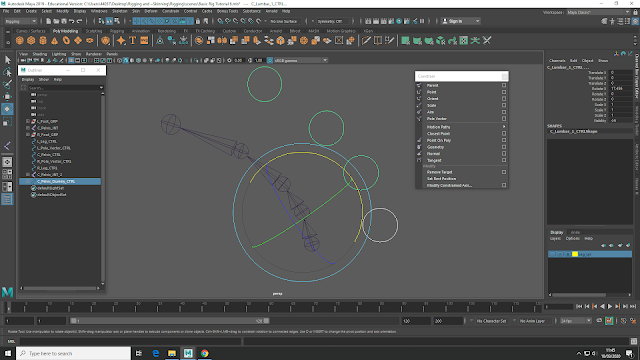
Going into the model sub menu, then into curves, we chose rebuild and increase the number of vertexes. Clicking on every other vertex, we scale inwards to bring out the cog shape.
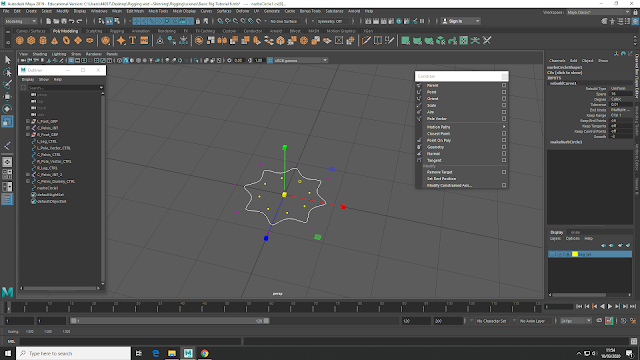 |
| Bring in COG shape |
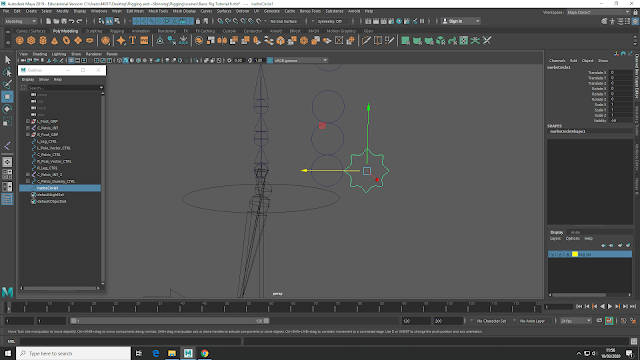 |
| Placing the COG just behind the dummy circle |
So to get our model to work together as a whole, there need to be a parenting chain between the pelvis, spine and the controls. Firstly selecting the dummy circle, then the pelvis and then the COG, we press P (shortcut for parent). Using this order creates the correct parenting chain, and we can use it to control the whole structure with just the COG.
Its then a case of hiding the dummy control, but we can't remove it as it an important part of the chain. So, we select all the vertex for the circle, then shrink it down very small and move it to the joint of the pelvis. This stops any accidental selection of the dummy.
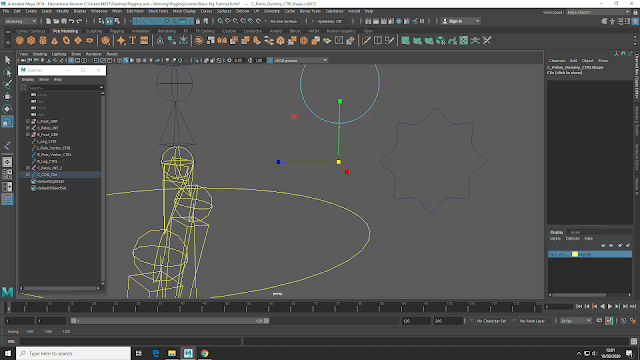 |
| Shrinking the Dummy control |
 |
| Moving to the pelvis joint |
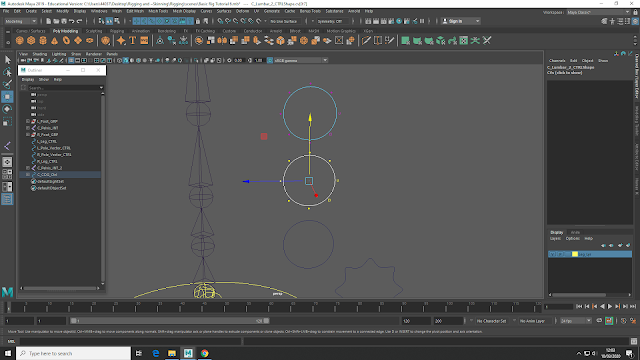 |
| Spacing out the control evenly |
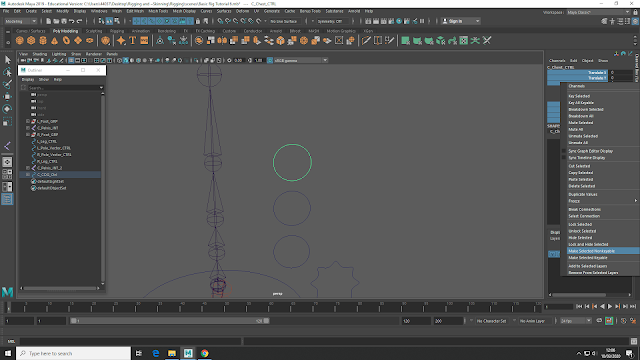 |
| Locking and hiding attributes |
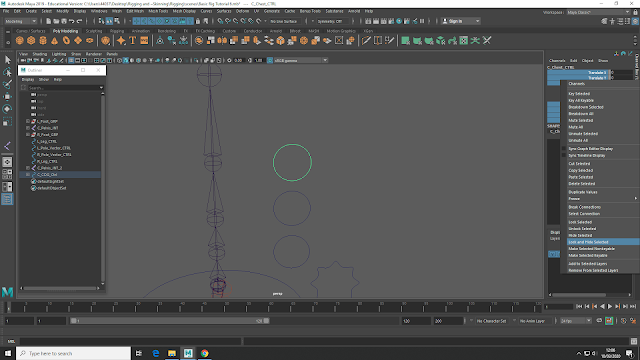 |
| Removing unneeded attributes from the controls |
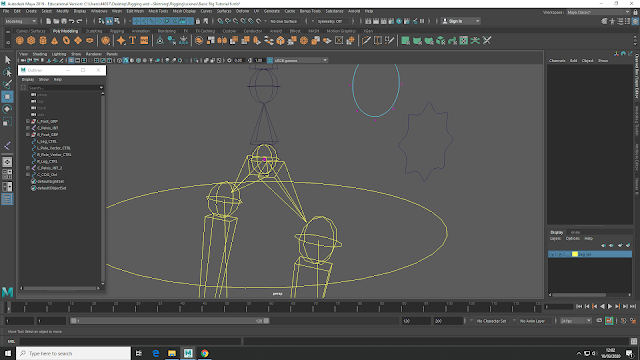
As we have all the control we need, anything that is going to cause a problem will have to be hidden. This is mainly the scales. To hide these, we shift select the scale attributes, then place them as un-key-able. Then we choose the lock and hide options, this stop them from being able to be selected and changed.
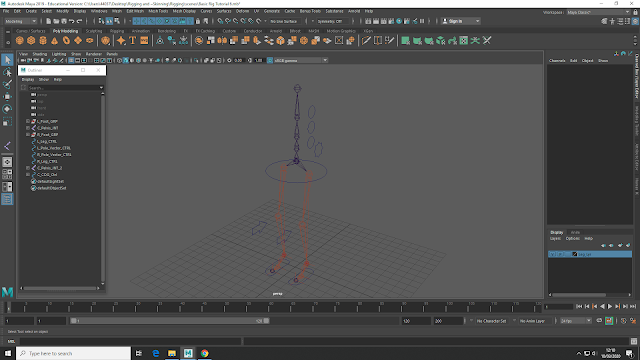 |
| The finished spine and legs. |
Now these parts are complete, its time to think about the arms and head.


No comments:
Post a Comment
Note: Only a member of this blog may post a comment.