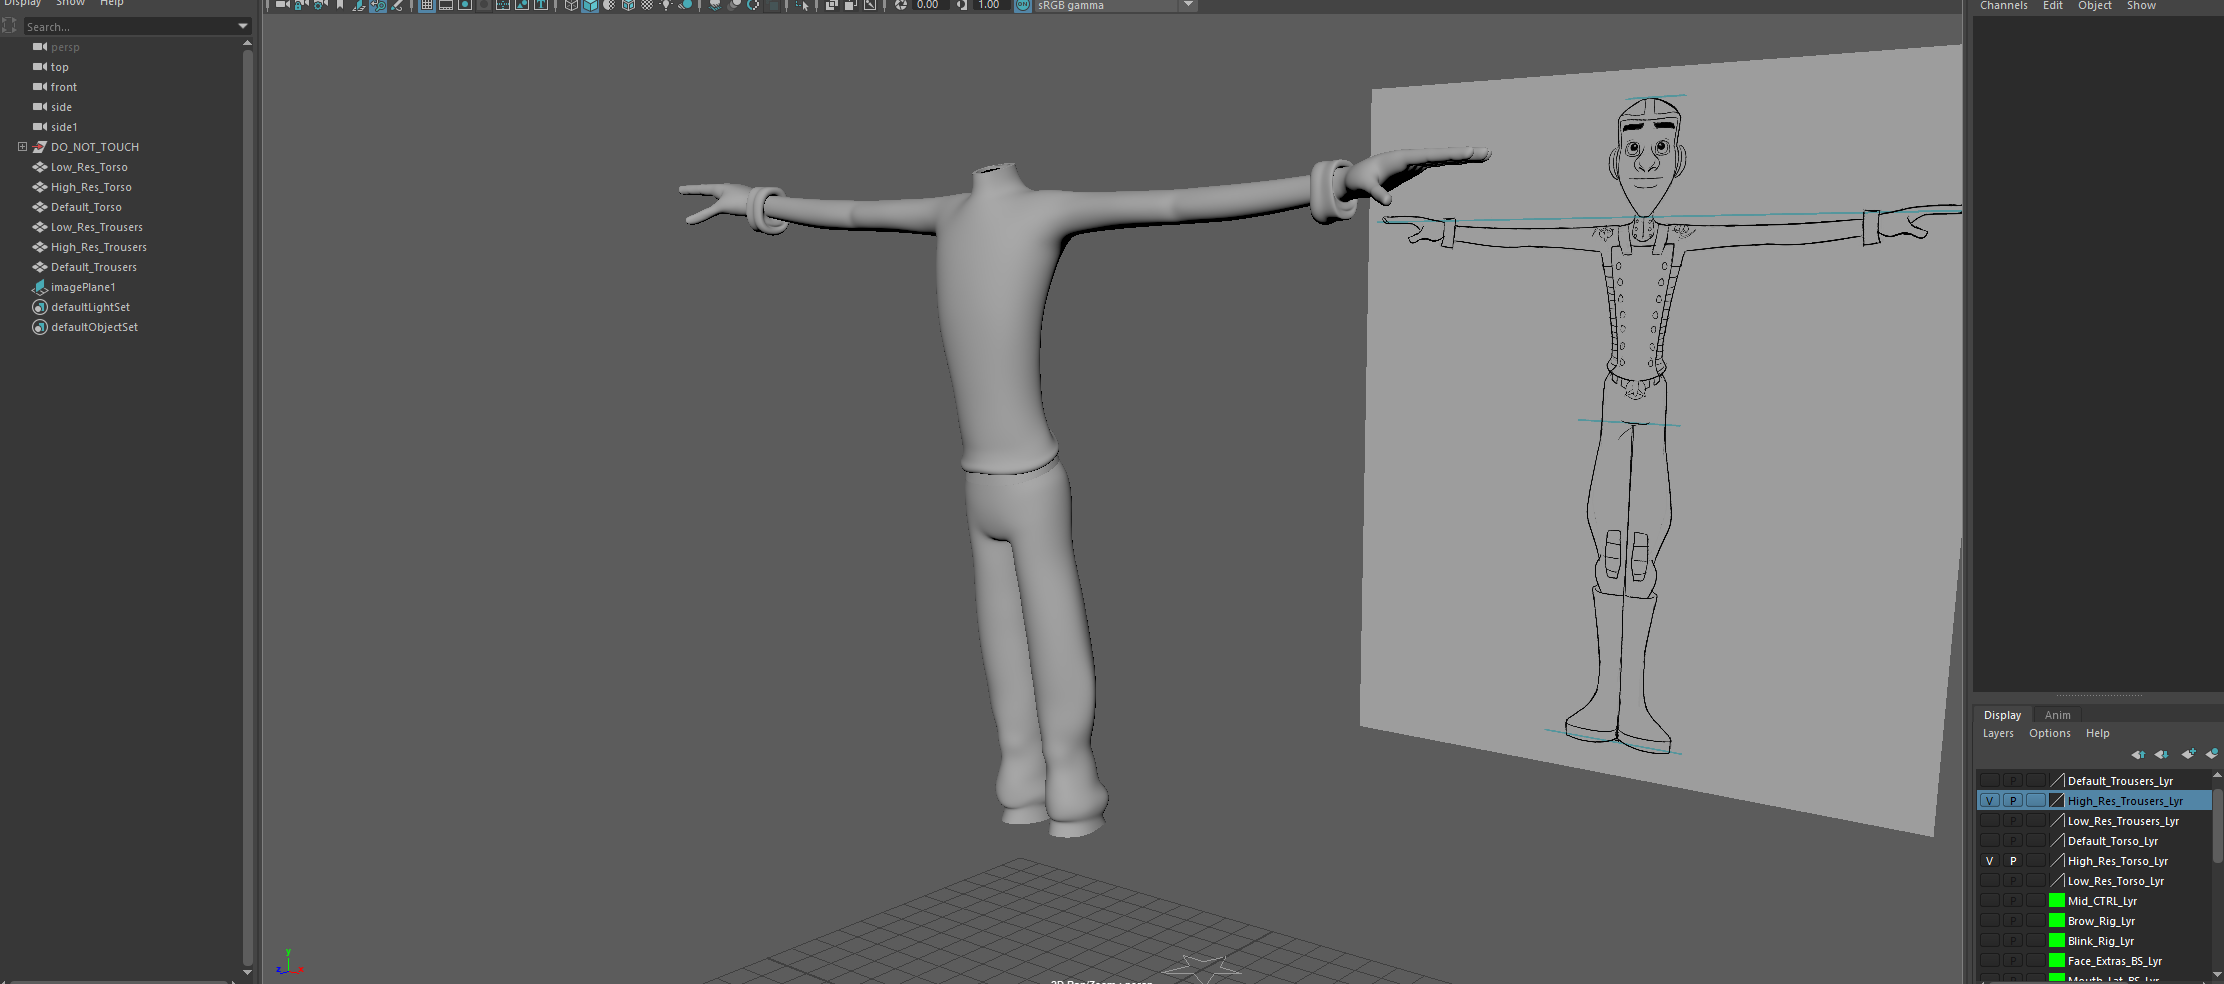
Making 3 new duplicates of the torso/trousers, one was named as default, hi-res and low-res. The front and back orthographics was then imported into the scene so we can switch between them when needed.
 |
| Duplicated Torso and Trousers for the High-res |
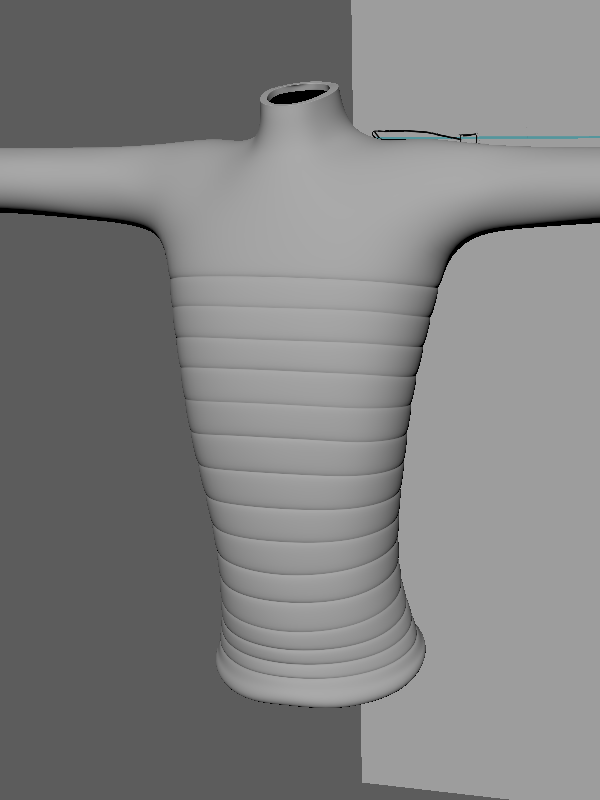
Cleaning up the model first to make sure everything is aligned, the first part for the hi-res model was the create the chest piece. Selecting all the edges up the torso and beveling, the settings was changed to a fraction of 0.3 and a segment of two. The middle edges was then brought inwards to create the divots of the straps and the history removed.
 |
| Added Bevels |
Making another duplicate of the original model (and cutting it in half), areas was then removed as seen in the orthographic to make the front chest plate. The edges and vertices was slightly altered to fit the design, mirrored and then the geometry brought forward to sit just in front of the high-res model. The normals was used to expand it rather then just bring it forward
To finish the front plate, the outside edge was extruded back till it just past the hi-res geometry and the offset used to create a angle. (Normal maps need to have angles more the 90 degree to be notable). To stop the collapse, the corners and front edges was bevelled again with a segment of 2 and the n-gon subdivide on. (Deleting History again).
Finished Front Chest Guard
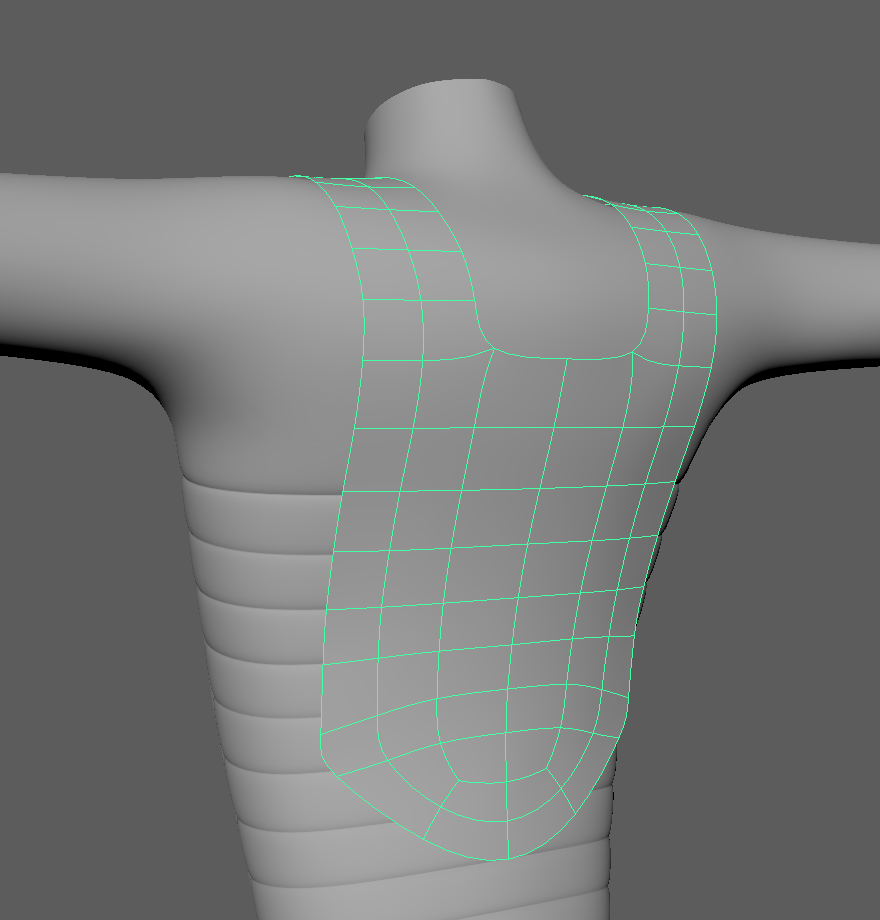
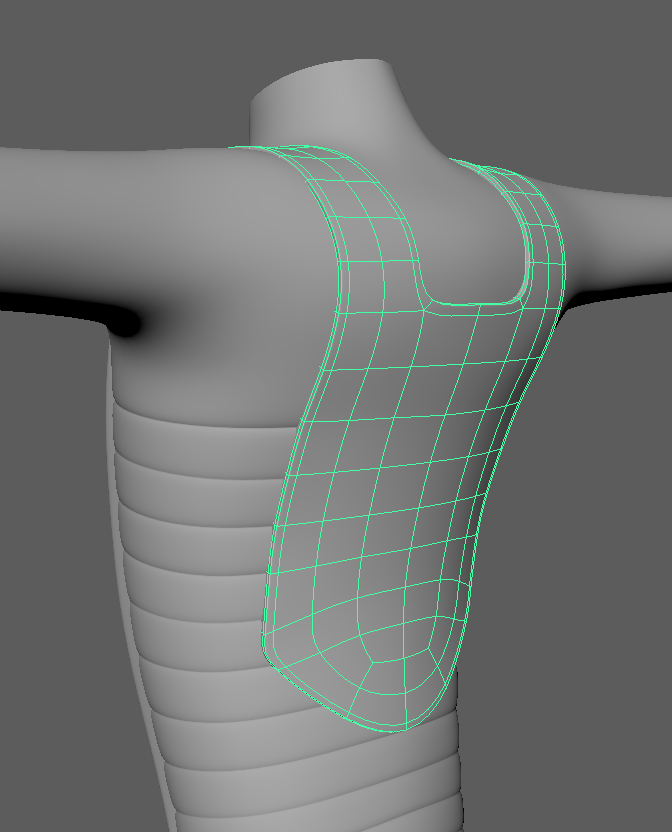
As with the front panel, another duplicate of the original torso was made (halving again) and areas was deleted as via the orthographic to creating main base of the back chest piece. The multicut tool was used to create the main outline and the point at the bottom. Following this, more edges was added with the multi-cut tool, repositioned and the triangles removed. Edges was then selected and brought out just above the hi-res model geometry.
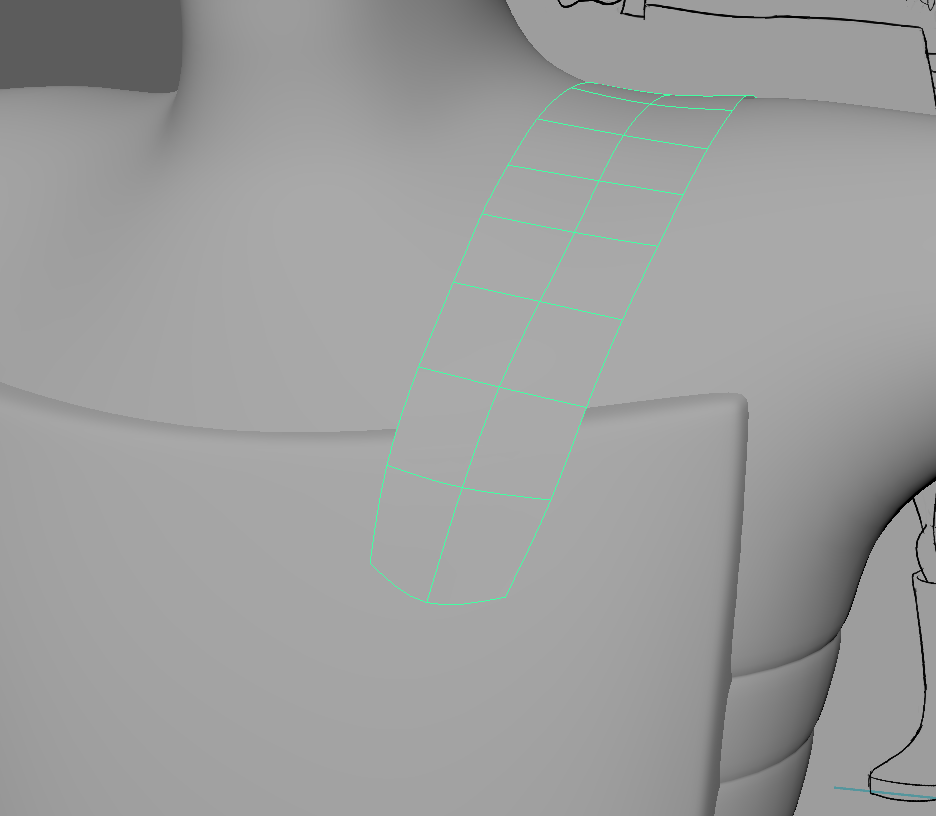
Mirroring the back piece, the normals was used again to bring it out and slightly expand it. Removing half of the panel again, two edges was extended to meet with the front panel. Edge loops was then added along the strap and repositioned to create a strap around the shoulder.
The front of the strap was moved and altered to match the orthographics a bit more. After mirroring, the outermost edge was then extruded inwards and angled slightly. As with the front part, a bevel was applied to stop the model collapsing (making sure sub-divide N-gons is on).
 |
| Front Strap |
 |
| Mirrored Back Part |
 |
| Bevel and Angling Applied |
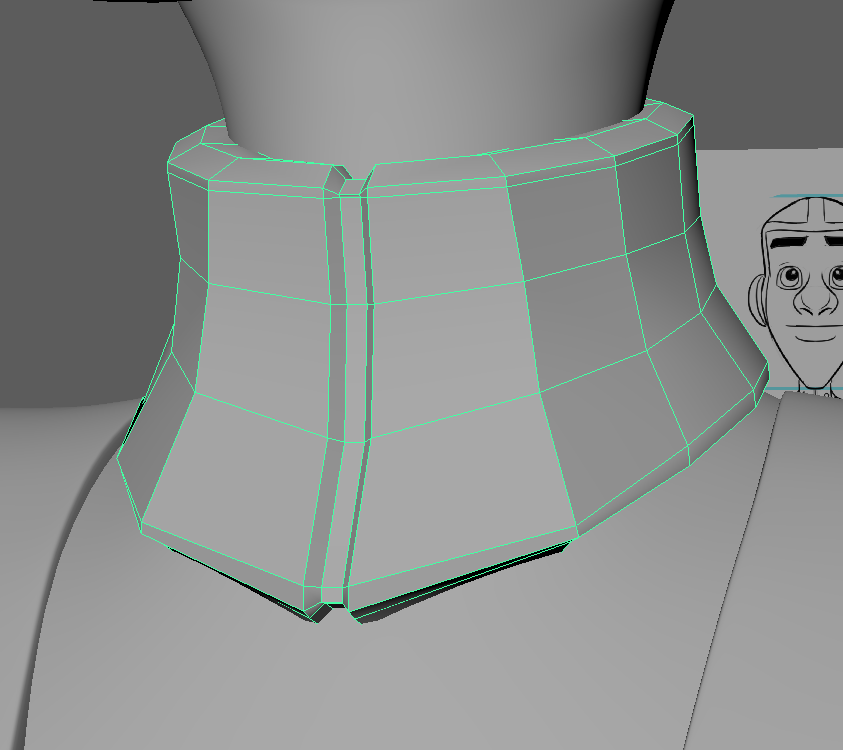
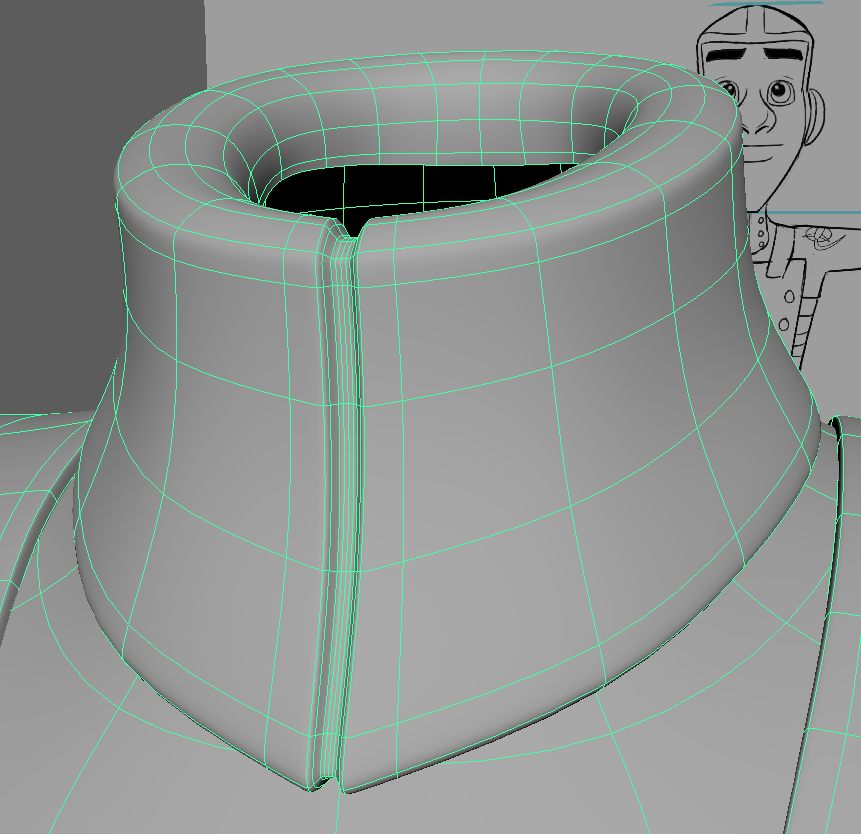
A final copy of the original chest geometry was made and the geometry removed apart from around the neck to make the collar. The normals was used again to bring it out and the bottom edge was extrude inwards, using the offset to bring it downwards. Another bevel was applied to the edge before going into the chest but the fraction kept bigger for a smoother effect.
A bevel was place on the middle edge of the collar (front) and then extruded inwards so to create another divot. Removing half the model, some edge loops was placed to give a little definition around the divot and then mirrored.
 |
| Collar Unsmoothed |
 |
| Collar Finished |
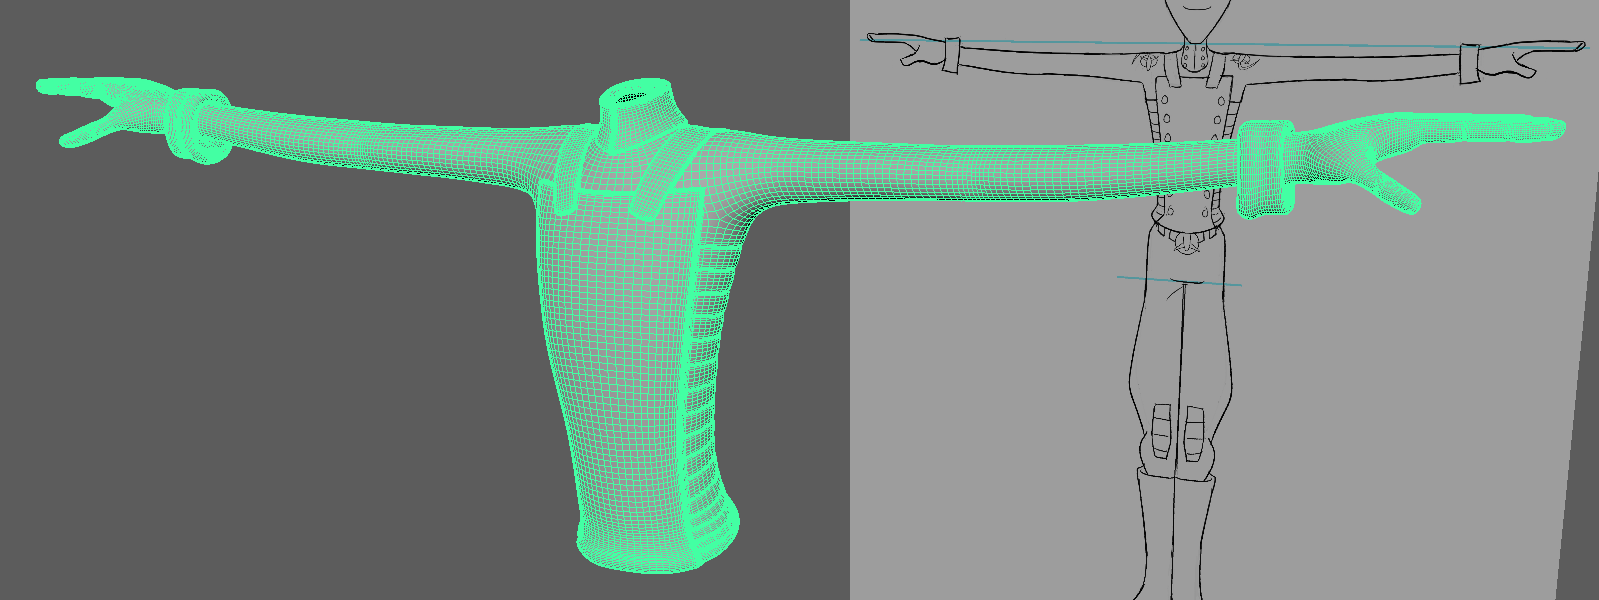
Combining everything together (and removing the history and removing the extra nodes in the outliner), both the hi and low-res models are smoothed. Making sure the model is in the unsmoothed option and going to teh smooth options, wee ned the following setting to make sure the UV also smooth correctly : Divisions 2, legacy: map borders "smooth all", legacy on and to turn off preserve geometry/section borders.
Using these options means the uv borders also smooth with models. The model can now be used to bake the normal maps.
 |
| Smoothed Torso |


No comments:
Post a Comment
Note: Only a member of this blog may post a comment.