
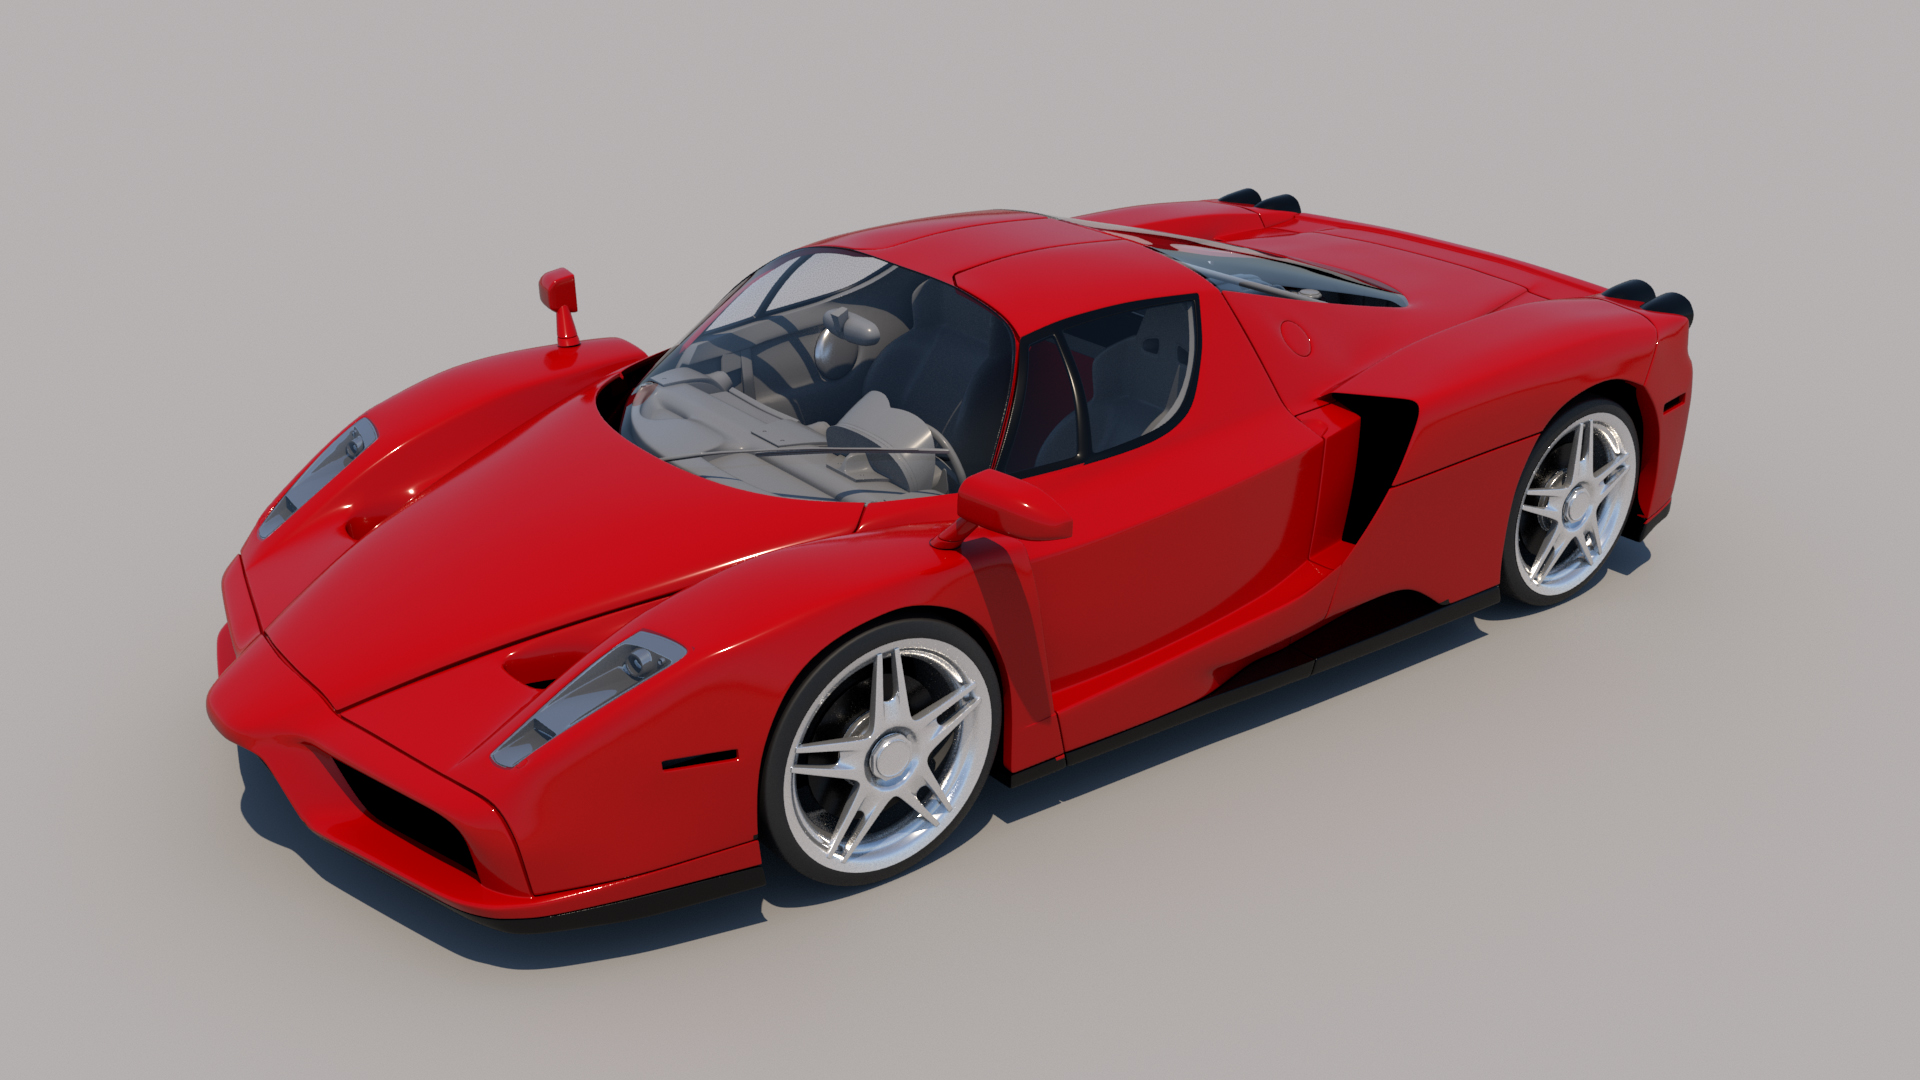
The Ambient occlusion arnold shader removes the perfect digital look that can come from Maya, adding realisting shadowing by increasing the decay of light in the proximity of objects. To demonstrate this, we was provided with a model of a car to follow along to the tutorial with.
 |
| Normal Shaders |
Something to note is the Beauty pass has already been rendered using a Arnold Skydome, removed and then saved. So, when we first rendered the car there is no lights in the scene. Firstly we selected all the objects in the scene including the ground, and apply a aiAmbient Occlusion shader.
 |
| Added aiAmbient Occlusion |
Once this has been added, there are a few things to change:
- Samples are best ranging between 3 and 6, this will reduce noise.
- Spread is the occlusion spread from the camera.
- Fall off is the sharpening and softening of the occlusion. 1 is very sharp, 0 is soft.
- Near clip is how close the ambient occlusion is to the camera
- Far clip is how far away it is in the distance.
- Black and White changes the colour of the ambient occlusion.
It's important to note that far and near clip is best for getting the correct lighting in enclosed spaces, and should range from 0 - 100.
As the car has glass, by selecting everything we have blocked out the interior details. So placing the glass on a layer and hiding it, we can render it with the new settings applied and export it into photoshop along with the beauty pass.
Passes should be exported as a 32bit EXR file.
 |
| Rendered Without Glass |
Taking both images (Beauty and Ambient Occlusion) into photoshop, when prompted its best to place the transparency as a alpha channel. Then by selecting the Ambient Occlusion layer, we can paste it over the top of the Beauty pass and make it into a multiply layer to bring down its transparency layer. Before that, on the beauty can can use layers to bring the brightness up, this will stop the multiply from darkening too much. Once completed, we can change the EXR file to a .jpeg by going into the image menu and choosing the 8 bit channel. Set the image to exposure and gemmer so to not loose details, and save out.
 |
| Photoshop Levels |
 |
| Final Image |


No comments:
Post a Comment
Note: Only a member of this blog may post a comment.