
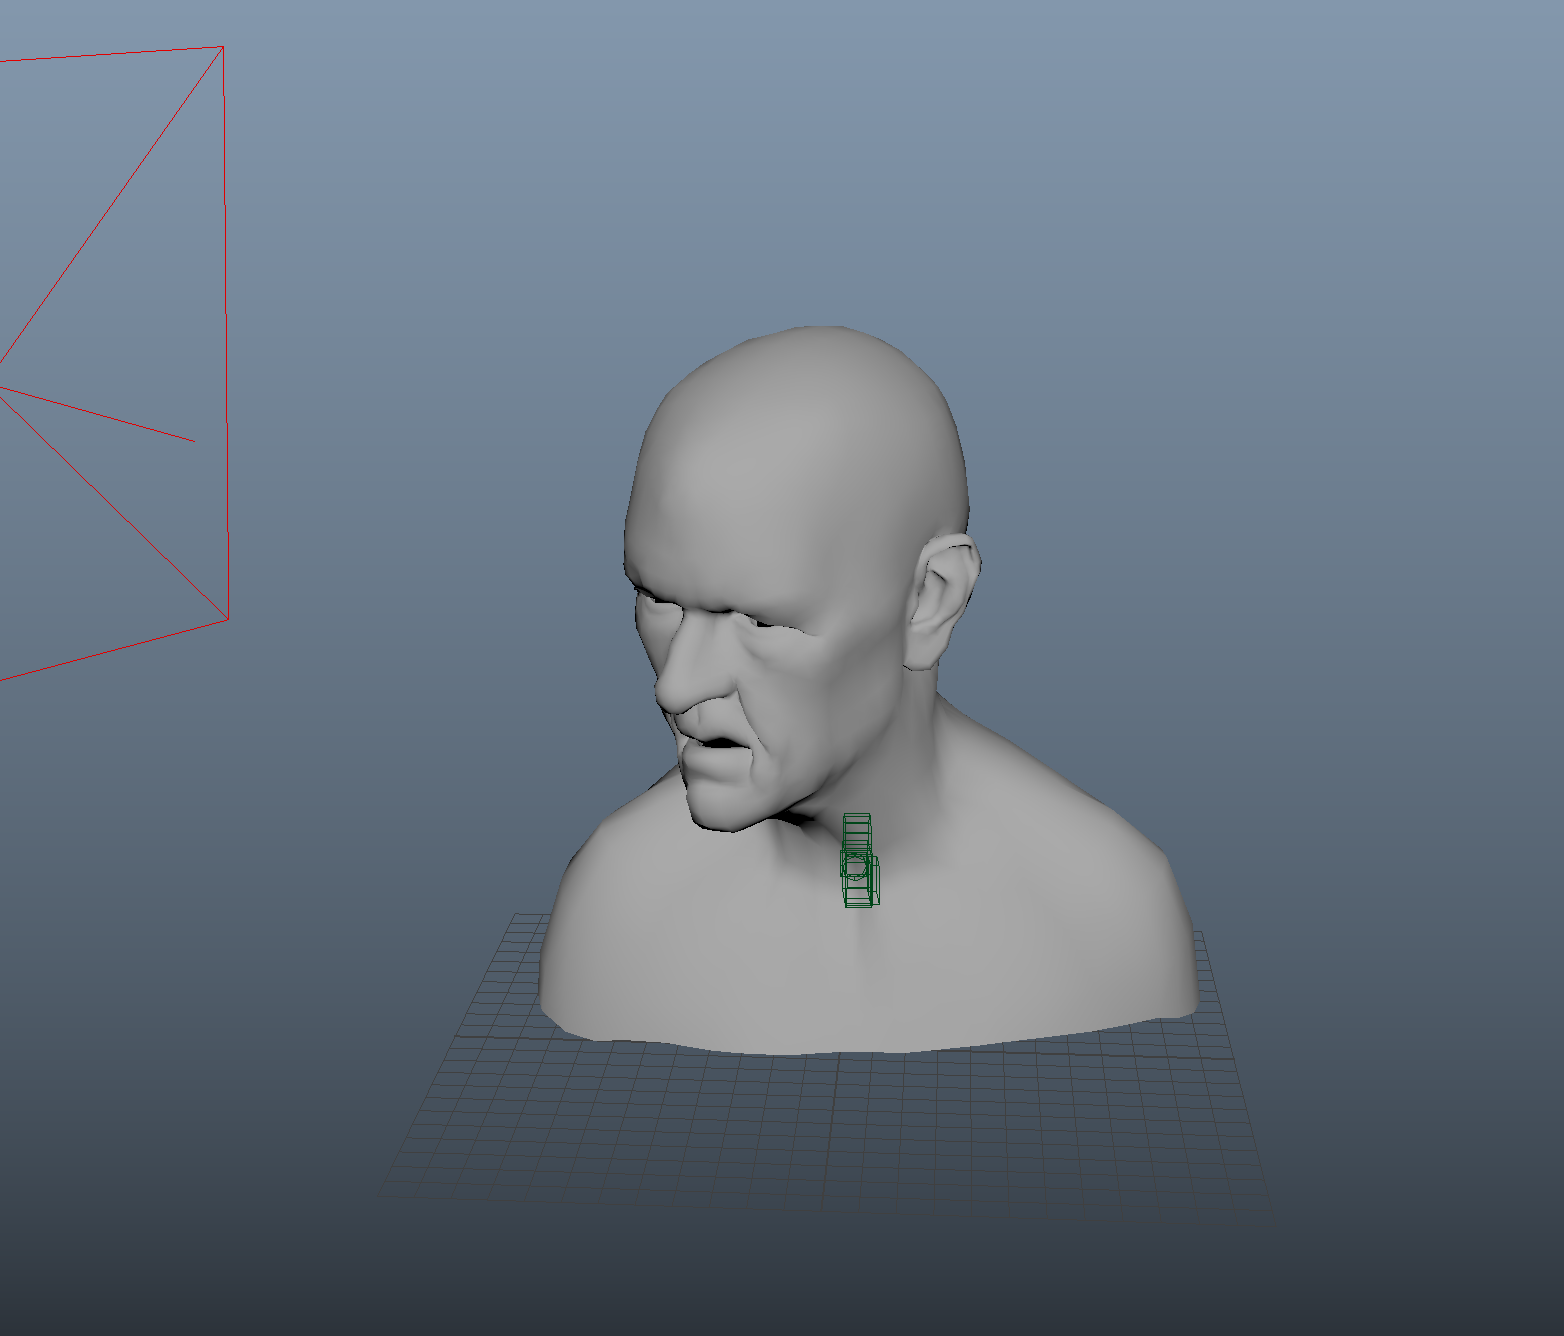
To start with our provided character is in a low resolution form. We need to give the charter a new shader, so we will use the Arnold aiStanderSuface shader. Under the attributes, we set the Arnold subdivisions to CatClark, and the Iteration to 2 (2 is the standard practice in Arnold).
To give this character better realism, we will need to use 6 maps;
- Diffuse: The outer layer of the skin.
- Scatter: Inner layers of blood and flesh.
- Weight: The amount of subsurface scattering present, darker areas are pulled in (lighter ones more pushed out).
- Secular: Amount of light reflecting from the surface.
- Normals: Smaller details on the skin.
- Displacement: The push and pull of the skin folds.
1. To start with, we bring in the Diffuse map. This is done via the Surface Shader base colour box. Then in the hypershade, we rename the newly made nodes as Diffuse_.
*we noted a mark on the forehead, this is down to the UV map smoothing. To change this, we go to the shape node and change the UV smoothing from pin corners to UV smoothing. This will smooth all the uv's present*
Following this, we go back the the material node (Head_ss) and place the Diffuse node into the subsurface colour box. This means the diffuse map is now in two places, but as both on full power it gives the skin a washed out effect to the skin. The subsurface and base blends together, bringing down the subsurface weight to 0.5 reduces the washout.
2. The next map is scattering, which is placed into the subsurface radius box. Turning off the filter node will gives a sharper image. When light enters the subsurface, the radius image return the value of the image selected though the surface, giving the impression of blood and other layers of skin. *nodes should be named Scatter_*.
3. The weight maps needs to be brought into the subsurface weight box, this will complete the blending between the base and the subsurface attributes. *Nodes should be labeled as Weight_*.
4. The speculator map is required next. Firstly, we bring up the original spectacular weight to 1 and bring in the map via the checker. Some changes will be need to be made as high speculator will appear very shiny. Bringing down the colour channel and bringing up the roughness will give the surface appearance as required. (Mid-grey and 0.4). * Nodes should be named as Spec_*
5. Normal Maps will be placed in the geometry section of the aiStandardSurface. Under the Bump map node, change the Use As to Tangent Normals, then turn off the filter. (Normal maps cheat the perspectives of the camera to make details appear that are not there. *Name the nodes as Normals_*.
When in the render view, the spectacular and normal details are not overly notable,. To improve this, we change the colour space in the normals maps to Raw. Making sure the Ignore Colour Space File Rule is turned on so Maya doesn't try to convert back to RGB. Bring up spectacular as desired.
6. Lastly is the Displacement map, this is done from the shading node. Under the Standard Surface, place the file pathway into the Displacement Mat option. Rename the nodes to Displacement, and close down the render view.
 |
| Required Node Set-up |
We change the Iterations to 3, creating a more dense map. Under the Displacement attribute, make sure the height is 1 and the same is in the Displacement shader. Also, we need to make sure that auto bumping is turned off in both areas. Finally bring in the Displacement map.
When rendering at this point, the character will look like a blob! this is normal and some settings need to be changed*

Under the Displacement shader, we turn back on Auto-bumping, and in the character shape node we reduce the height in the displacement attributes to 0.010. Afterwards re-rendering the scene and changing the height as needed.
When ready to render, bring back the resolution to 100% and change the settings in the Arnold render to;
SSS to 3.
Transparency to 3.
Camera to 4.
Speculator to 3.
Diffuse to 3.
Although mainly complete, there are some areas that can be improved in Maya without needing to jump into Photoshop. This will involve using two new shaders in the hypershade, and linking them in. Under the Hypershade, we go into utilities and chose both the remap colour node and remap HSV node (Hue,Shade and Value). By connecting these in, we can do the required changes here.
Finally, we create a beauty_pass EXP image and a ambient_occlusion. Placing them both into Photoshop, we can merge them together. By keep the transparency on the ambient occlusion, we change it to become a multiple layer and place it over the beauty_pass. This brings out the shadows more and gives that extra detail of realism.
 |
| Finished Render |


No comments:
Post a Comment
Note: Only a member of this blog may post a comment.