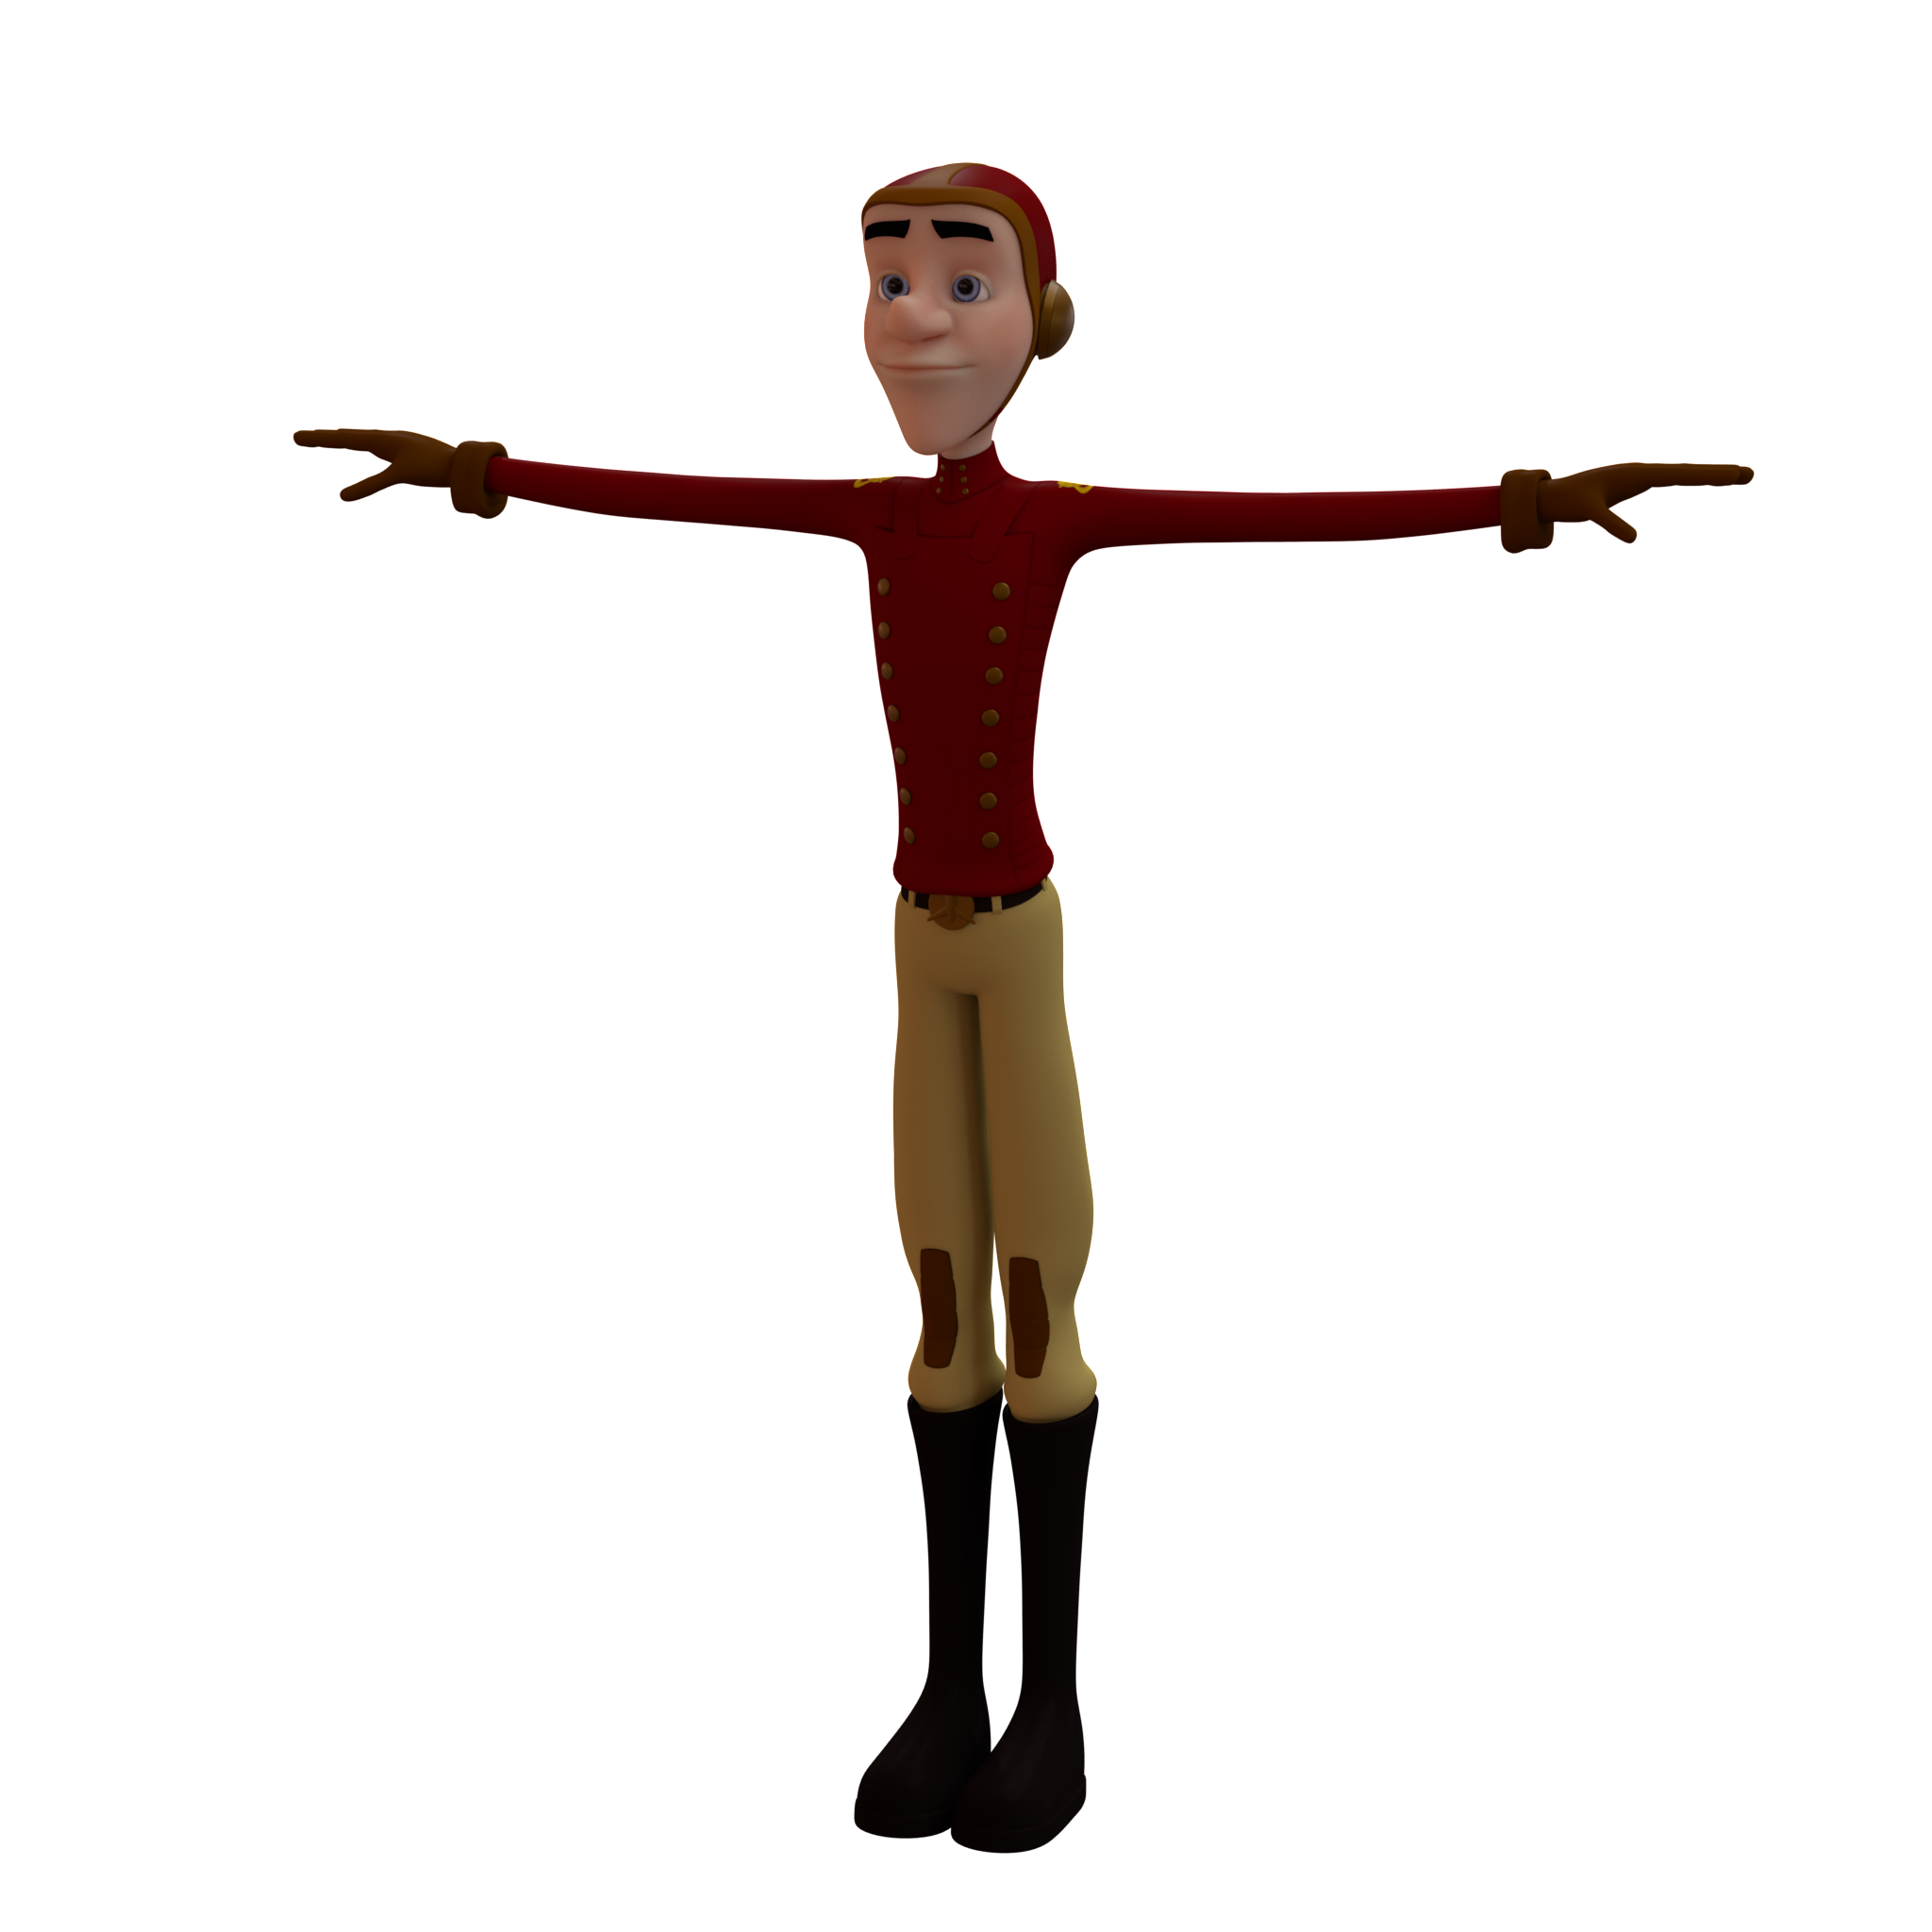
With the body "hi and low res models" exported out, ambient occlusion maps was baked via the Xnormals programs. Once exported out as a tiff, the AO map was then placed over the top of the diffuse maps (for both the body and legs) and all the areas around the hands was eased.
The AO map was reduced down enough to be visible but not enough to be overpowering.
Following the same steps for the head, the body and legs was duplicated again. These was then combined with the correct components and a lambert material applied, making sure to export in the non- smoothed mode.
Working on the torso first in Mud Box, another silicone material was added and double smoothing was applied to the torso/buttons. Changing the light strength to 1, a chrome material was added to the buttons. This was changed to a golden colour and the refection reduced to a matt.
Locking the buttons, the diffuse texture was brought in to a new paint layer. Adding a new layer, the original texturing was tidied up with the base colour being painted over top (removing any dirty marks from the AO map).
Some shading was made behind the buttons to help them stand out more, also the badge was applied.
Once repeat for the trousers and the smaller details placed on the skull cap, the maps was then transferred back in to Maya and rendered to give the final outcome. Following this, the scene was cleaned up ready to create the "turnaround".
 |
| Final Render |
 |


No comments:
Post a Comment
Note: Only a member of this blog may post a comment.