Before doing any rigging, a little clean up is required. In the outliner, we place all the Post-Space Deformers (Corrective Blend Shapes) into a group and call it PSD_Bshapes_Grp. The Skeleton will need to be placed into several groups. Selecting the ribbon spine locator group and the upper/lower body joints groups, these are placed into a new group and called skeleton_grp. The Misc group also needs to go into its own group, again being named as Misc_Grp. The geometry groups are to be grouped together and renamed as Geo_Grp. All the head objects (ears, Skullcap, etc) is in the skeleton group at present due to the parenting.
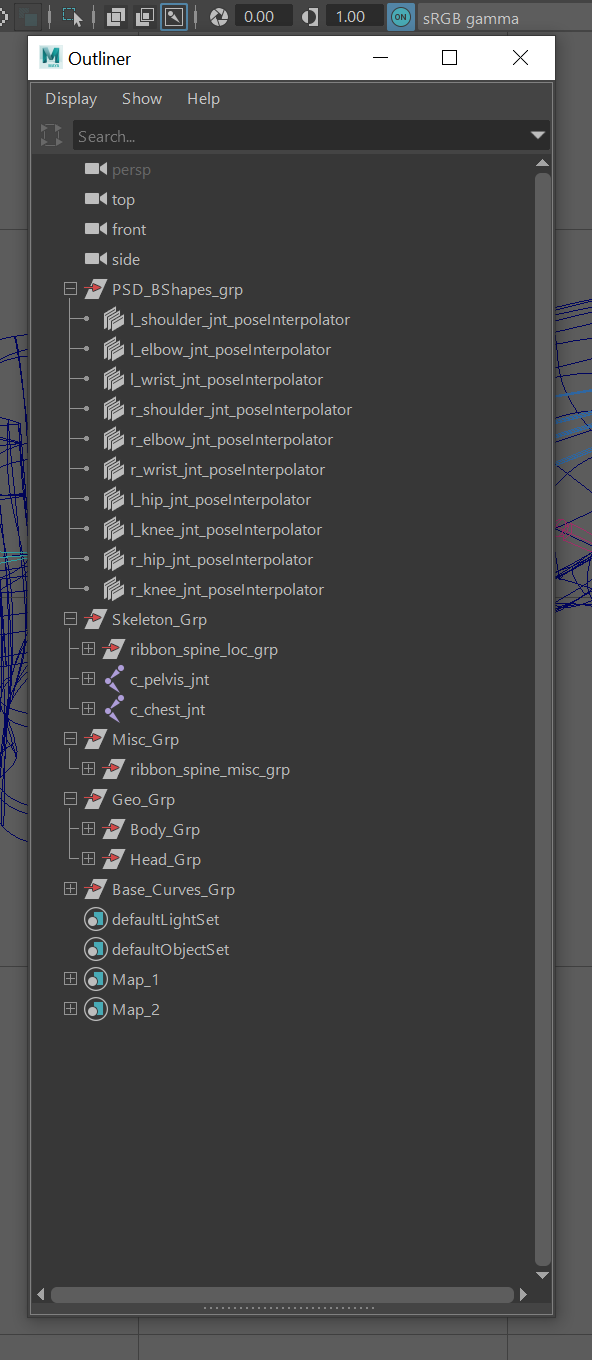 |
| Clean Outliner |
After this, we remove the colour layers from the layer menu and then hide the Misc_grp so the locators don't obscure our view. With this done, we just check that everything is named correctly and all the allocated layers are working.
For the rigging controls, we import some specially created nurbs, making sure that "Merge selected name space" is on when importing them into the scene. This stop loads of long names being utilised in scenes.
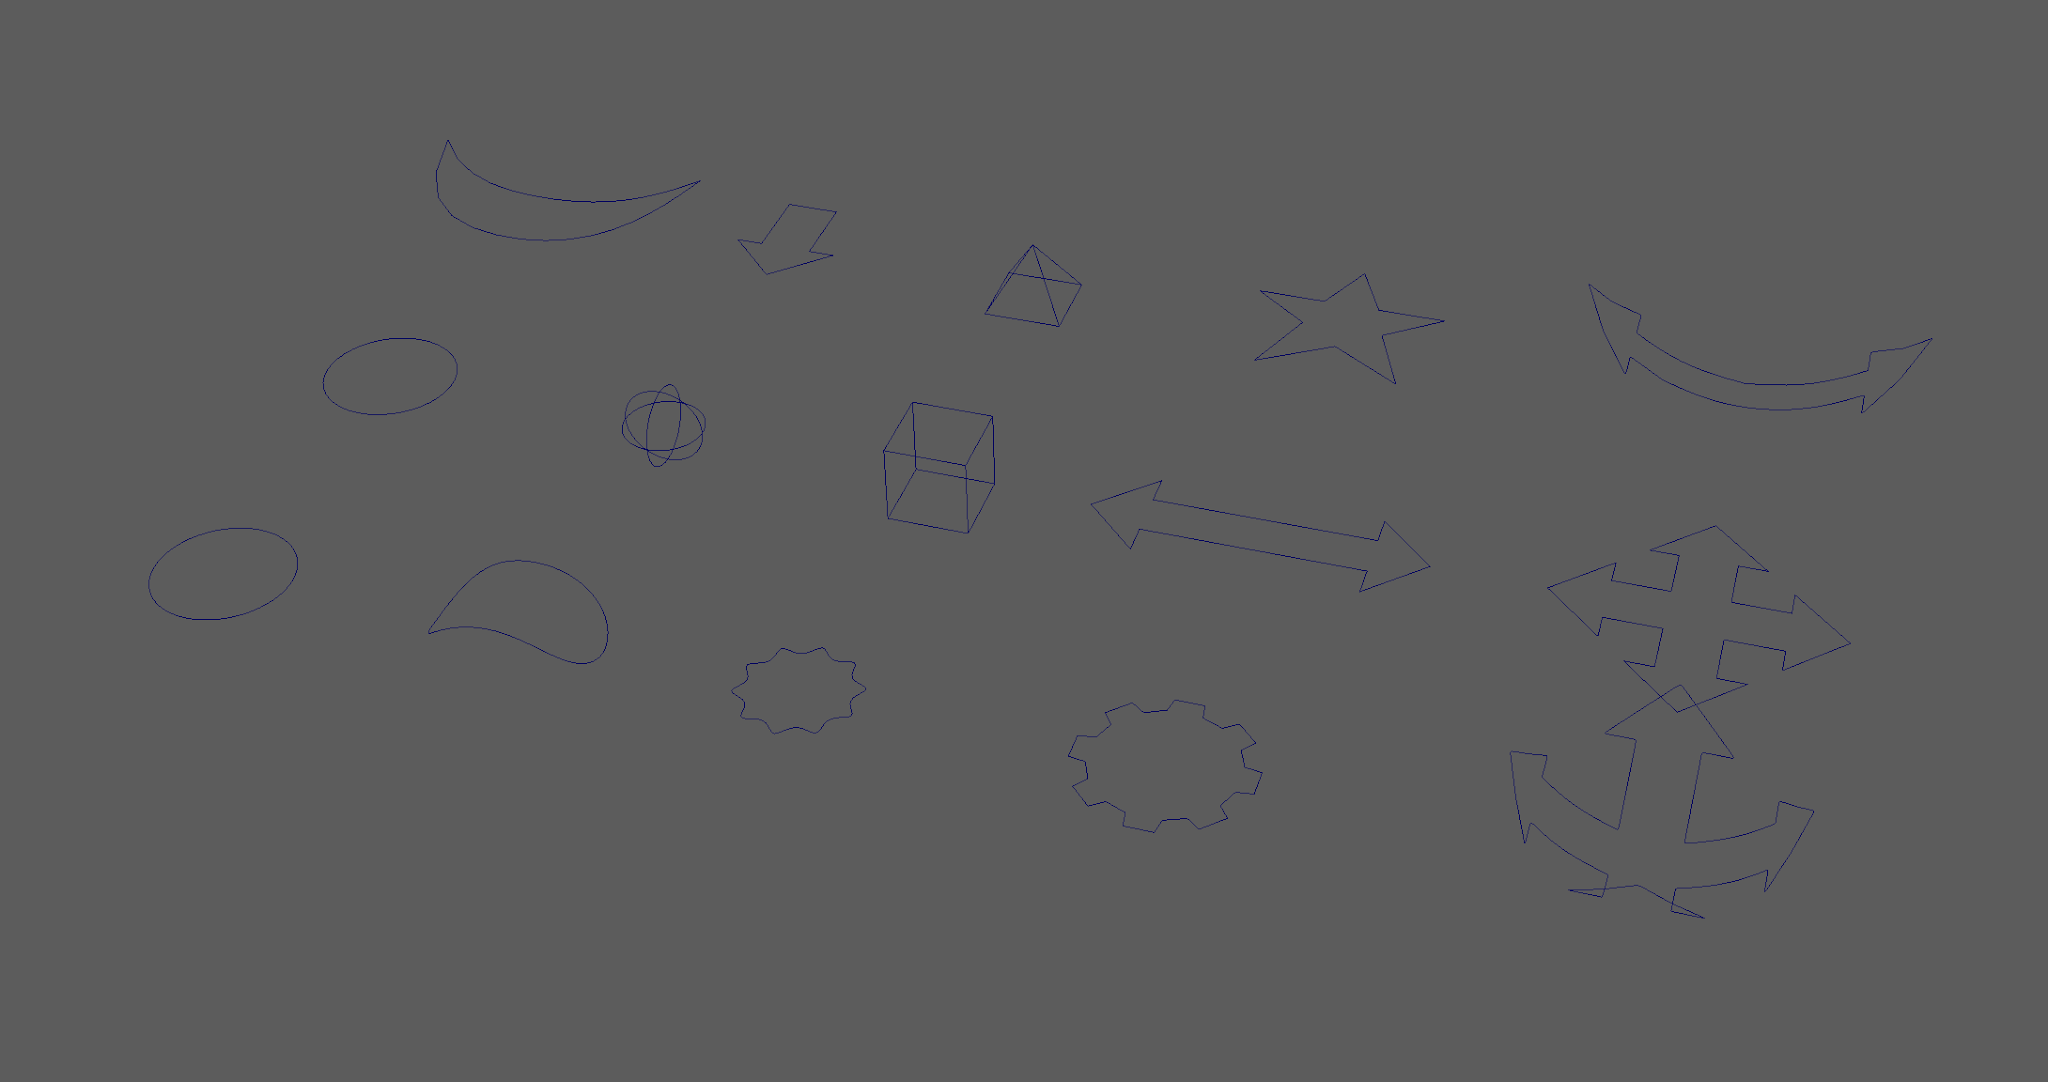 |
| Nurb Controls |
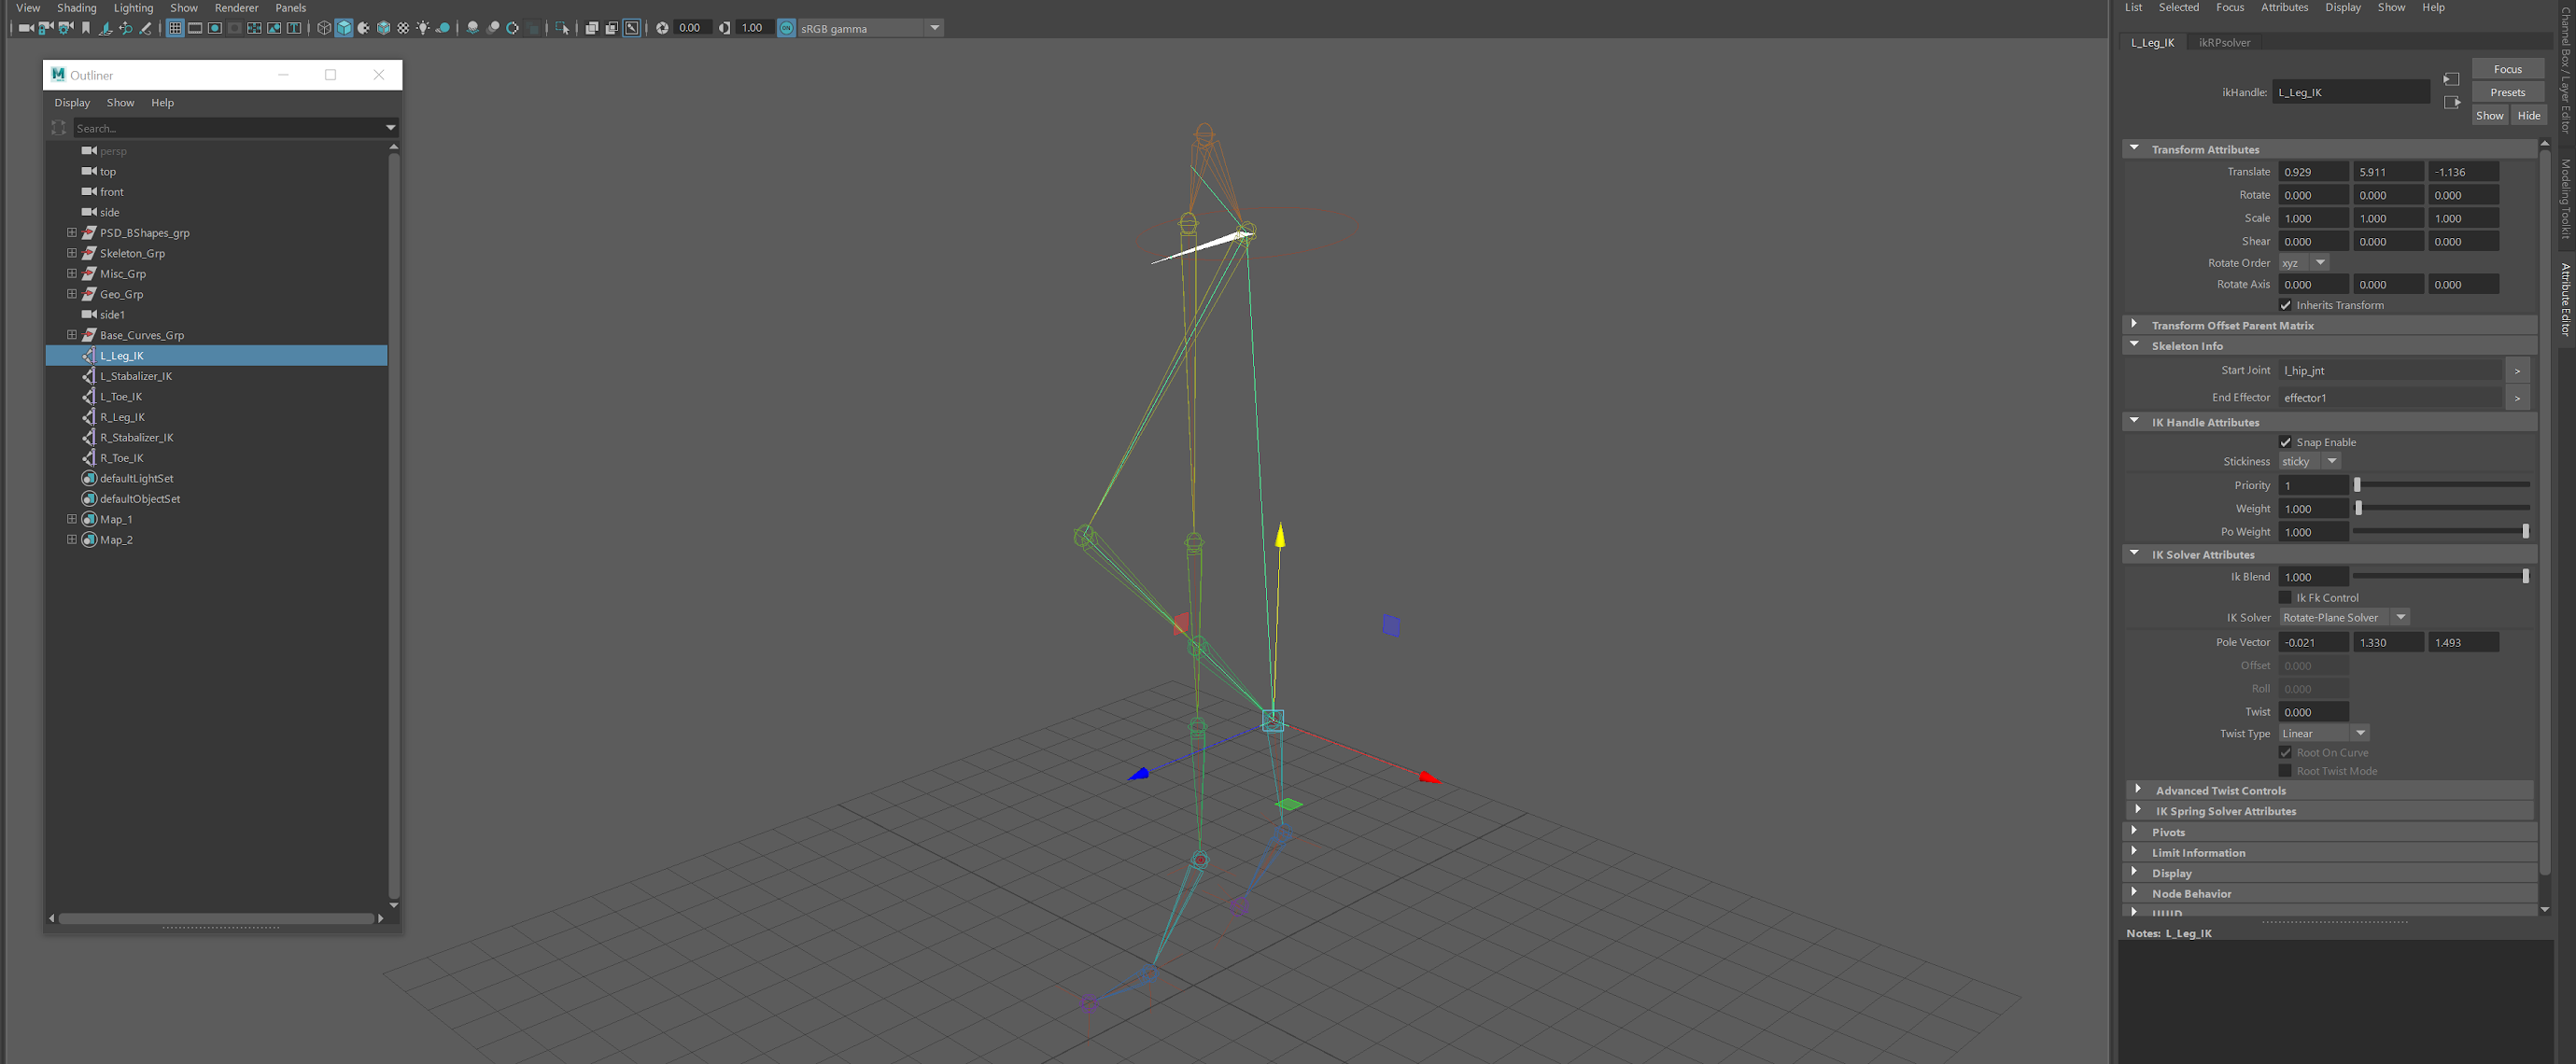
For the
IK handles, the rigging will revolve around the
solver properties and the sticky options. As we have a 3-chain structure in the leg, we need to use the Rotate-Plane solver with the Sticky on (Sticky remembers where the IK is situated so we can compress the leg downwards correctly and allows a weighted effect).
However, using a 3 chain causes a "broken" shin effect. This is fixed by moving the
"effector". Making sure "sticky" is turned off and creating a IK from the hip to the shin joint, we can select the "effector" in the outliner and "insert" move it to the ankle. To get the correct movement for the IK, turning on "sticky" via the Solver Attributes will make it work.
For single chain joints, we can us the "Single-Chain Solvers".
Removing the geometry from the viewport, we use the above technique to create the left_Leg_IK. Once the Sticky is placed, single chins are made from the ankle to the football and then to the toe. The Ankle IK is call L_stabalizer_IK. This is then repeated for the right leg and renamed as R_.
 |
| Leg IK's |
The IK handles will look "flipped" when created, this is due to the joints on the right side being mirrored and having opposite orientations.
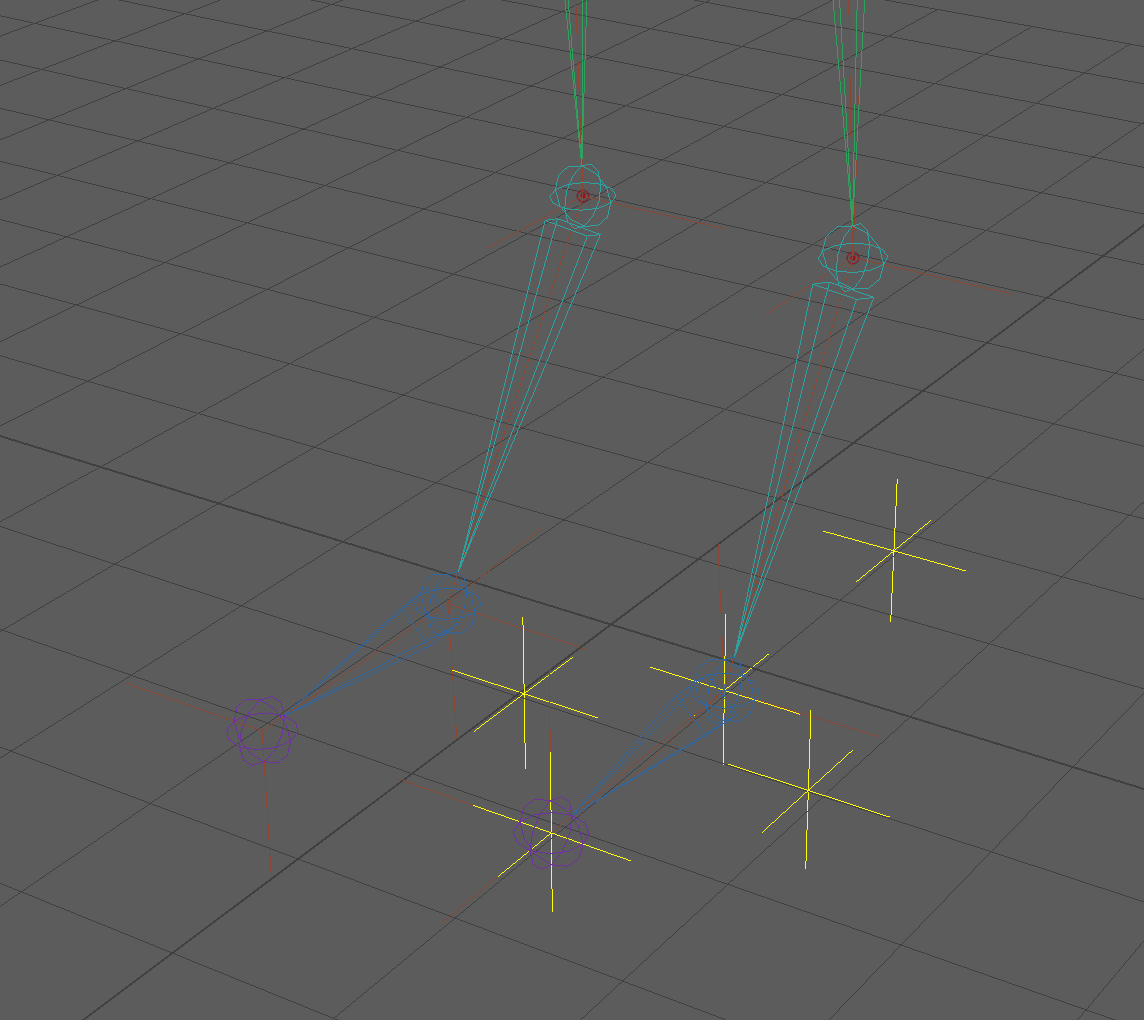
Creating a locator and reducing the size to 0.5 in the local scale, we place it onto a layer with a yellow colour to help it stand out in the viewport. This first locator is snapped to the foot ball and then duplicated, positioning it to the front of the foot (using the geometry as a guide). Its best to use snapping to make sure the locators are in the correct place. A third is then placed at the back of the foot and two more positioned on each side (one left and one right). These need to be placed in alignment with each other and in a central position of the foot. Placing all these locators in a group, the pivot need to stay where it is for easy flipping to the right side.
 |
| Locators |
Turning off the geometry again, we start placing the left IK's into groups and move the pivots to the following positions:
1. Leg_IK = Group = move pivot to the football joint = named l_heel_lift_grp.
2. toe_IK = Group = Pivot to football joint = named l_toe_tap_grp.
3. Select both new groups then the Stabalizer_IK = Group = Pivot to the back locator = named l_foot_tap_grp
(placing a Stabalizer stops the foot disappearing below the ground when being utilised)
4. l_toe_tap_grp = group = Pivot moved to front locator = named l_pirouette_grp.
5. l_pirouette_grp. = Group = Pivot to football locator = named l_ball_twist_grp.
6. l_ball_twist_grp = 2 Groups = 1st group called l_sd_ft_roll_l_grp, 2nd group called l_sd_ft_roll_r_grp = Piviots moved the the left and right sides according to group names.
(These will have Set Driven Keys on later so SDK needs to be present in name).
7 .l_sd_ft_roll_r_grp = group = pivot moved to ankle = called l_leg_grp
8. Go back to l_heel_lift_grp, copy name, group, move pivot back and rename as l_heel_lift_SDK_grp
9. This is then repeated for the toe tap, foot tap and the pirouette groups.
The locators are then flipped and the grouping repeated for the other leg but using r_.
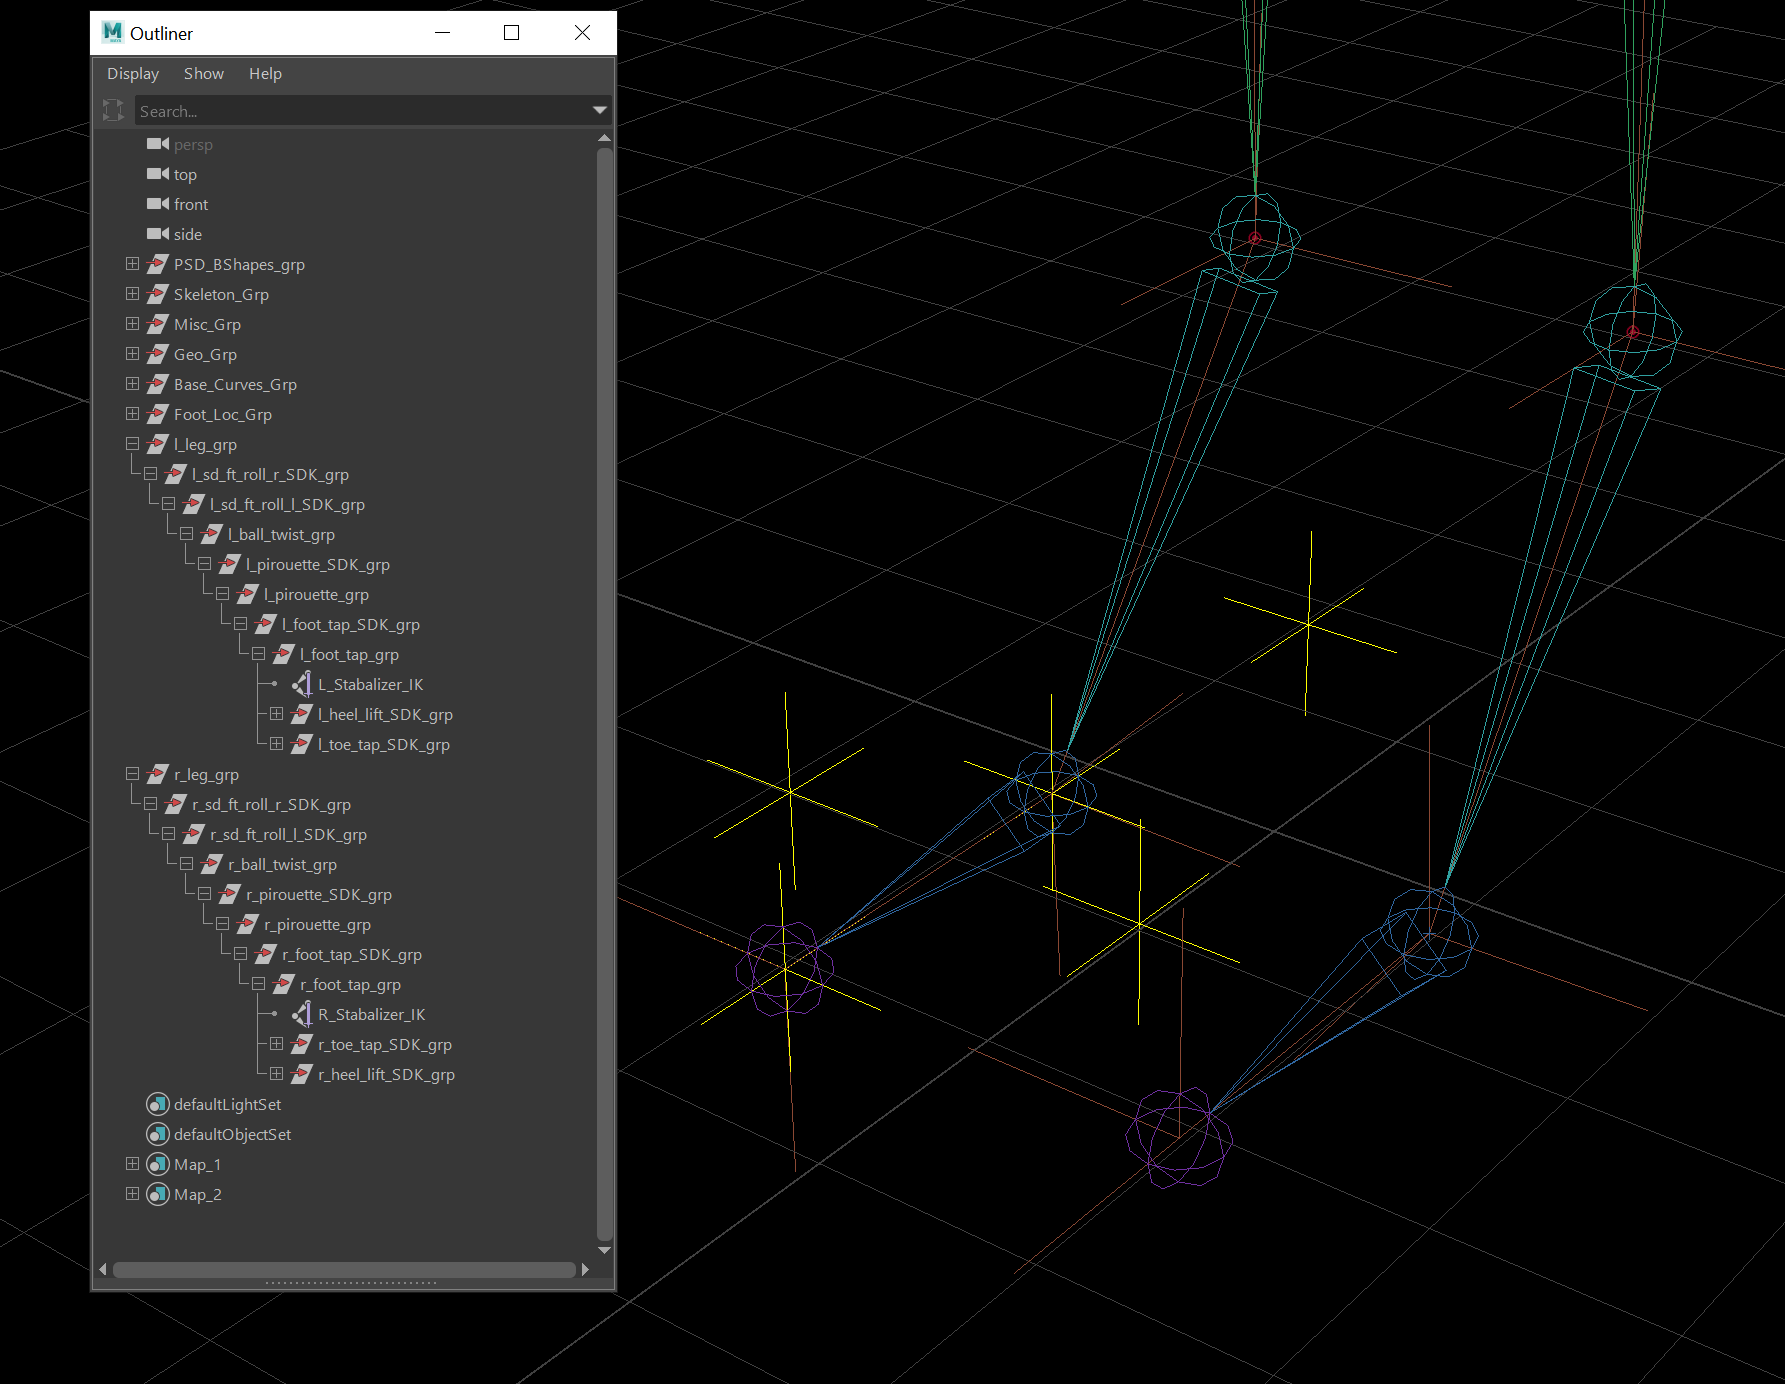 |
| IK Grouping |
Selecting the
circle nurb with 10 CV's, we duplicate it and ungroup it/ remove it from it's layer. Placing it around the left foot, we use the CV's to sculpt a effective control shape with a slight lift at the back. When happy with the shape, we freeze the transformations and deleted history to remove any problems. This is then renamed as
L_Foot_CTRL.
Using the Add Attribute option, we place some new channel boxes. We need to make sure they are added as "floating" channels.
Moving the pivot for the control to the ankle, some changes are going to be needed for the shin joint scripting. Copying the leg group expression in the expression editor (l_leg_grp.rotateY), we replace ankle joint code with the group one. This is repeated for the right side too.
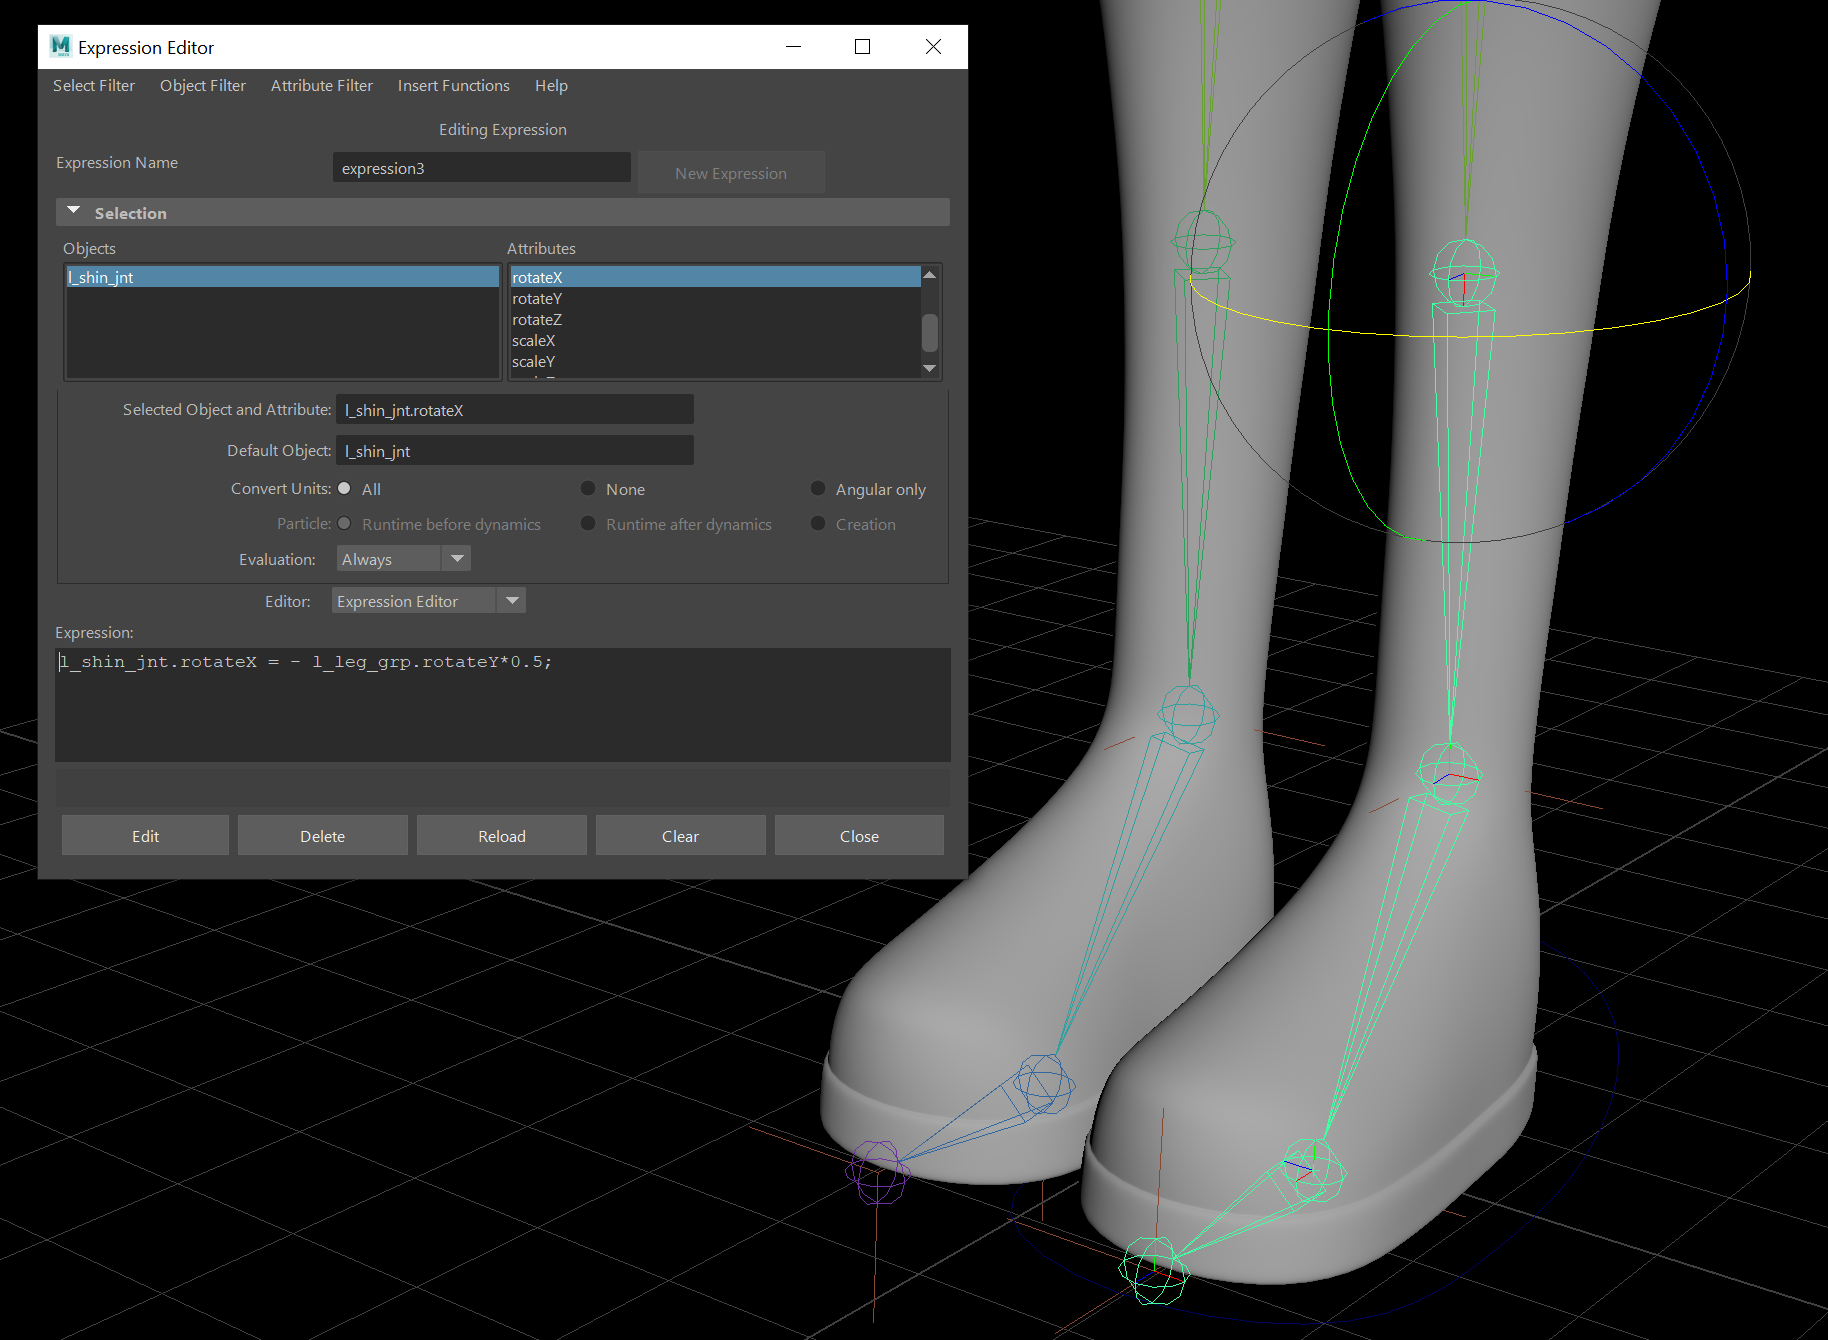 |
| Expression Change |
Working to connect in the control, we select the control, the l_leg_group and create a parent constraint. Taking note of positive and negative directions when moving the joints, we use the connection editor to load the control the left side and the group wanted into the right, connection up as so;
1. Heel_Lift = rotateX (pos only)
2. Ball_Twist = rotateY
3. Pirouette_U_D = rotateX
4. Pirouette_L_R = rotateY
The foot tap and toe tap is going to use coding to connect. Selecting the control and then the rotateX channel, we go to expressions and copy the code. Moving into the toe tap group (not SDK) rotateX channel, we bring it down to the expression box and place the copied code after. As it need to be in reverse so to move in a positive direction, we place a minus before the left foot control code. This is then repeated for the foot tap channel.
For the Foot Rolls, this is created using Set Driven Keys. Selecting the control and going to the Set Driven Keep menu (under animation), we load in the driver as the control and the SDK groups in the driven. Selecting the Rotate Z ( and making sure everything is at 0), we press key to give us a starting position.
Changing the side roll channel to +30, we rotate the left roll SDK group to -30 and key. This is then repeated to the other side but placing -30 in the channel and -30 on the right roll SDK group.
Going into the animation editor, we change the spline to linear so stop any fall off.
For a foot roll forwards, we bring in the other groups into the driven (pirouette SDK, foot tap SDK, heel lift SDK and toe tap SDK), select FW foot roll channel on the control (Driver) and make sure everything is at 0 before pressing key. We then place -30 in the FW Foot Roll channel and then rotate X -30 into the foot tap and toe tap groups, pressing key to animate. Going back to 0, +30 is placed into the FW foot roll channel and +30 in the heel lift SDK rotate x channel, pressing key again.
Going back to 0 one more time, we place +60 in the FW foot roll channel and bring the pirouette SDK group to +40 in rotate X, finalising with key.
With the SDK's all set, we go back into the graph editor to set all the SDK group to linear.
For the twist in the IK, the connection editor is used and match up the Twist channel to the twist movement.
The foot control is then duplicated, group and flipped so be on the right hand side. We need to make sure the history and transformations are again removed, the connection hierarchy is then repeated.
To finish off the legs, pole vectors will be needed to stop the knee popping.


No comments:
Post a Comment
Note: Only a member of this blog may post a comment.