Skull Cap and Straps
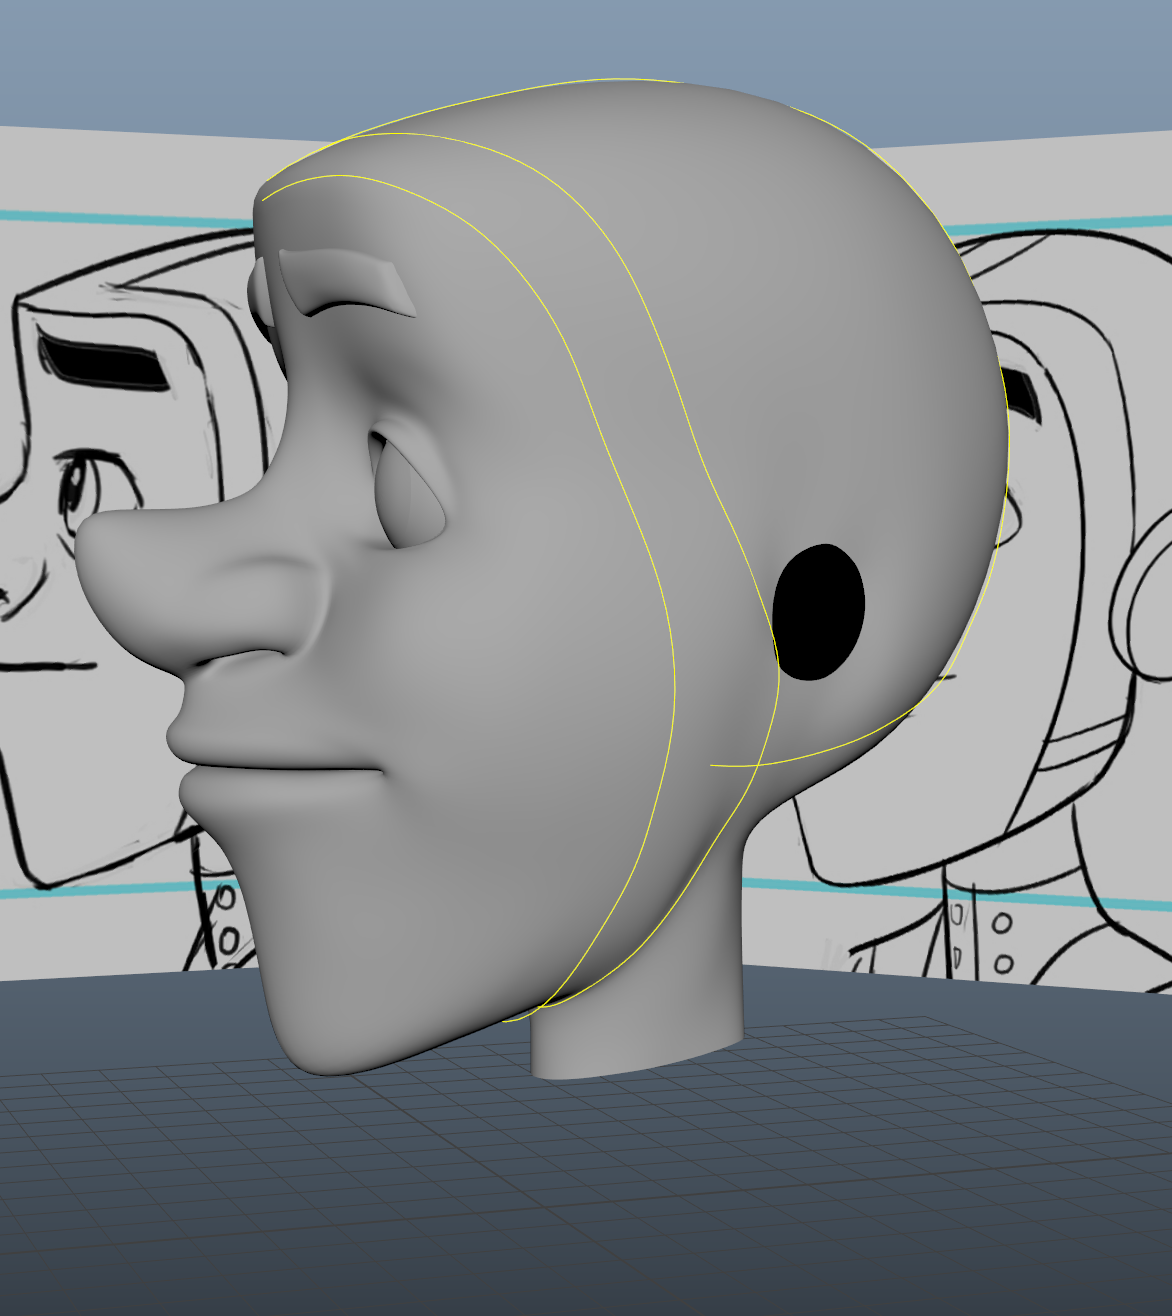
Going back in with Nurb curves as a guide for the skullcap's strap, we placed them around the curve of the head rather then what the orthographies show. Selecting all the head geometry and eyes, we place them onto a layer so we can removed them from the scene if needed.
 |
| Nurb Curves |
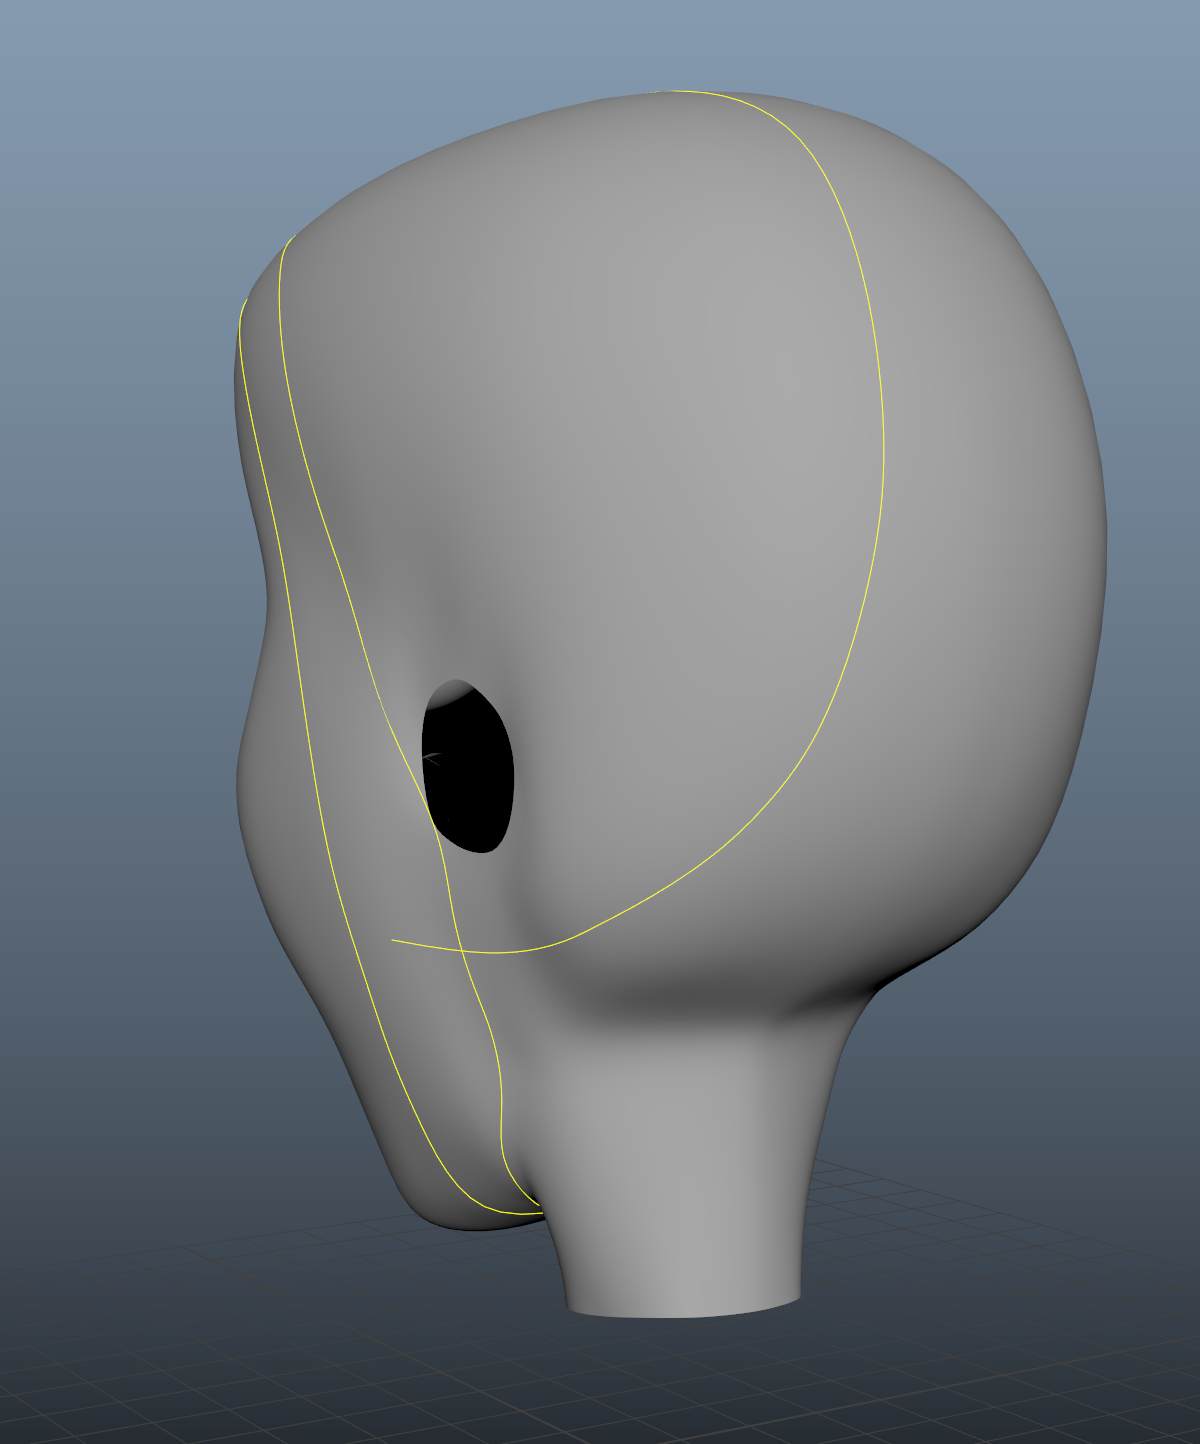 |
| Nurb Curves |
Using a polygon plane with a red Lambert shader applied, we move the pivot to a corner and point snap to the Nurbs curves (this will cause the plane to stretch between the two). Using the extrude, we continue shaping the strap around the head, making sure to point snap. Once completed, smoothing the geometry will show us if it fits correctly. However, our geometry seems to fall below the head's surface. Adding another edge loop though the middle, we was able to bring out the strap so it sits on the surface. Once mirrored, we check for any errors. To bring the strap away from the head, we use the normal's on the move tool. This tool moves all the surface vertexes via its normal's, this means the strap will grow when the method is used. Now giving us a bit of a lip for the strap, we select all the geometry for the strap and extrude back into the head. *Exuding the strap it turns it inside out, so we had to reverse it*
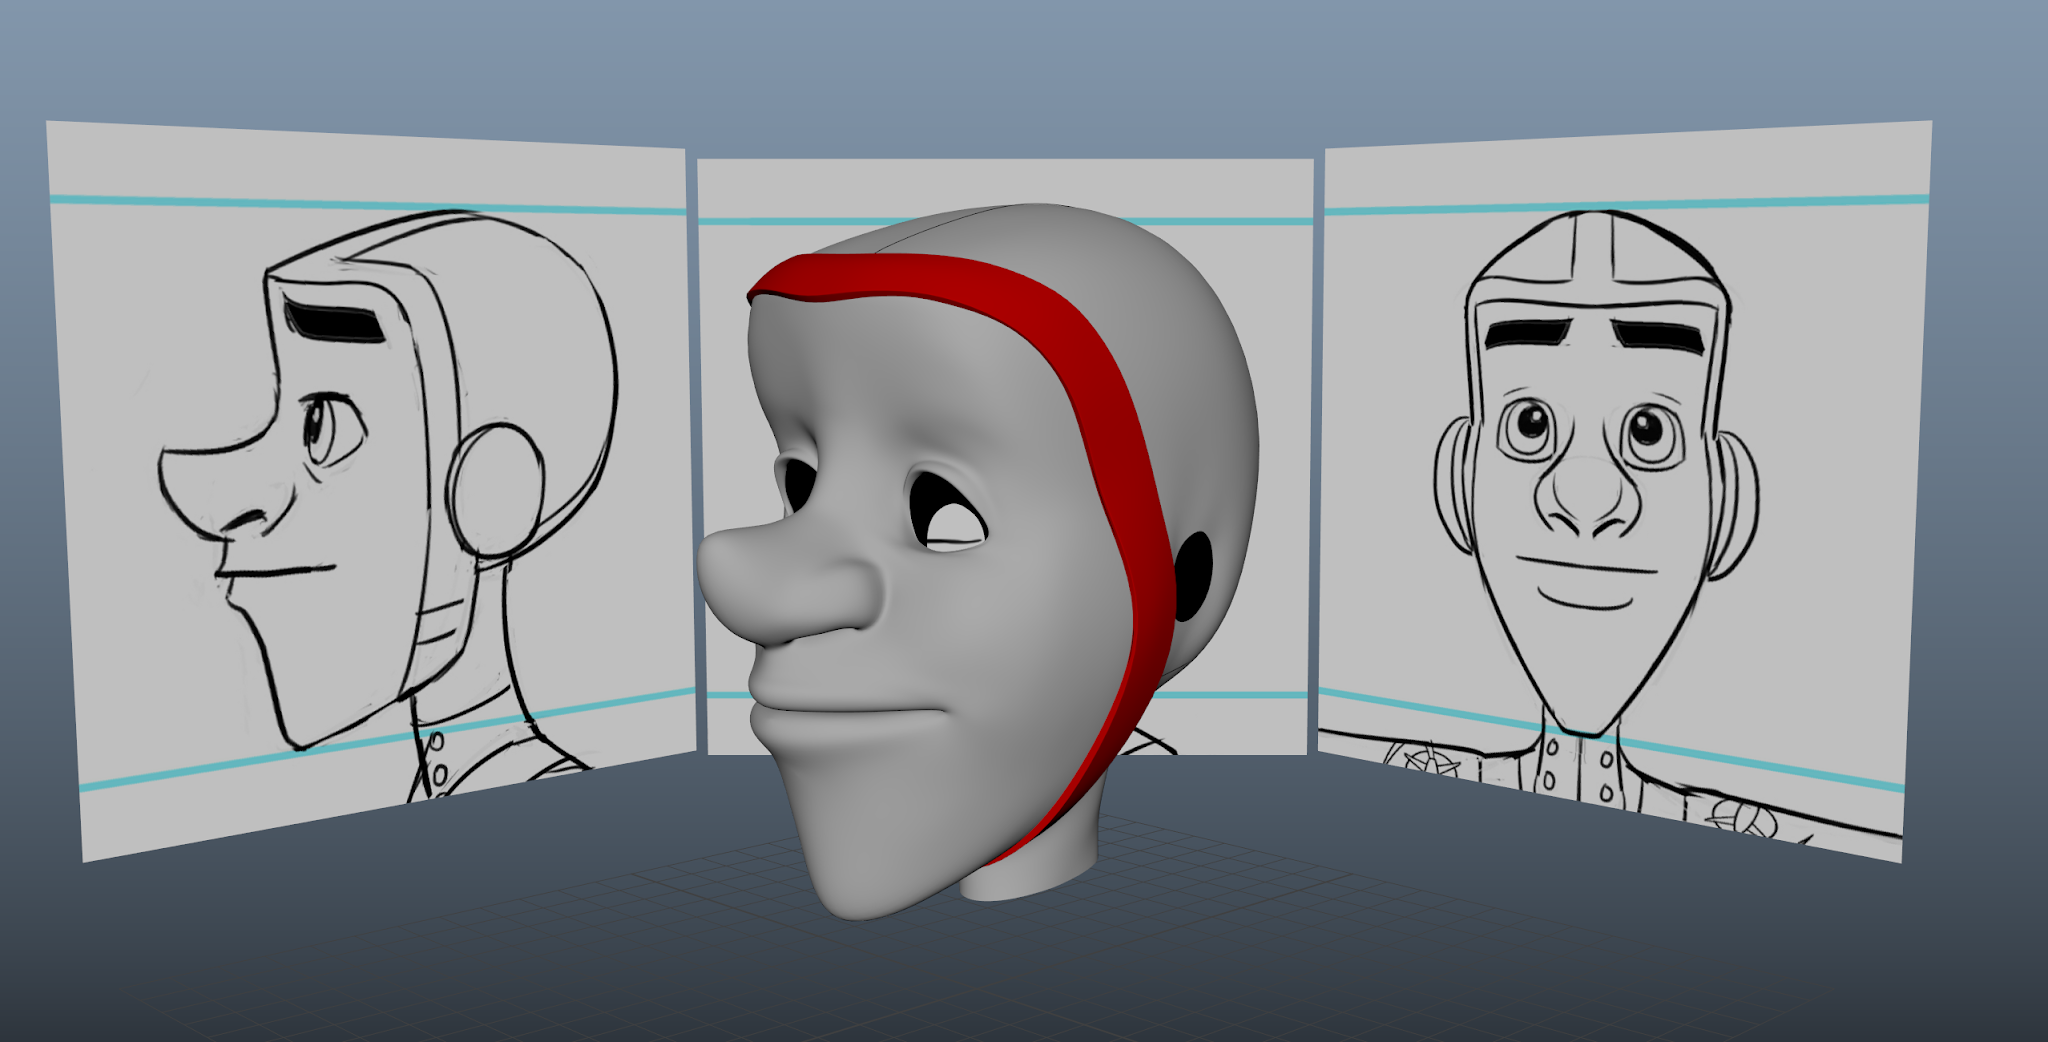 |
| Front Strap |
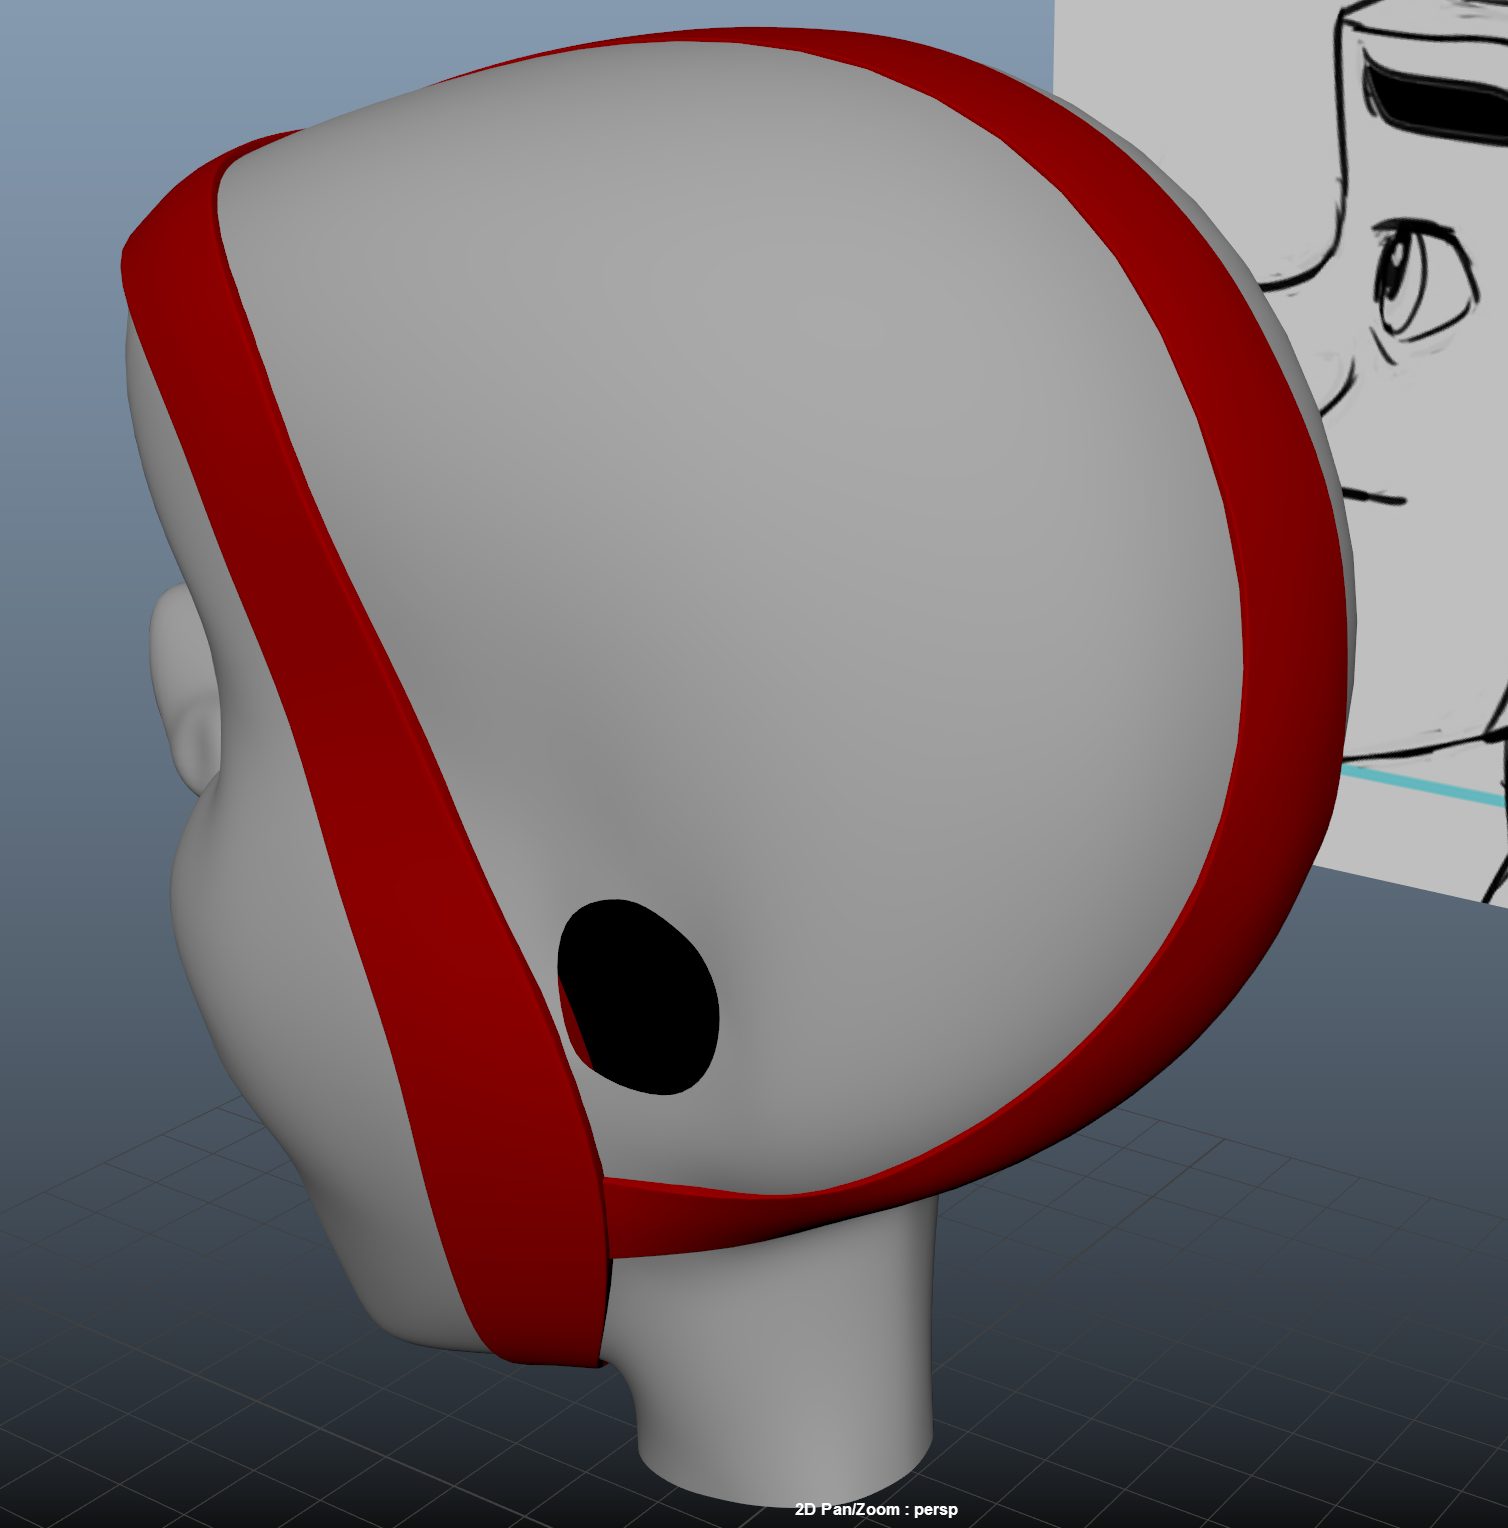
To create the strap for the back of the head, we work the same way as we did with the front strap. coming to the back of the neck, we remove two faces and place a line with the Multi-cut tool to help support the strap base. The strap for the back of the head is not going to be as high the main one, giving us a little "step down".
Once satisfied with the completed straps, we mirror and use the normal's to bring away further, extruding inwards again. to add more support, we need to place edge-loops to help keep shape. We finalize by placing the Lambert 1 back onto the straps.
 |
Developing Strap Around the Head
|
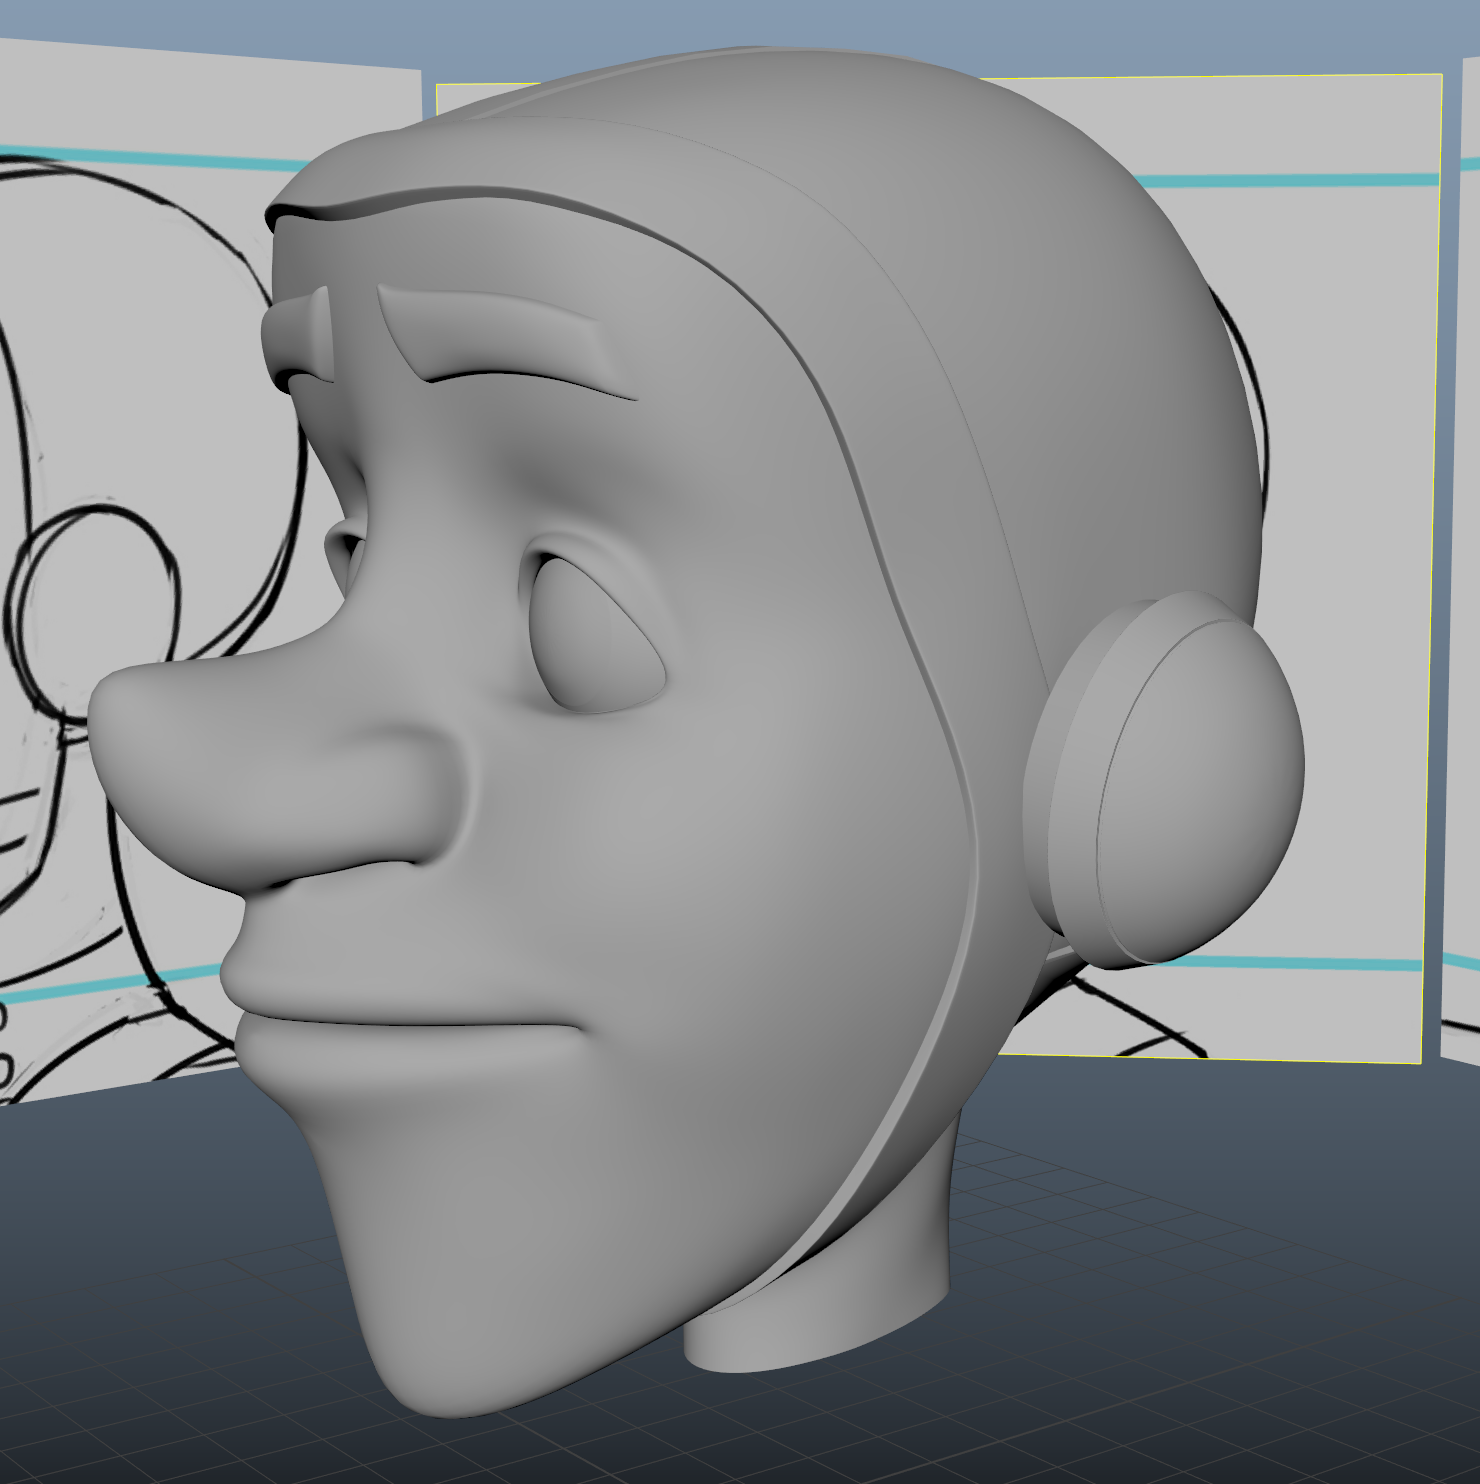
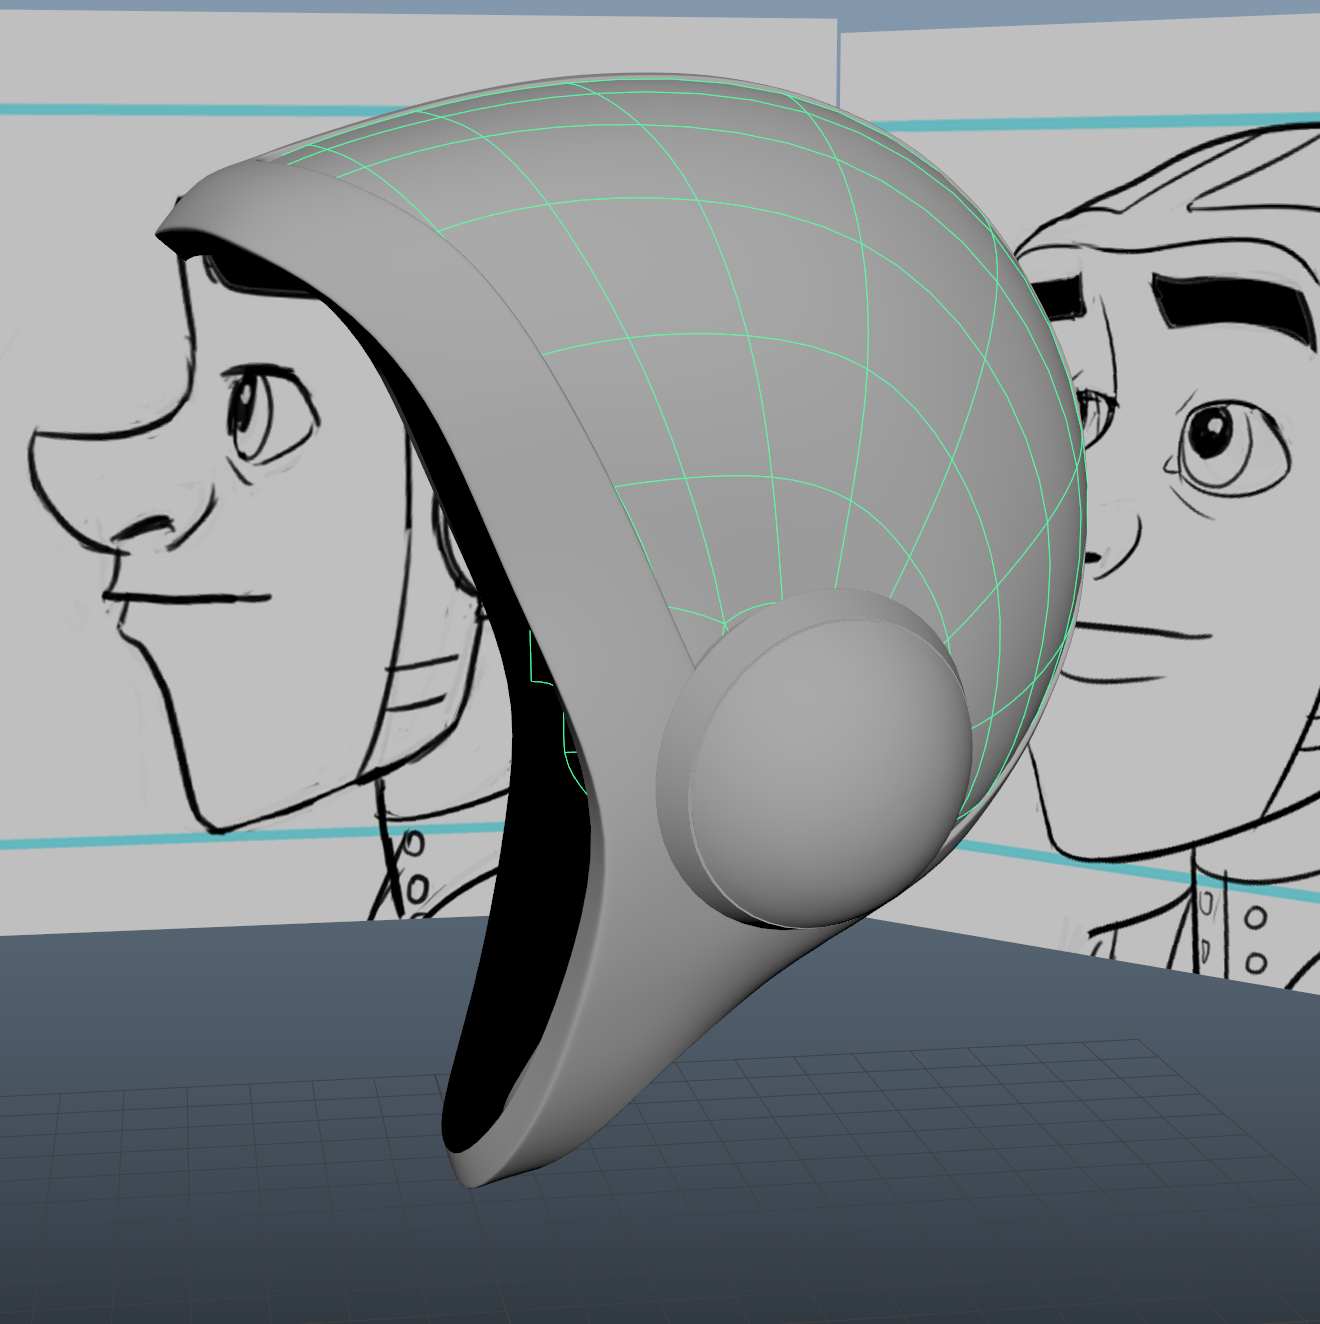
Before creating the cap, we have to make the ear caps. Creating a sphere and changing the division to 12, we rotate it to 90 degrees an place it in the correct place (this is according to the orthographic). Increasing the sphere's size and squashing it, we remove half of it so to give us a dome shape. So its in the right place, we use the rotates to "tilt" it and bring it into alignment with the head (the ear protectors would not be straight".
Placing a key frame on our newly created dome, we reset it to the grid so we can keep modeling correctly. Selecting the outer edges, we extrude inwards towards the center of the geometry and then extrude outwards (this bit will go into the head). Going back to the dome, we select the second outer edge and us the bevel tool. Grabbing the faces between the bevel, we exuding inwards will give us the needed detailing. We don't want these edges to collapse when smoothed, so we place some edge loops to add support.
Adding some more edge-loops means we can make the ear covers rounder and add more empathizes on the detailing.
Using the animation, we bring the ear covers to the correct place. Withe the geometry inside of the head, placing a edge loop allows us to trim to the correct size. To be able to have the exact the same on the other side of the head, we delete the ear cover's history, freeze transformations and duplicate it. This second one is then placed into a group and it's X scale into -1, removing the ear-cover from the group gives us clean attributes.
 |
| Ear Protectors |
Cleaning Up and Finishing
To finish up JPJ's head model, we are going to blend the straps together and create the skull cap. Removing half of both straps and using the non-smooth mode, we removing the facing geometry. Snapping together the aligned vertices, there is one point that is spare. Using the Multi-cut tool, we place in a edge for us snap the vertices to. Although this makes a triangle, this will be removed.
For the newly made triangle, we merge the two point together and and remove the now extra edge. We have one vertices in the middle of our strap. doing the same, we make another line and delete the spare. This is done again fort eh bottom of the strap.
Once mirrored, removing the line in the middle of our triangle will make a diamond. Having this diamond is not causing problems, so choose we leave it. We then go around with the symmetry turned on and correct any errors.
 |
| Developing Strap |
For the skull cap, we duplicated the head and place the original on a layer, which is then turned off. Making the strap a reference (this stops us selecting it whilst we model the cap), we delete away all the unneeded geometry. With this done, we remove the straps and just concentrate on the cap. Selecting all the vertices, we use the normal's to bring out the cap very slightly. This is so it wont sit directly on the head.
Bringing back the straps, we check for any overlapping and drop down any edges. I chose to slightly increase the size of the straps too, just to make sure its all covered. We also needed to check all the edges to make sure they are inside to the straps, removing geometry can make the smoothed edges flare out slightly.
 |
| Skull Cap |
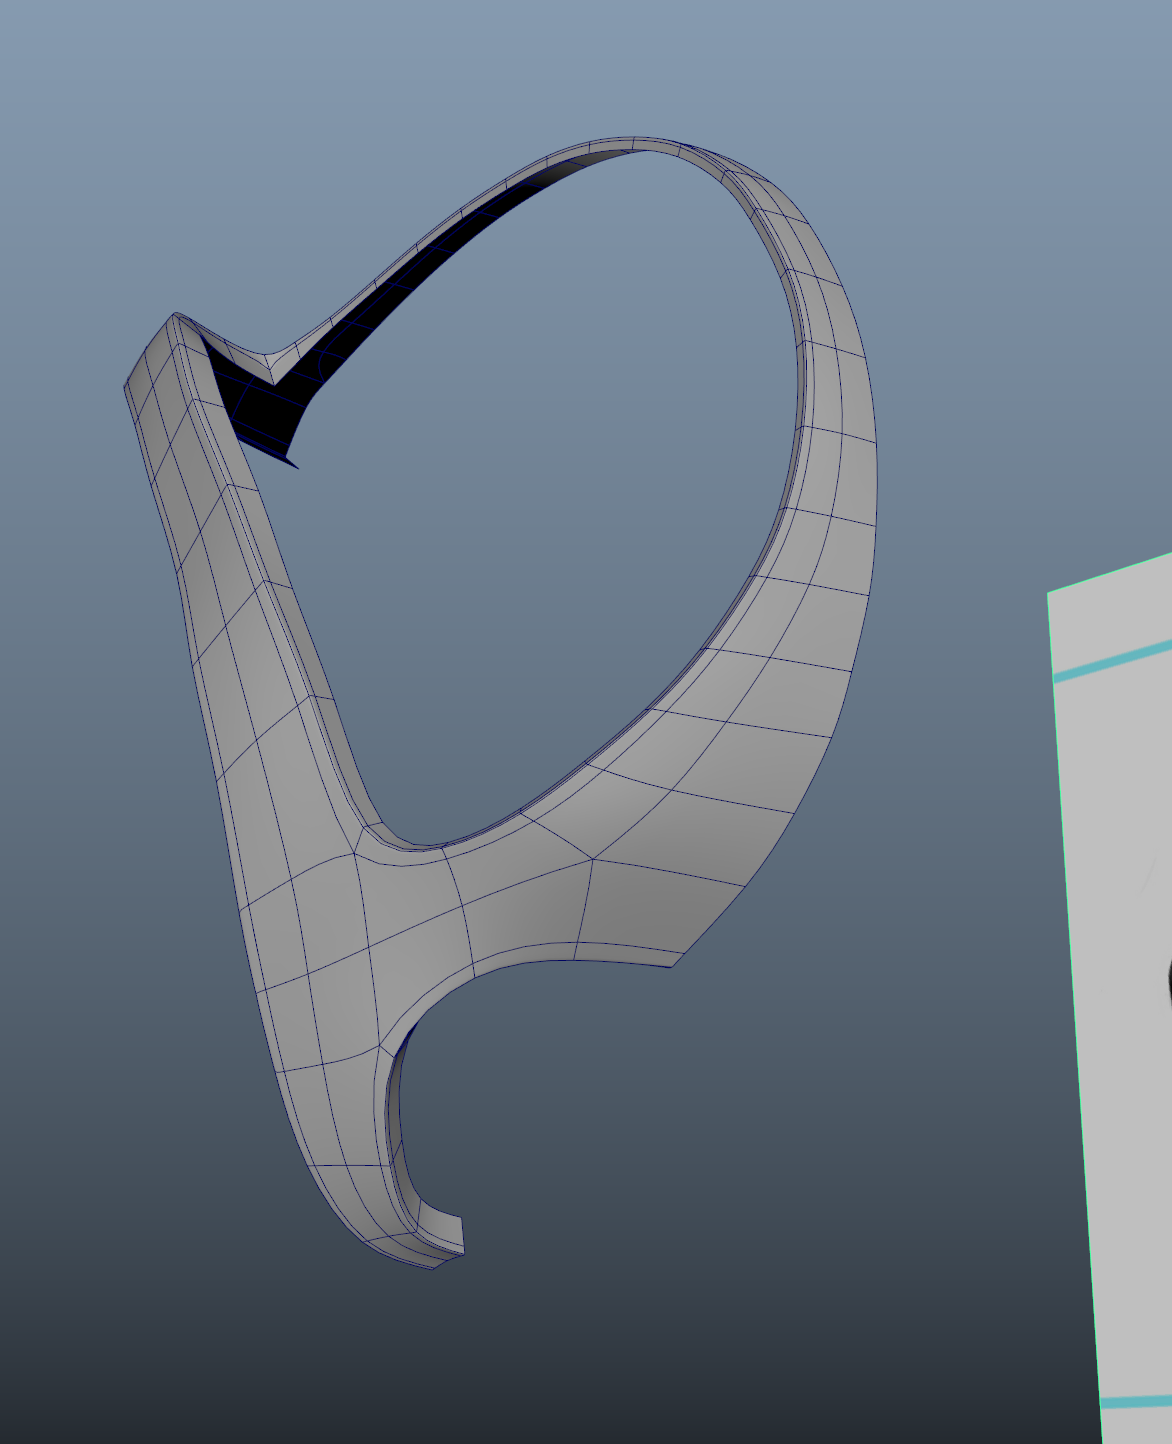
The last thing is to add a small detail to the ears. Removing everything again, we delete one of the ear protectors. Adding two new edge-loops to the center, we select the faces and extrude inwards. Adding more loops to secure the edges against collapsing. To finalize, we delete the history and duplicate, group and place in the Scale X -1.
To be able to import the head to another scene, we have to go though and make sure everything is named correctly. Once done, we select everything and group it all together, freezing all the transformations and deleting the history. Calling the group "JPJ_Grp", we can deleted everything else in the Outliner (including the Orthographics).
Making sure that the Lambert 1 is the only material used, we save the scene and use the optimize scene size tool. This will remove everything that is not being used (materials, layers etc), but if we need anything back we can undo it. Now with this all done, we can save it as a completed file and export out when ready.
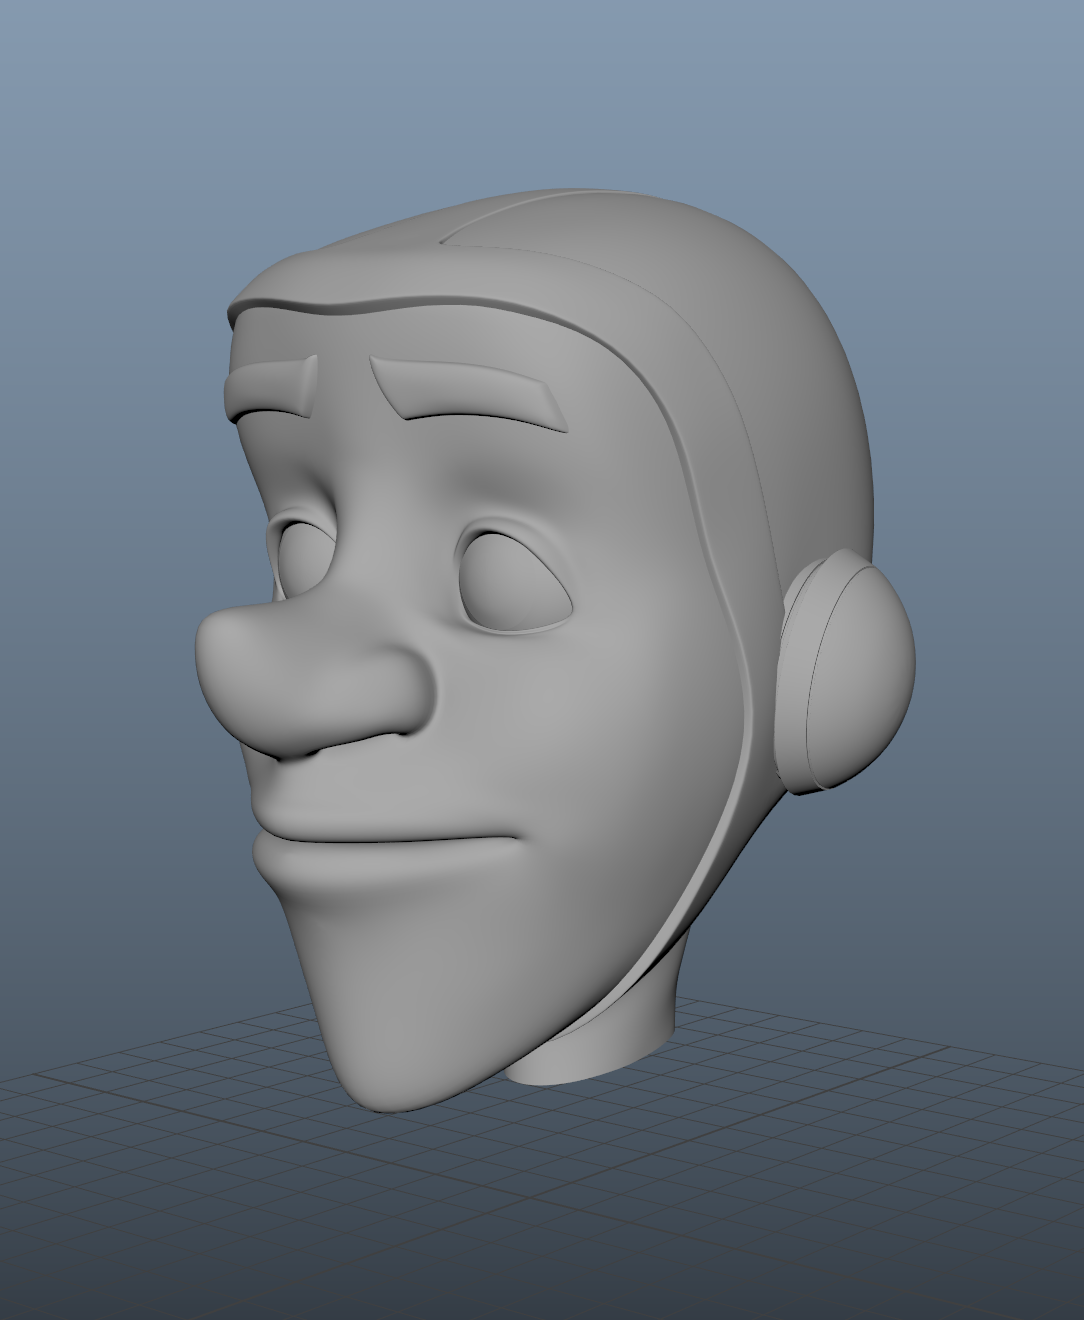 |
| Final Head Model |


No comments:
Post a Comment
Note: Only a member of this blog may post a comment.