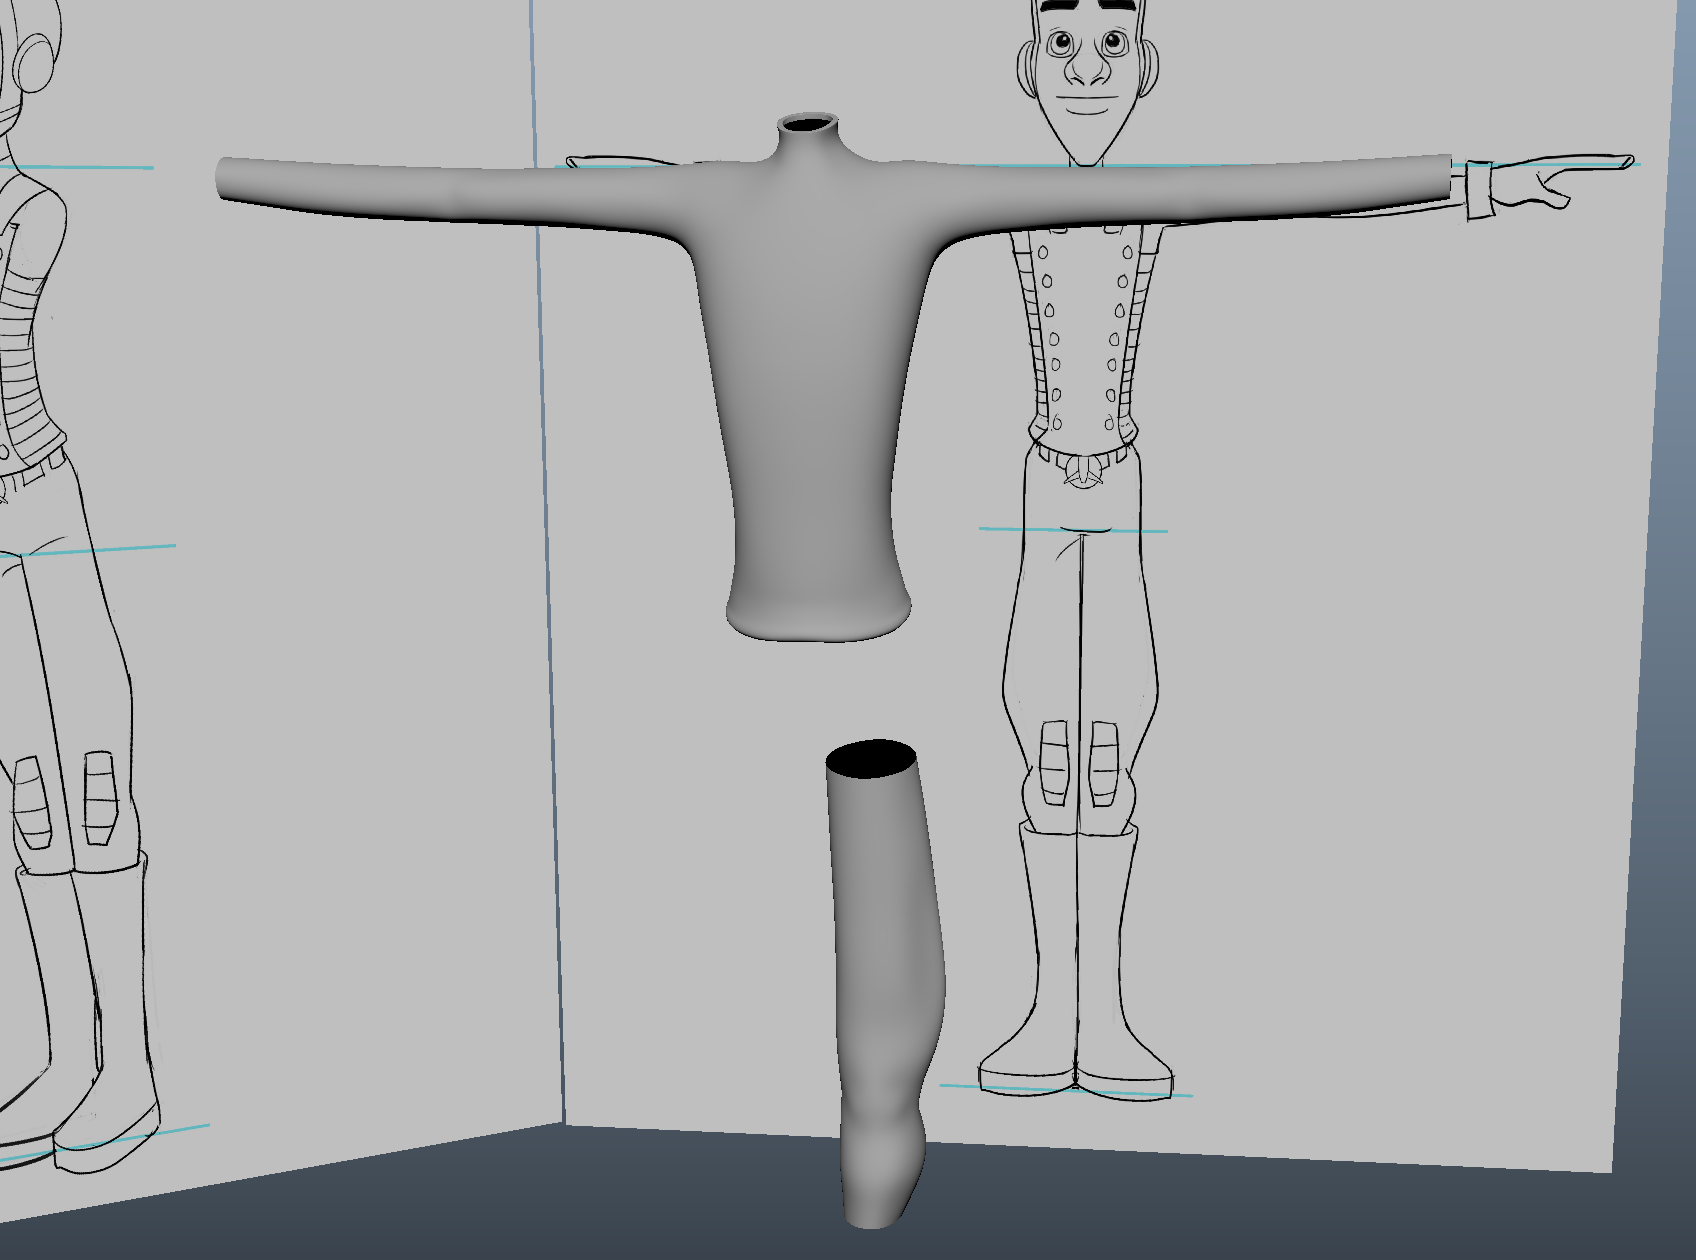
Working back in with cylinders to start shaping out the legs, we ned the subdivisions to be 12 and remove the caps. Using the side view, we place the cylinder and scale length ways from top of the leg down to the just below the boots. We need to be mindful of the material around the legs when sculpting, meaning we may need more geometry.
The orthographic show the legs pressed together. Working from the knee, we place a edge loop but have to be aware that the position may change due to what is needed.
Placing in our 3 edges for the skinning, we can bring out the center edge to start the impression of the knee. As we did the the arm, we work by placing center loops and bringing out vertices to the correct place. We know these may need more work later to get the correct shape of the trousers, but currently we just need the correct amount of geometry.
With all the loops placed, we need to remember the trouser are placed over legs, so wee need to think about the muscles and bones underneath.
Selecting the 4 foremost vertices of the knee, we bring them back so to make the bone of the knee more predominate. Using smooth preview, we take the vertices down the side of the leg and make the flight trouser a little sharper, bringing in the cloth around the leg. When moving down to the fabric at the bottom of the leg, we want to imply gravity is pulling it down slightly. Also, we want it wide enough to fit in the boot.
When moving the vertices around, checking the orthographics will tell us if we have moved away too much from the design and may need to bring them back. Moving too far away from our designs can cause a lose in volume, making flat sculpting.
 |
| Front Leg Model |
 |
| The Back of the Leg |
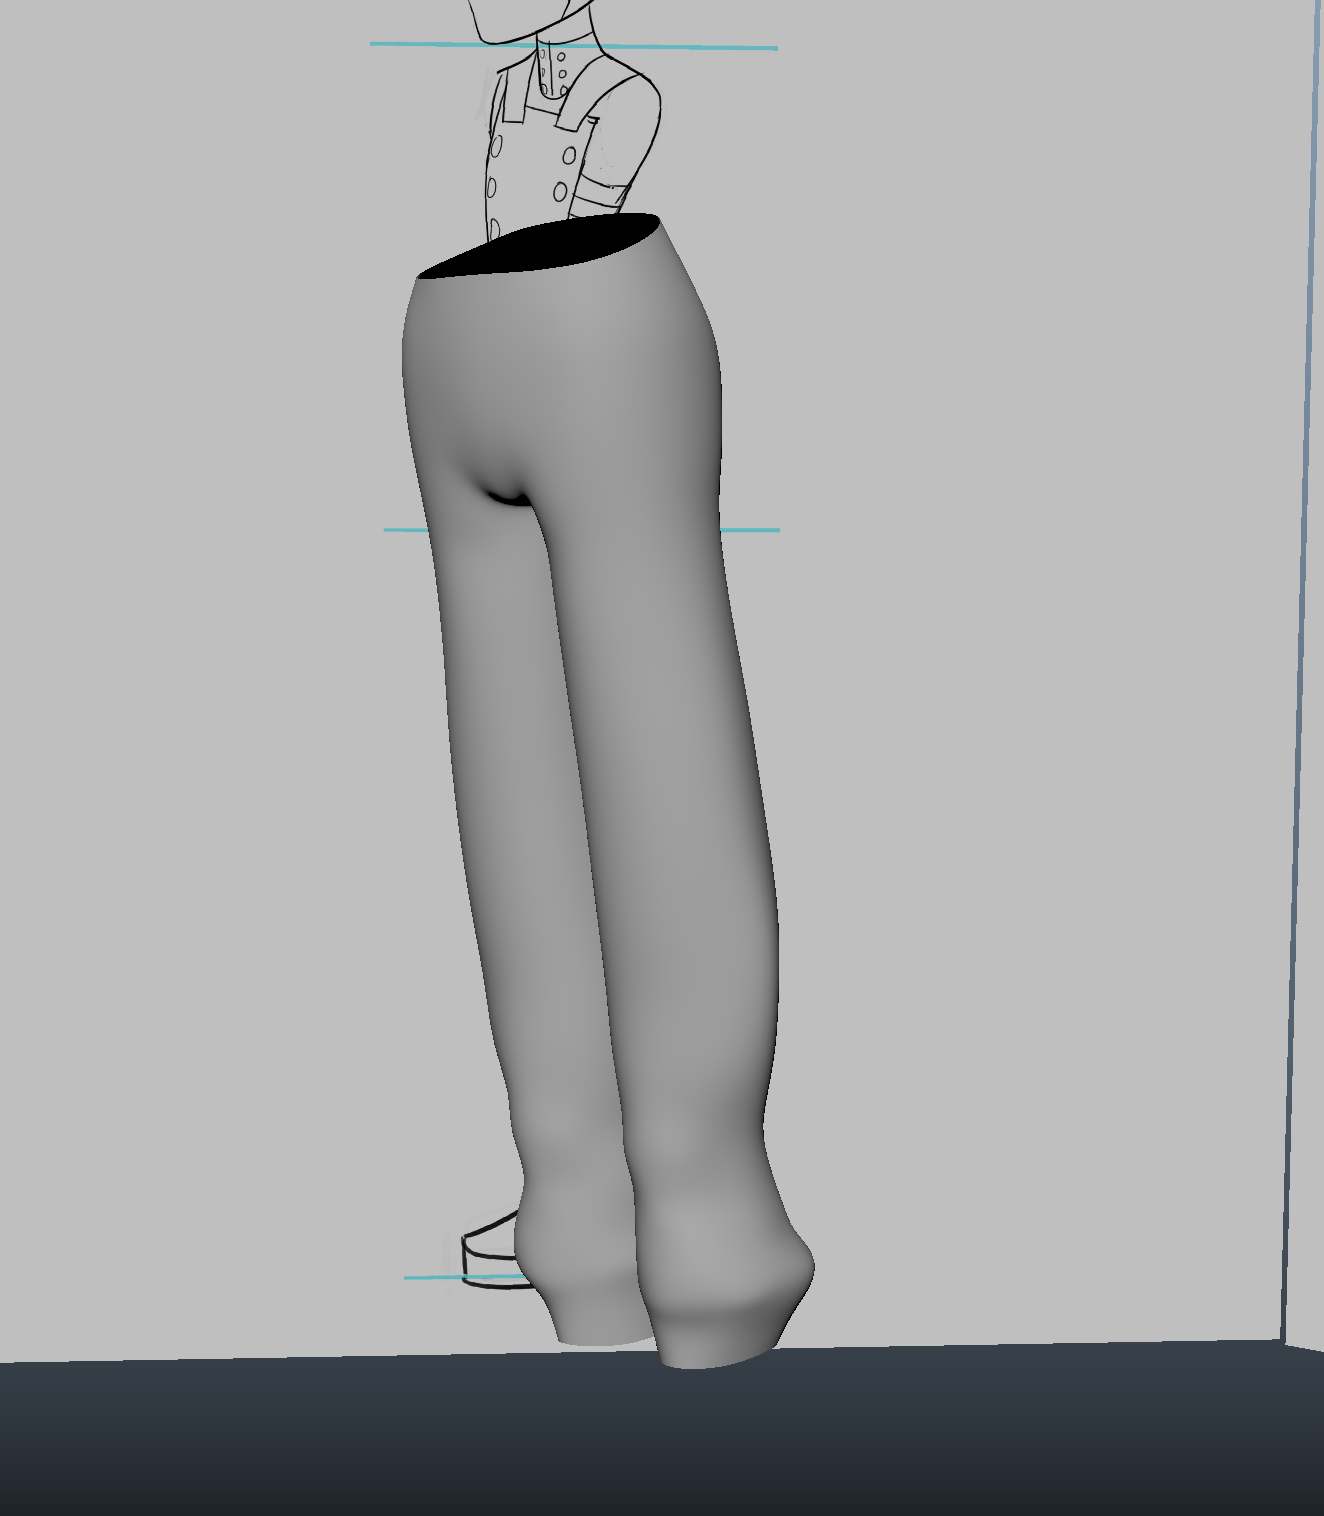
To bring in the pelvis, we use the exude tool straight up passed the bottom of the torso with the world control. We firstly place in a loop where the crotch is in the front orthography, deleting the 4 planes facing the right hand side.
Before bring the extrude across the crotch area, we bring the 4 edges down to allow more of a angle. We then extrude and snap to the center, bringing down so vertices to work with the orthographics. After cleaning up, we want to place a "underwear" line. Drawing upwards from the angle in the crotch with the multi cut tool, we create a new loop around the leg. With the new triangle, we draw around it to open up the a looping system around under the inside of the leg, deleting those edges and creating so new ones that work better. This allows us to space out our edges better.
We still need to make sure our edges are not twisting, cleaning up as we go. If the geometry is twisted, it will cause strange deformations when skinned.
Adding more loops across the top of the pelvis, we position the vertices and work on bringing the vertices across the back of the trousers, checking with the drawings. The top of the pelvis can be tapered in to give the indication of a waist.
When looking downwards on the legs, any vertices that are on the center line, we select that section downwards and move it away. Once certain all the points are away, we can mirror to get a first look at our trousers. We now need to close the gap around the tops of the legs, adding volume and cleaning up the edges with the relax tool.
The front and side of the pelvis should be flatter, using the average vertices can help to level it out. Around the rear, we need to bring out the volume and add a bit more of a crease so to bring in the anatomy.
Currently, we have two start patterns in the front of the pelvis causing some problems. Going back to having only the left side, we draw up from the point around the underside of the crotch and create another loop around the body. Doing this have moved the star pattern into the crotch area and is more useful.
 |
| Working Process |
 |
| Cleaned Up Geometry |
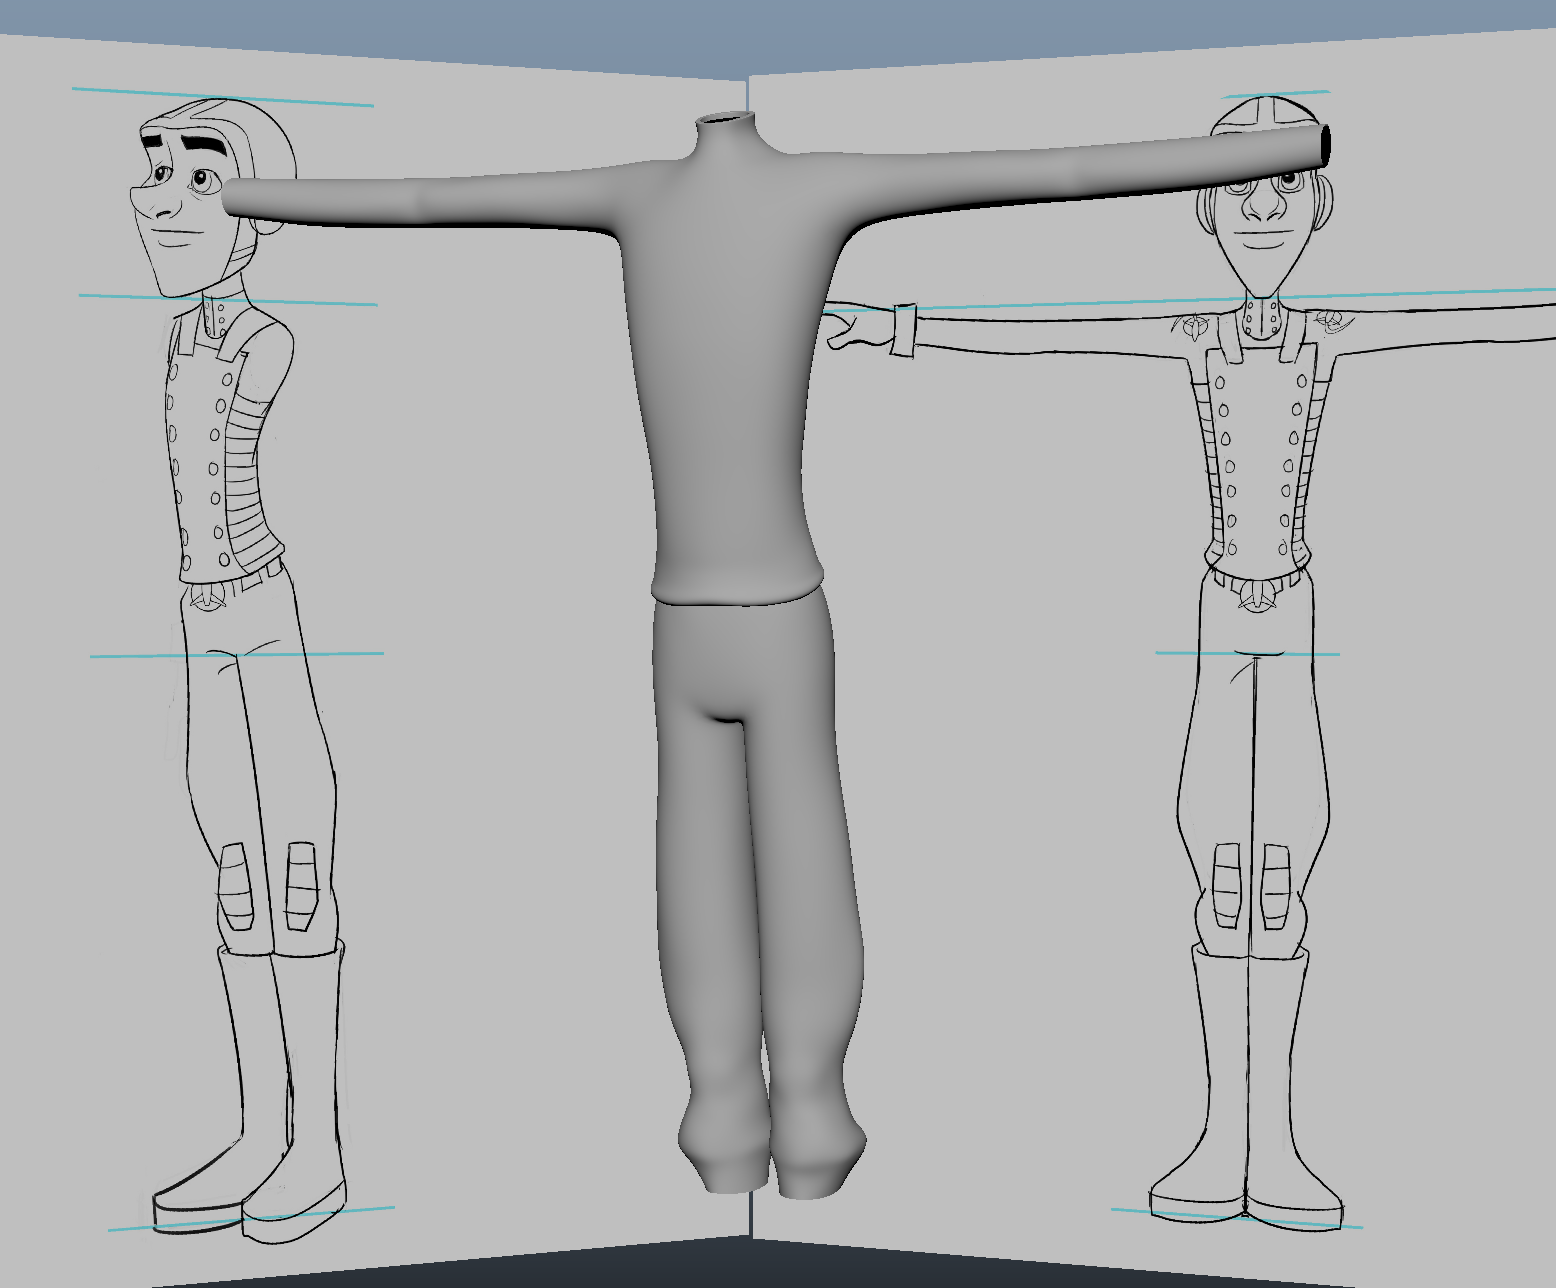
For the belt, we have to remove the second to top edge and place another one in that is straighter. Cutting straight across the model, we bring it inwards until its straight. Re-mirroring the legs, we make sure the vertices around the top edge is straight. Bringing them up, we used the multi-cut tool again and cut straight across, deleting the excess. We then select the faces we want and extrude outwards to give us the starting of the belt.
Removing the newly formed inner lip around the top of the legs, we placed some loops on the edges of the belt to stop collapse when smoothed. The back of the jumper needs to come down a little to give a tucked in impression.
For the belt loops, we use polygon cubes and resize them, taper, remove the back plane and place them in the correct place. As the orthographics are slightly different to each other, placing the belt loop requires a little bit of artist decision. Belt loops are not straight, so using the vertices to taper the middle and shrinking the top/bottom will give a better look.
Selecting the outer edges and corners, beveling and changing the attributes enables a good support when smoothed. Once happy, we duplicated them and place them around the belt. Once one side is done, the grouping and scaling abilities gives us perfect placement on the other side of the belt.
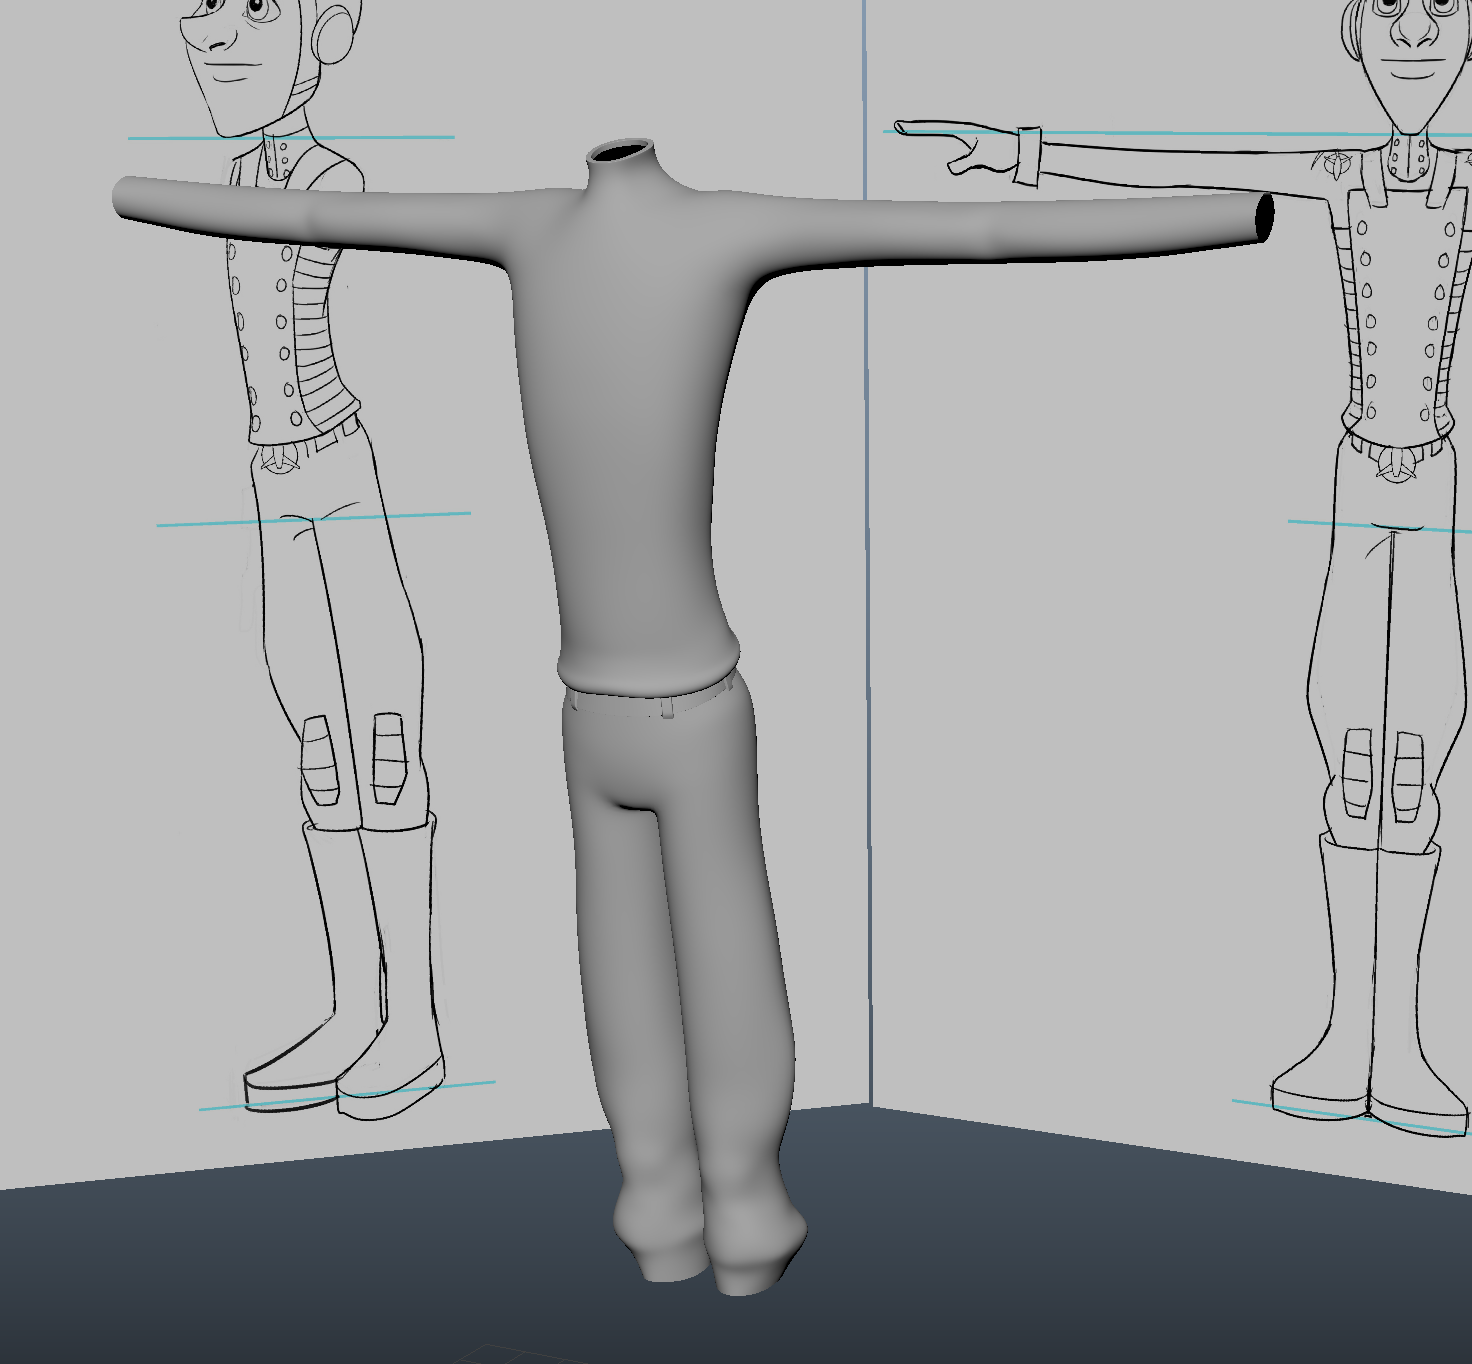
With these in place and a final clean up, the trousers are now complete ready for the boots.
 |
| Finished Trousers |
The Boots
To finish the legs, we need to do the boots. As with the legs, we created a cylinder, removed the caps and changed the sections to 12. Bringing it up in the view port, we placed it in the right place and positioned the vertices. The boots are squished together in the front orthographic, meaning we will need to model over the center line and then move the boot into the correct place afterwards.
The bottom vertices need to be smaller to give us an impression of an ankle, now we placed a loop about halfway in the cylinder. We want to have a little contouring in the boots, drawing this loop in slightly. As with the legs and arms, we placed more loops and continued with our contouring.
For the foot, we selected the boot edge and extruded downwards, place our geometry in to the right places. The front planes was extruded again and the top most vertices was brought down to give us the basic foot shape. We need the foot to be straight so to make skinning easier.
As we extruded, we have gained more geometry on the bottom of the foot. Removing this enables us to place our own sole. Re-drawing with the round the ankle with the multi-cut tool, merging together any vertices that are creating triangles, we can make a better support for the curve into the boot.
Continuing to add edge loops though the foot width, we sculpt in a incline though the top and make a inwards curve in the side (giving us the inner step we need). The toes need to come down a bit more and the heel would curl round slightly, scaling inwards to show a bone structure.
In the front join, we have this small bump that needs to be removed. Using the average vertices helped to smoothed this out more. Now that we have finished cleaning up and moving edges/vertices around, the next step is to extrude downwards to create the sole. Selecting the bottom edges, we extrude straight downwards so to snap to the grid correctly.
We can have this sole quite thick but not massively. With all the bottom faces, the thickness brings it out so we have a sole lip, placing edge-loops to add the needed support. Beveling the outer most edge gave us the perfect curve.
Moving on to the bottom of the foot, selecting the edge and extruding inwards, the fill hole tool closes up the large gap. Splitting the new plane down the center, we work along the edges and connect up the opposing vertices using the multi-cut tool.hopefully, we still have 12 pairs of vertices.
Looking at the main boot into the leg, the relax tool smooths out around the ankle (on a low setting). For the top of the boot, a rim was created used the extrude thickness and brought down. This will help close the gap between the leg and the boot, placing edge loops to make a curve and support to the edges.
Although the gap is better, we still need to close it completely. With the bottom edge of the leg, expanding outwards helped to seal up the gap completely, but more clean up is required after doing this.
The biggest challenge now will be mirroring the boot. As we had to use the center line to model, the leg and boot are now crossing over it. Changing our model and boot in to component mode and selecting the vertices up to the top of the leg, a lattice deformer enabled us the bring over the model without causing too much deformation.
Deleting half the trousers again and tidying up, the mirror tool brought in our other leg whilst duplicating boot enabled us to place it correctly. Removing the history will delete the lattice.
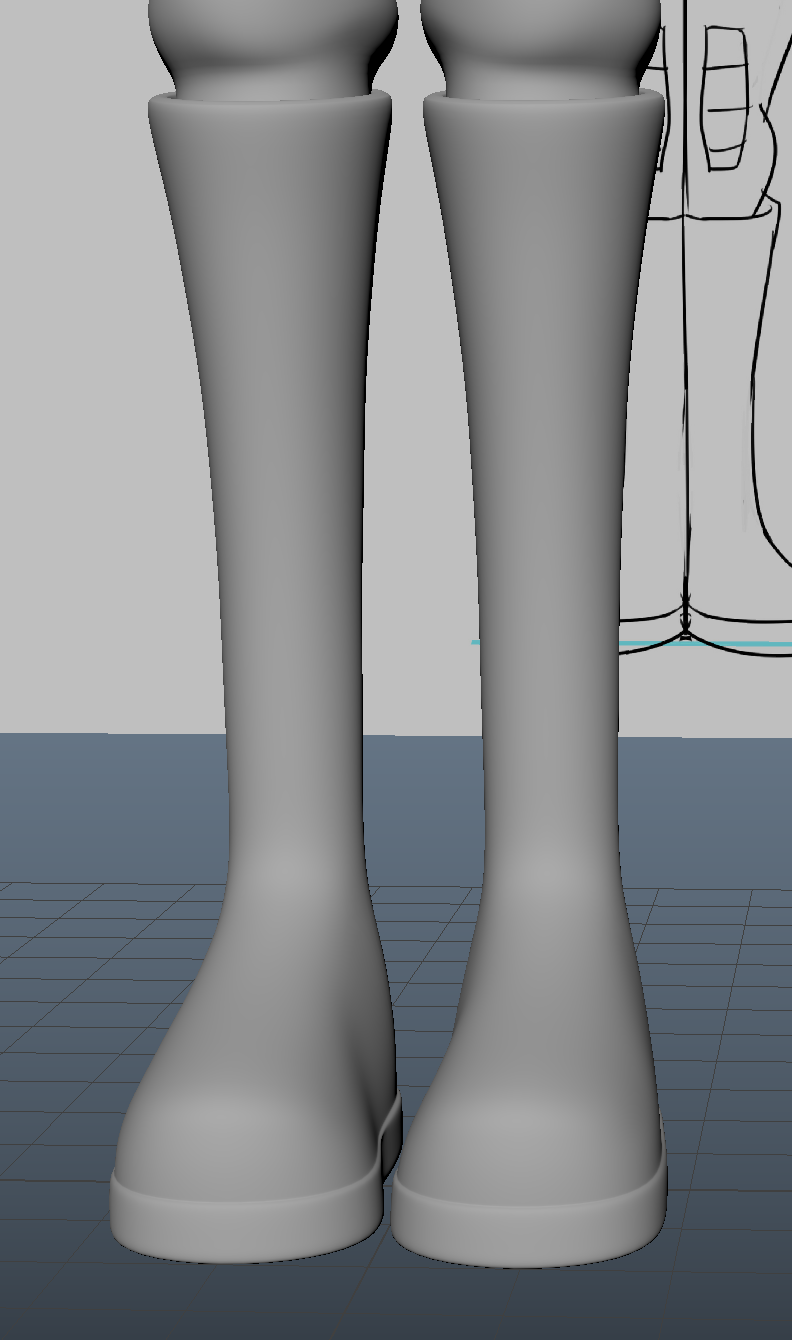 |
| Finished Boots |


No comments:
Post a Comment
Note: Only a member of this blog may post a comment.