Torso Blocking
Positioning our new orthograpths in Maya, we have 4 views to model the body from. As the front orthographic does not have very clear details of the in the fingers, we will use the top view for this.
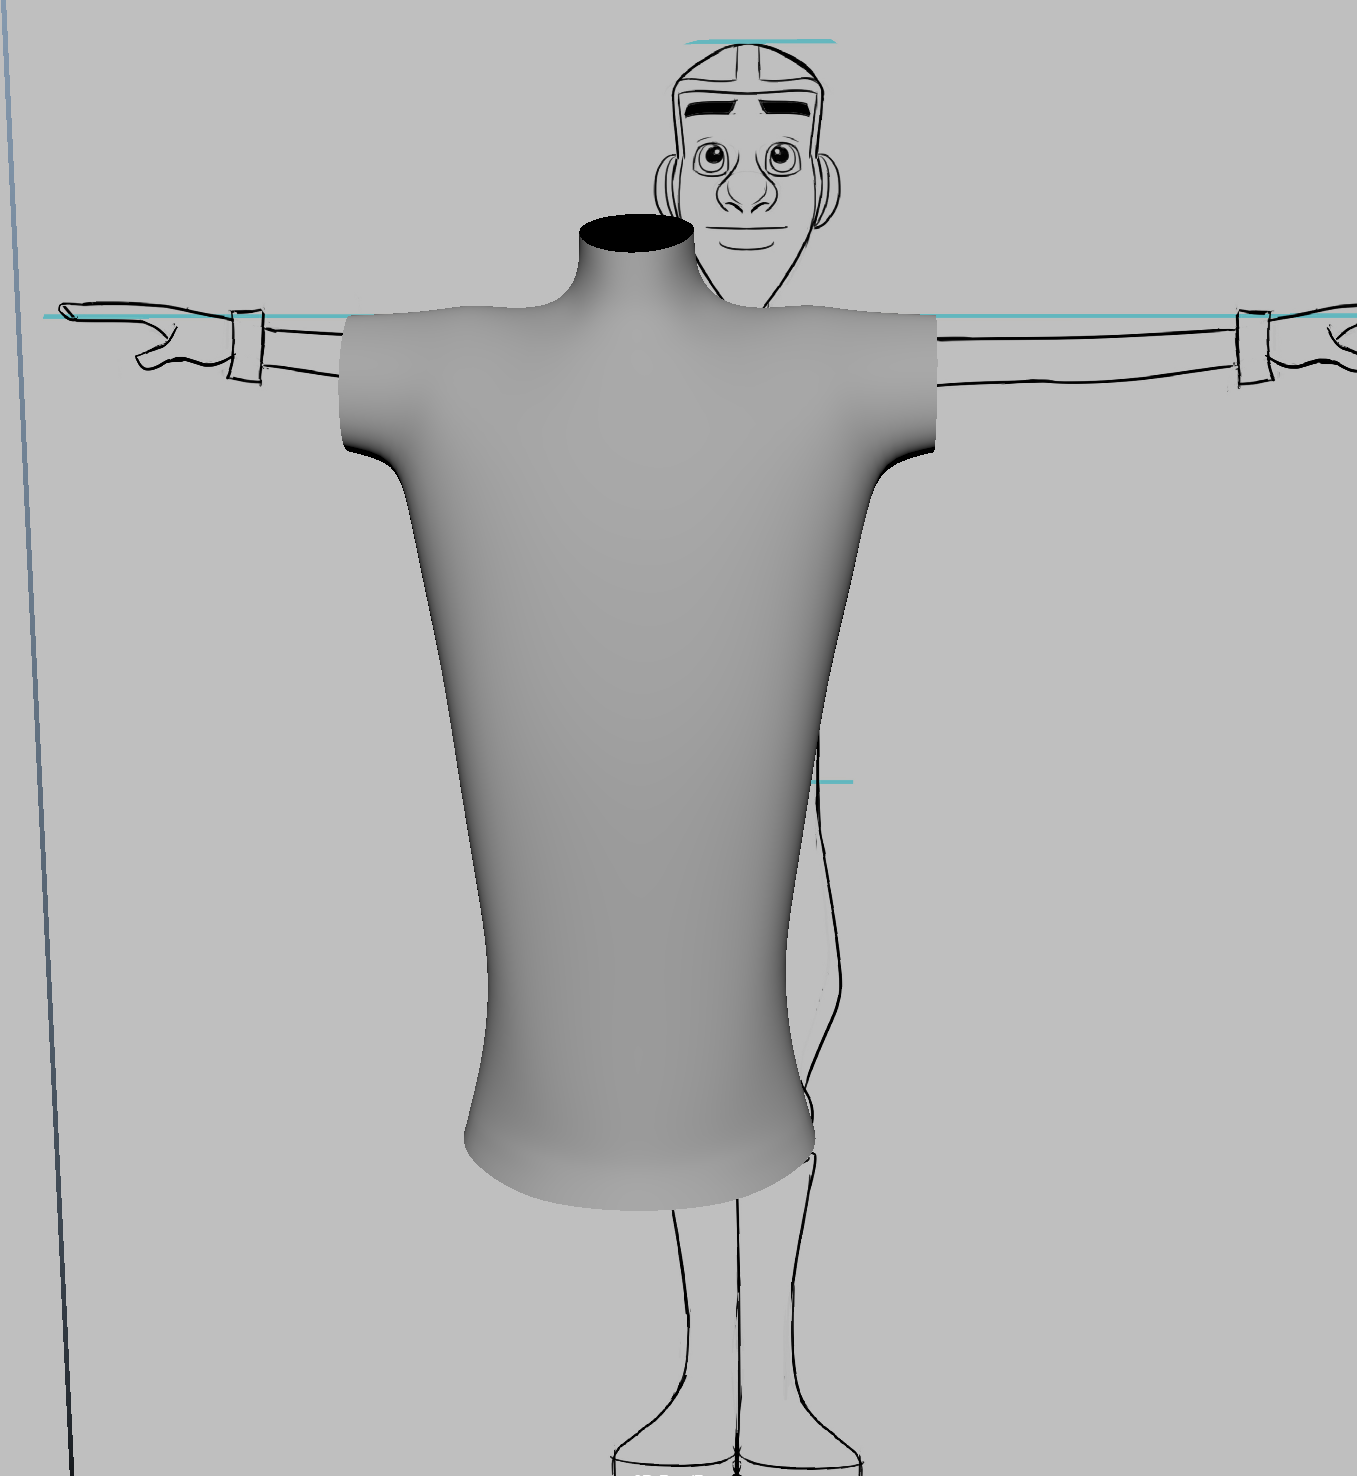
Working from a polygon cylinder, we reduce the sections to 8 and half the model. Removing both the caps, we begin by moving our current vertices to follow the top and the bottom of the designs, giving us a good starting point for modeling.
With these vertices in place, we can start adding edge loop. Placing one in the center, we follow the arch of the design, adding more loops every other line in the shirt details of the side orthographic. Using all the orthographic views will help us get our vertices placements right. With the horizontal loop in position, we add more edges loops though the vertical sections and continue the same process. The key element here is to see of the shape holds when smoothed.
Moving onto the bottom of the shirt, we bring out the bottom edge and add another loop. Using the scale tool, we work to make the curve smoother about the back of the model, making sure to reduce any collapse in the rest of the torso.
To create our upper body for the lower part, we extrude upwards to just under the arms via the front view. Switching to the side view, we can now reposition our new vertices to keep our body shape going. Selecting two edges from the back and the front of our torso, we extrude upwards again towards the neck.
We need leave a gap for the neck. Removing half the model and selecting two front and back edges, the append tool will bridge the gap. Placing a edge loop half way allows us to start creating the shoulder.
Using the multi-cut tool, we create a loop in our front and back for the neck placement. We can delete to extra edges and start moving the vertices around the bottom of the neck on the orthographic. As with the head, we have to keep our model clean to reduce work later.
Selecting the Multi-cut tool again, we draw a loop around the opening of the arm, merging together vertices so to remove any triangles. Scaling to flatten the cylinder, we continues to add edges and sculpt our model. As we have added extra loops, we can move the ones around the body downwards and add more support to the torso.
With the arm opening created, we now use the top and side views to bring the arm backwards into place and clean up the vertices. We have to be aware that the orthographics may not line up, so we to make personal judgement on where we want to place it.
There are large gaps currently in our geometry, especially around the front of the arm. Creating another loop, we cut though the diamonds and merge vertices to remove any triangles, Looking at our smooth preview, we need to bring up the shoulder slightly to give us a little bump.
Moving into the neck, we create a mirror of the torso and extrude upwards the top of the shirt, using the scale to give us a rounder geometry. We need more curve in the base of the neck and front of the chest, so we continue to add in edge loops and model. We creating the neck, we need to move the geometry around to gain the correct support around the back and shoulder.
With the torso clean, we can now use the Edge Loop tool to add in the side details on the side view. Using the Shift key, Maya will calculate half way between the current edges and create a transition. We need to make sure the geometry is of equal spacing, maximizing support. Using the Relax Tool will help get the best results, moving down the back and the front of the model.
Around the neck, the loop is far too low. Using the Edge Loop Tool, we create another edge and slide it upwards so we can bring the first loop upwards. We need to clean up again after using the Relax Tool, with the symmetry on we work on removing any tracking or bumps. We need to keep the model close to our orthographics so we keep to the character.
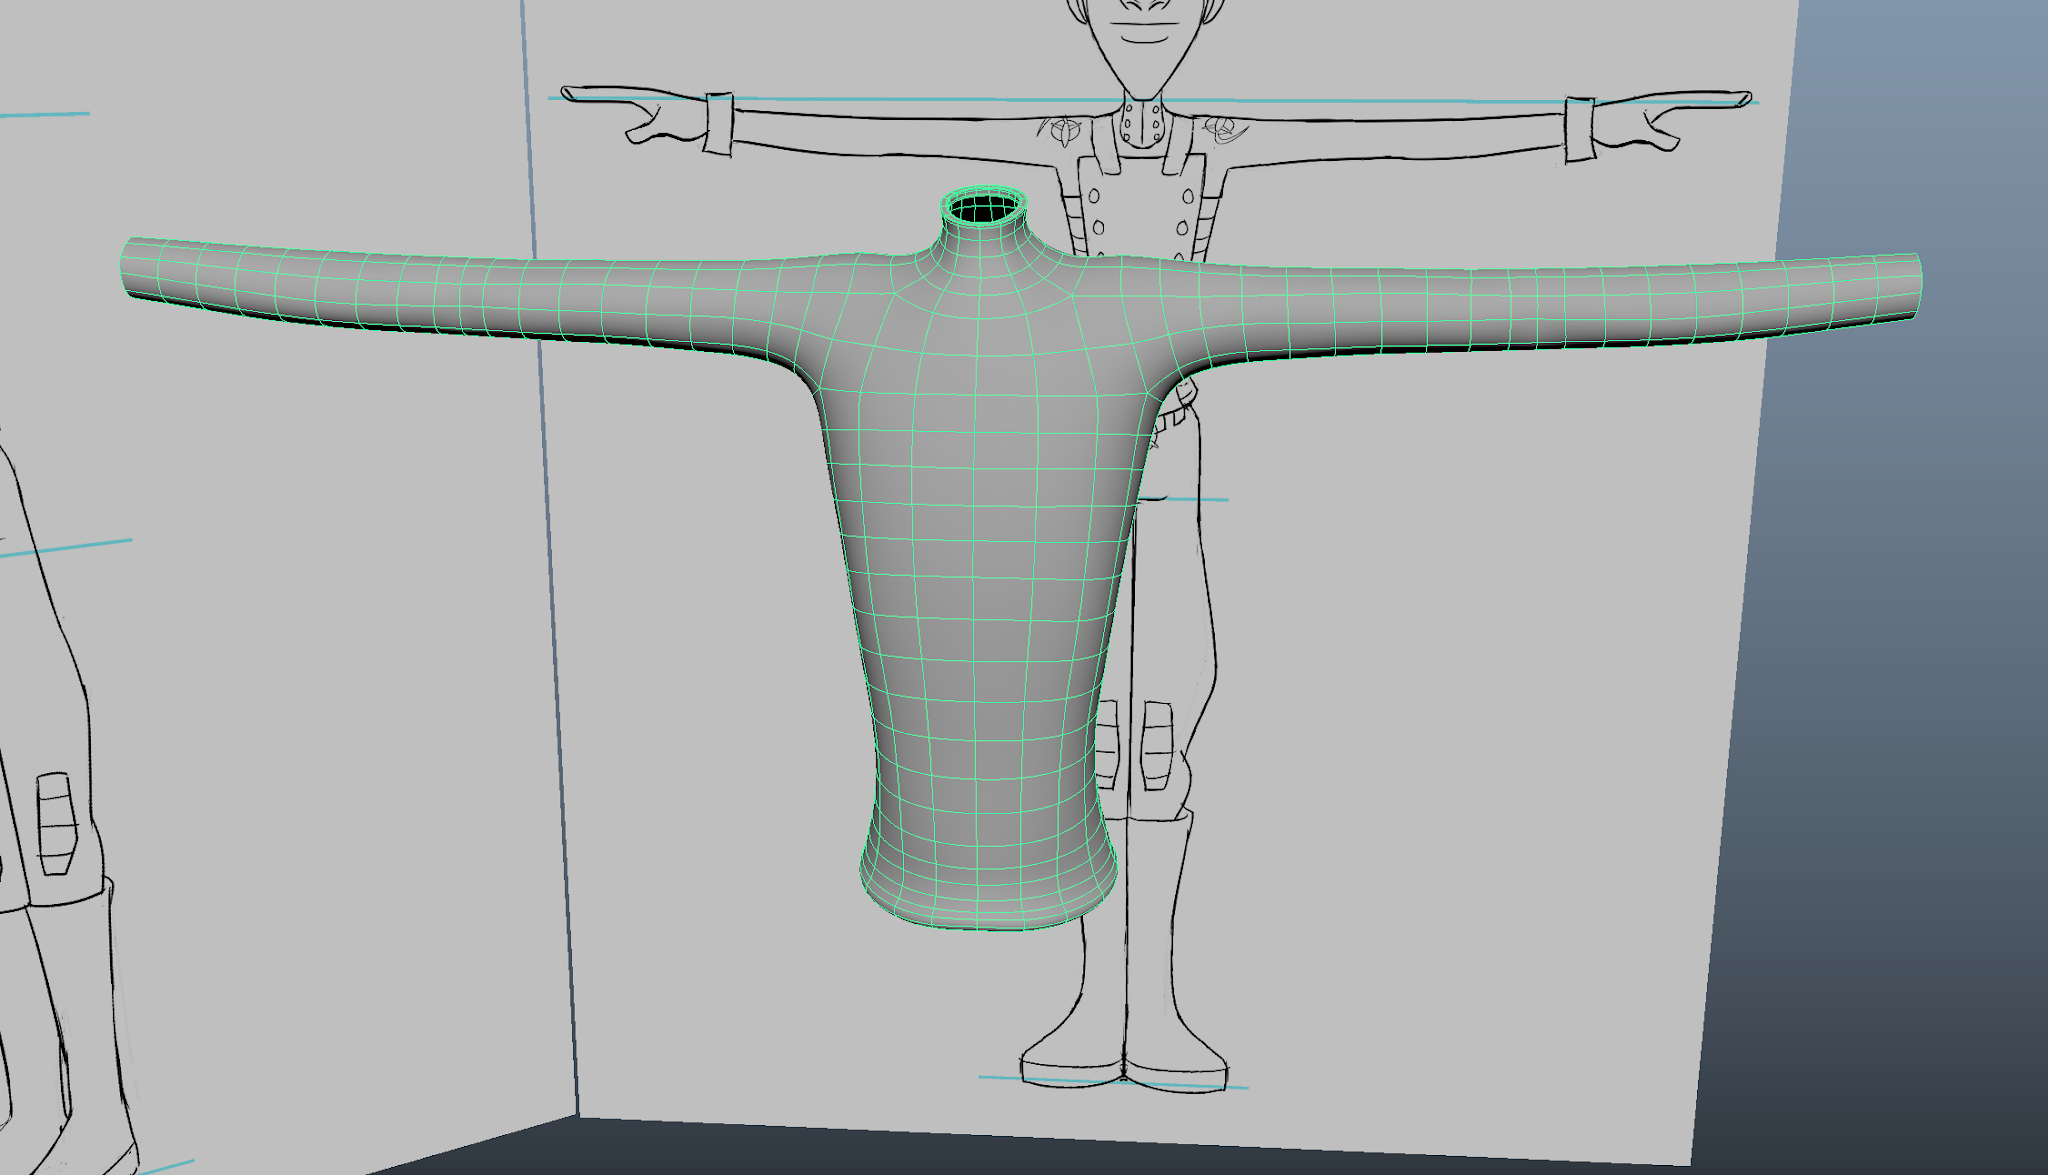
Removing half the model and re-scaling the vertices to the center, we pull out the arm edge to the edge of the wrist. Using the front view. we create our first loop where the elbow would be. This will give us our bend in the arm and we can use the weigh to position it correctly. Using the rotation, we can move the loop to match the orientation of the arm.
To make sure the loops work with our future skinning and gives us a good bend in the arms, we need at least 3 loops on both sides of the shoulder and the elbow. Straightening up the newly formed loops will allow the future placements to be well positioned. We then start sculpting the elbow by bringing in and then outwards the two loops on each side.
Placing loops at the halfway point in the upper arm, we scale inwards and continue adding loops. We repeat this until we have 6 loops on each section. Once all done, we start to bringing out the volume in the bicep, then use the Relax Tool to even out the geometry. We need to check all views to make sure the volume is correct, repeating this in the forearm but thinning inwards around the wrist.
When modelling the arm, we need to have a small knowledge of real anatomy so to not create something really obscure. The under hang in the front orthographic is not natural, so we have to be careful when we approach it and make it more subtle. We need to take some time to clean up and make it smooth, thinning areas where needed. If its seems hard to remove lumps/ bumps, we can use the Average Vertices to help smooth.
Finishing with the elbow, we can select the two foremost points and push them back to give us a small crease.
Finalizing the bottom of the shirt, we first mirror the torso and select the bottom most edge. Exuding via thickness, we bring the edge inwards towards the trousers in the orthograpths. Using the symmetry, we smooth out the angle and work to make it even. Holding shift, we place a loop on each side of the edge so to give us the more rounded shape wanted. If needed, we go back in and add more volume.
Going back to the neck, we select the top edge and exude inwards via the thickness. We need to be able to fit this opening with the neck, then place in a slight drop. To finish this area, we add a few edge loop to stop the edges collapsing when smoothed.
 |
| Finished Torso |


No comments:
Post a Comment
Note: Only a member of this blog may post a comment.