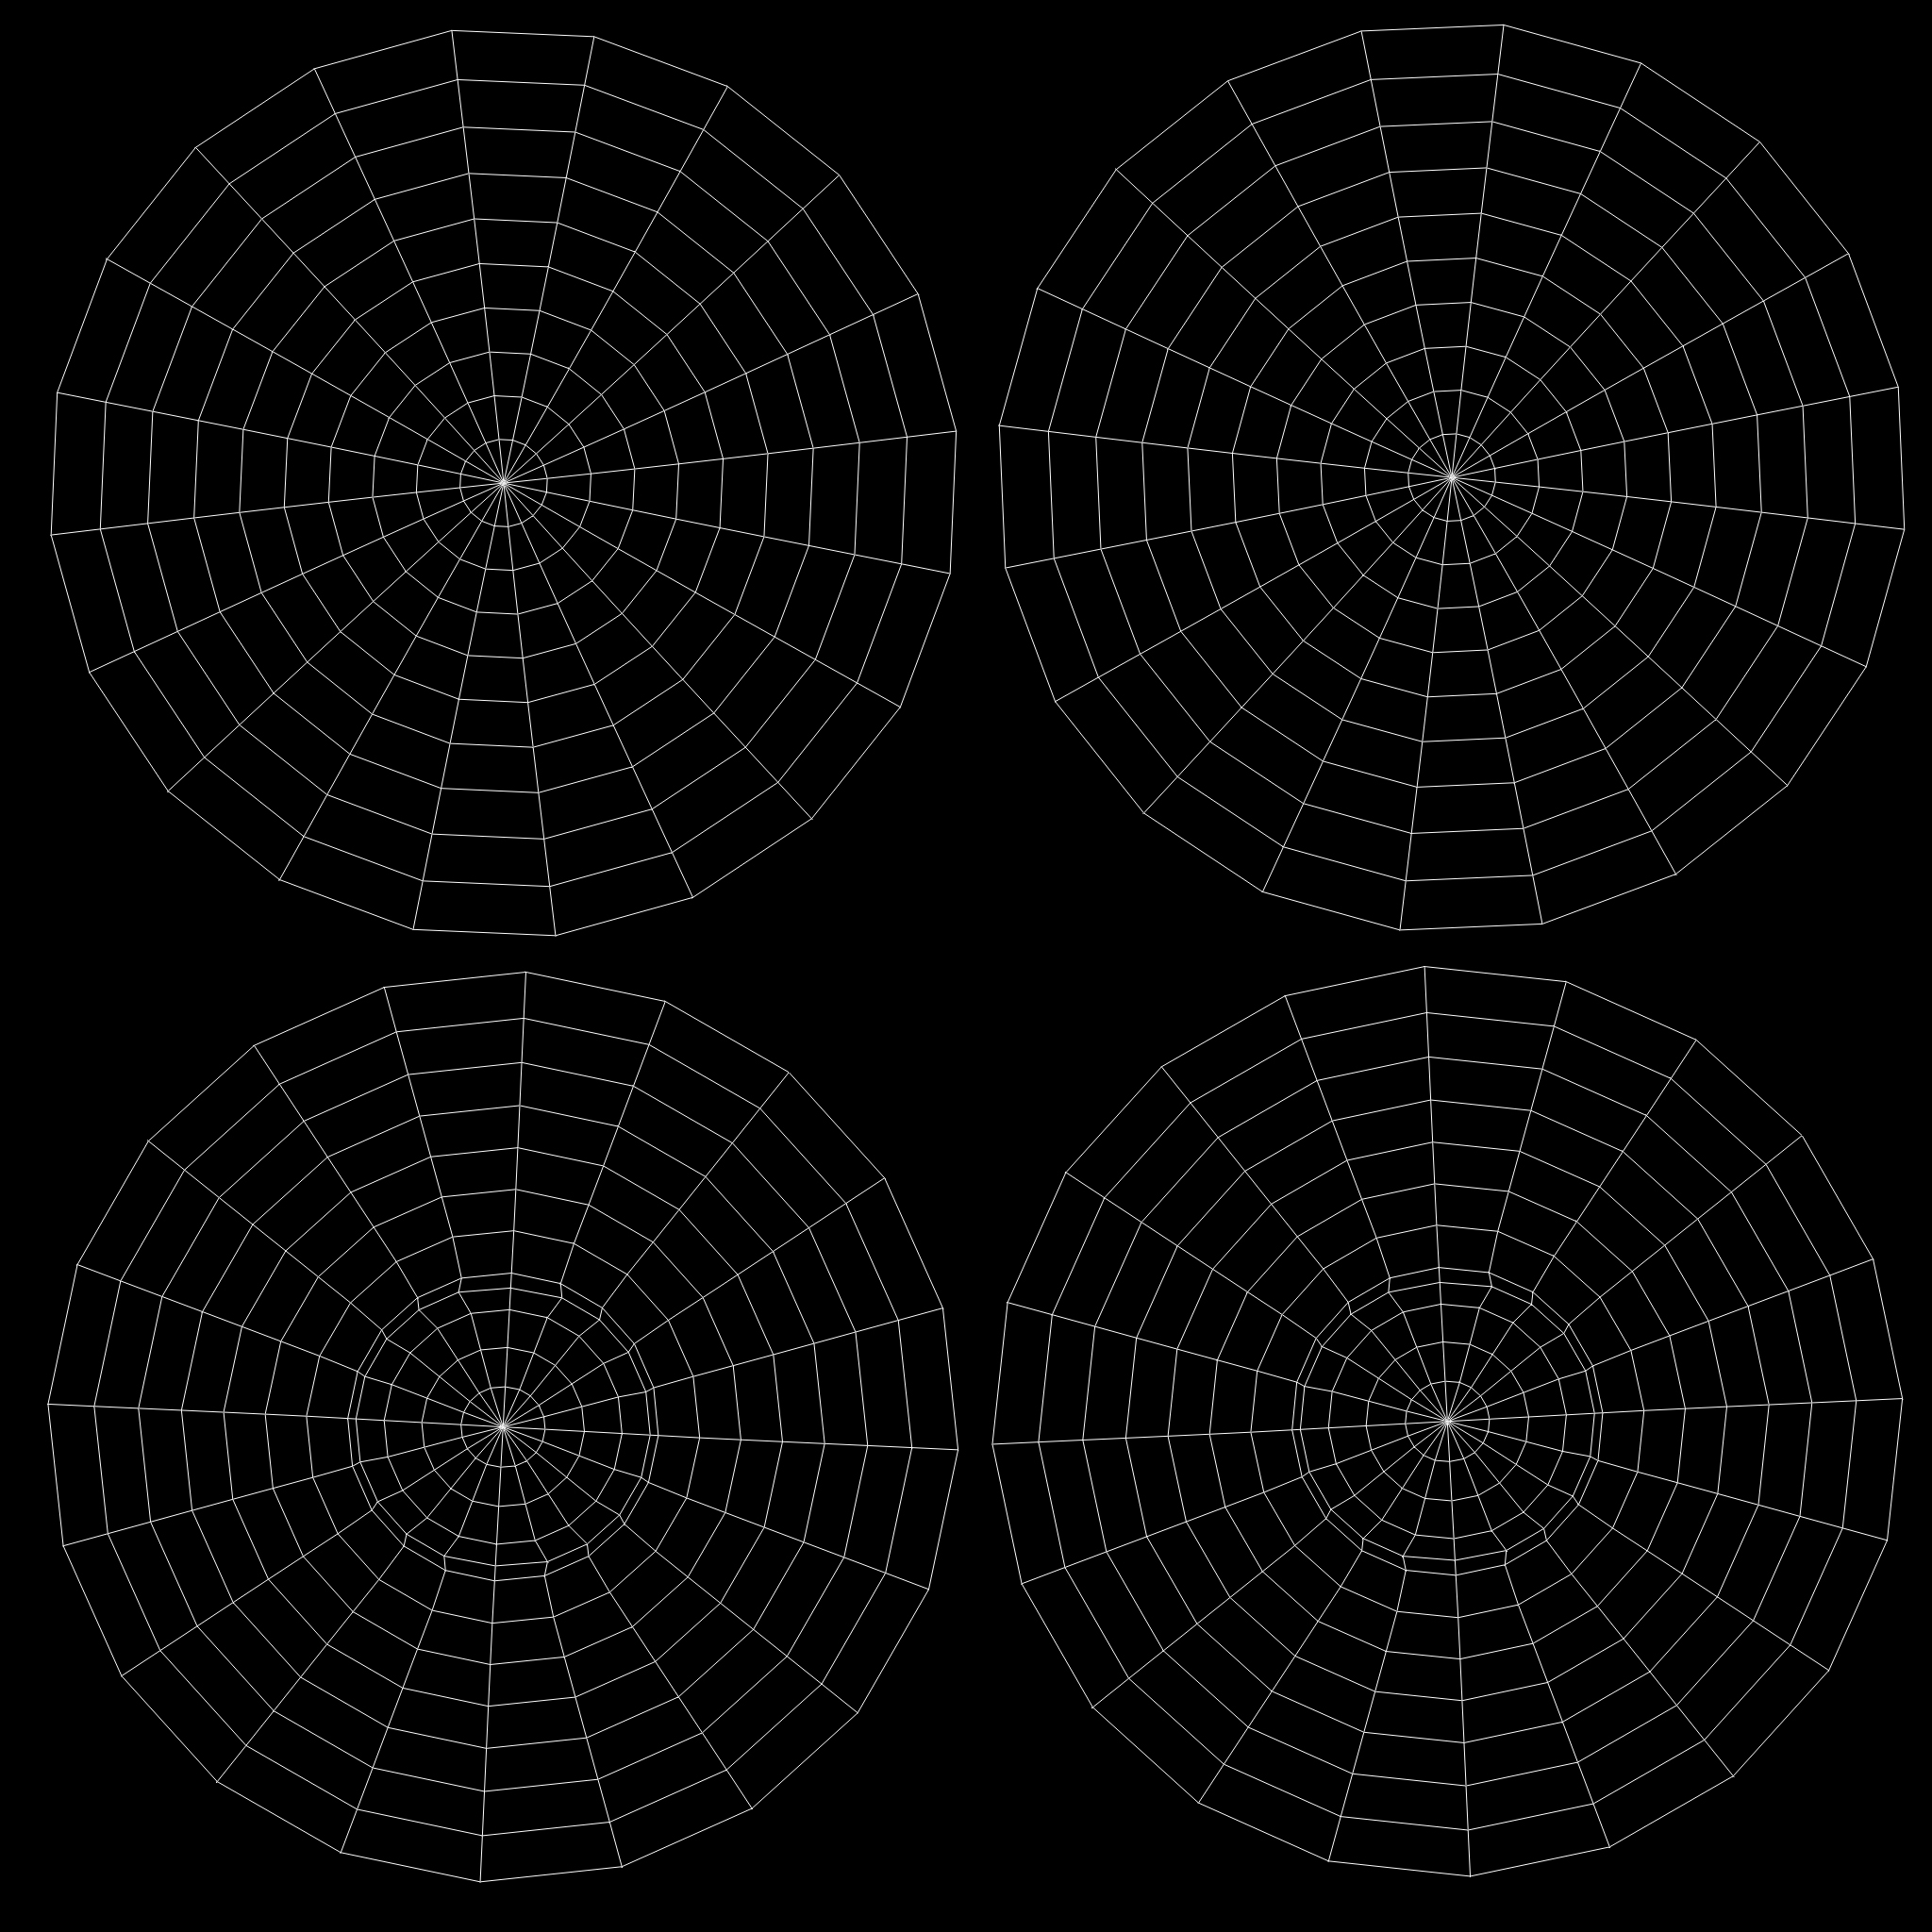
Following the completion of the modelling process, we move onto laying out our UV's ready for texturing. The head and body have been split up in to sections to allow for accurate texturing.
As our model have been mirrored, the right side of the UV's are hidden under then left. Selecting the Right side, we flip the UV's so they show in the editor and do some manual work where needed.
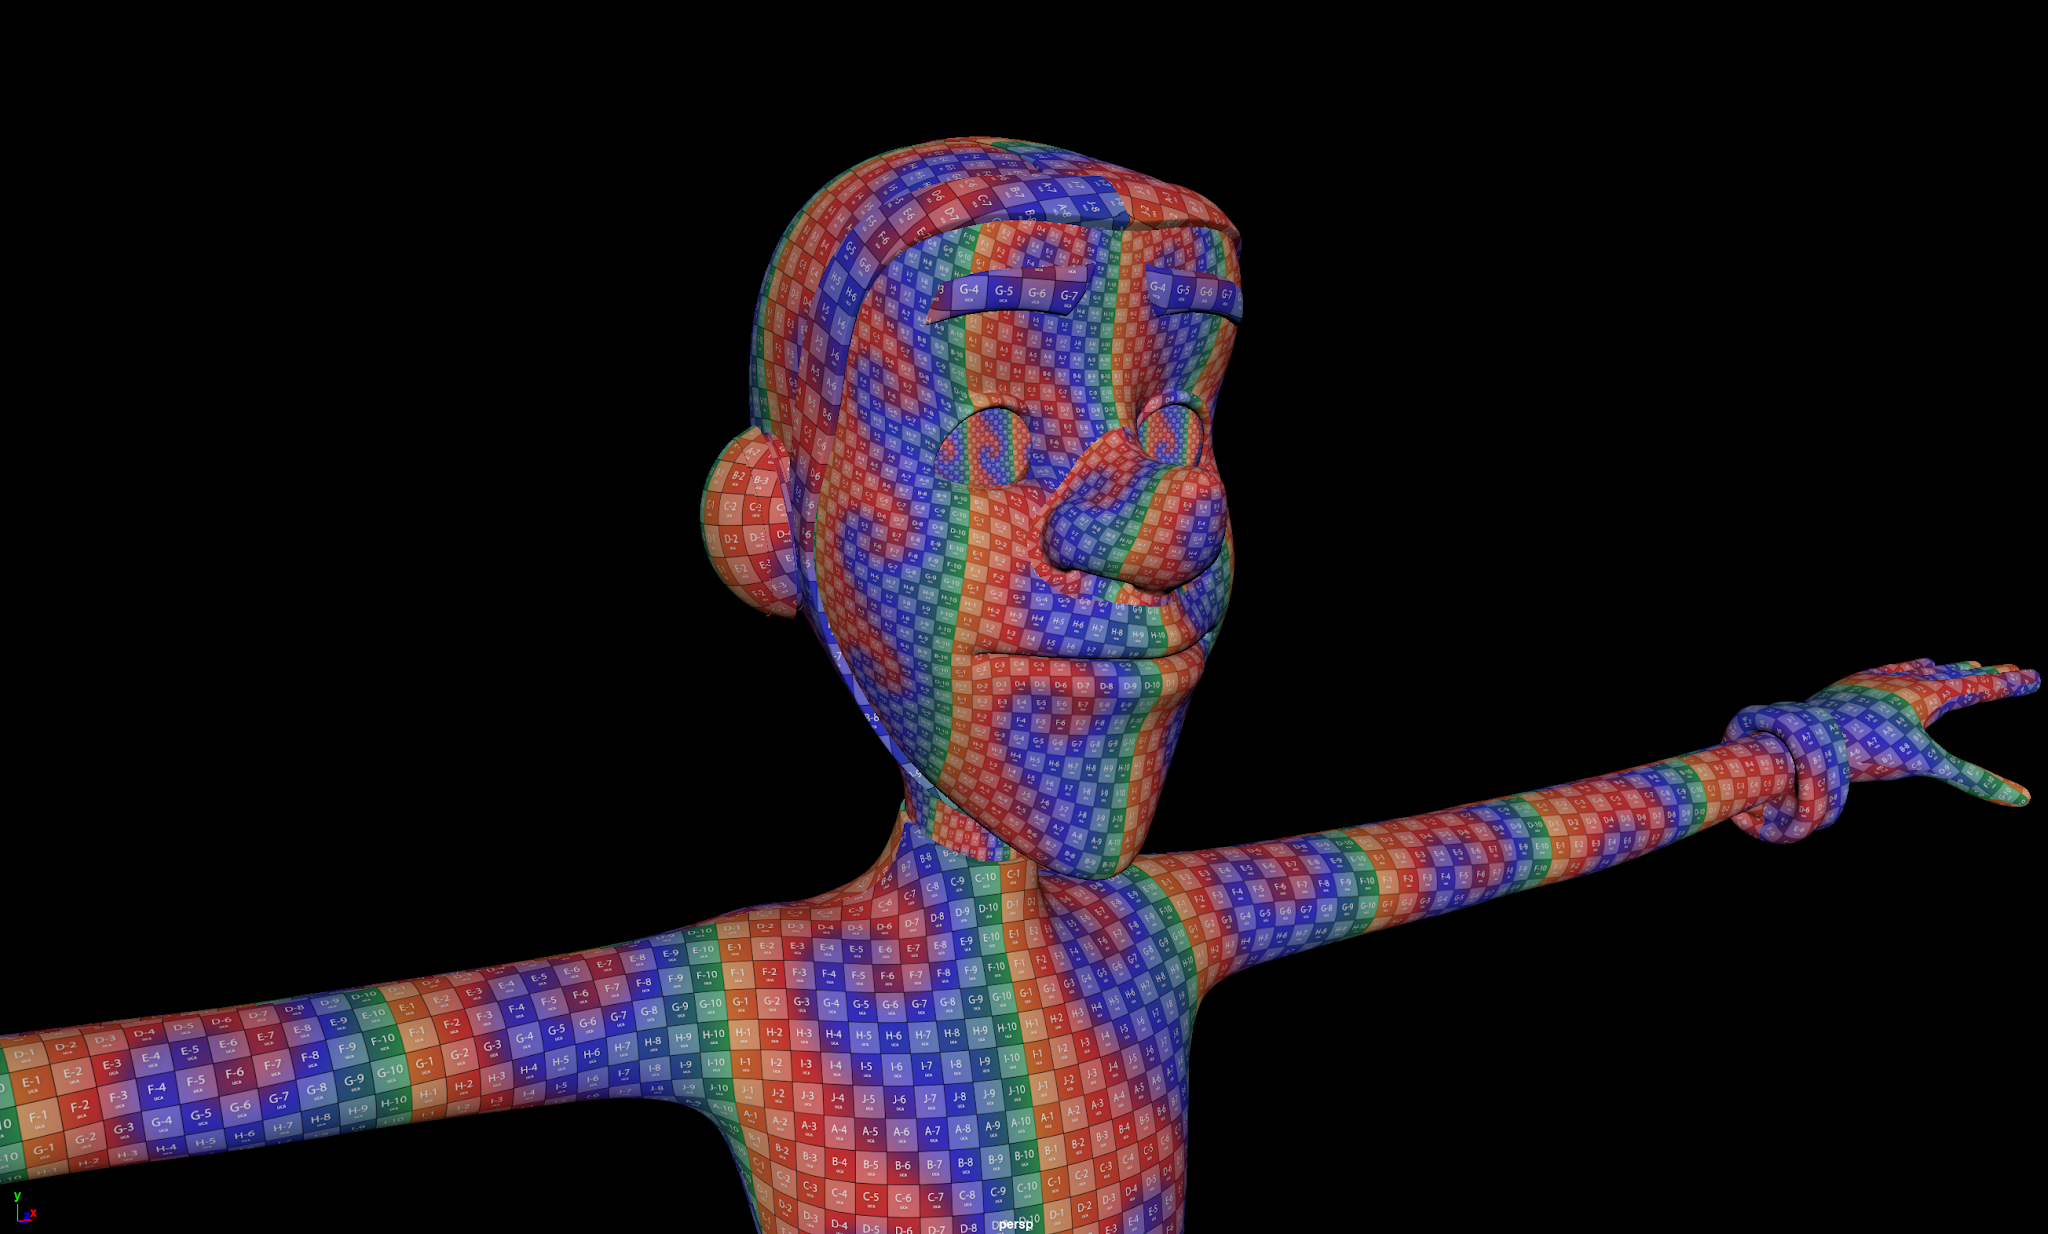
Creating a lambert, a texture map provided by UCA was plugged into allow us to check for any stretching. If there is stretching present, resetting the size via the layout option may reduce it. The UV maps need to exported as a Tiff, these can be placed in photoshop and then the textures can be painted on.
Following this, we will move onto rigging and skinning.
 |
| Eye UV's |
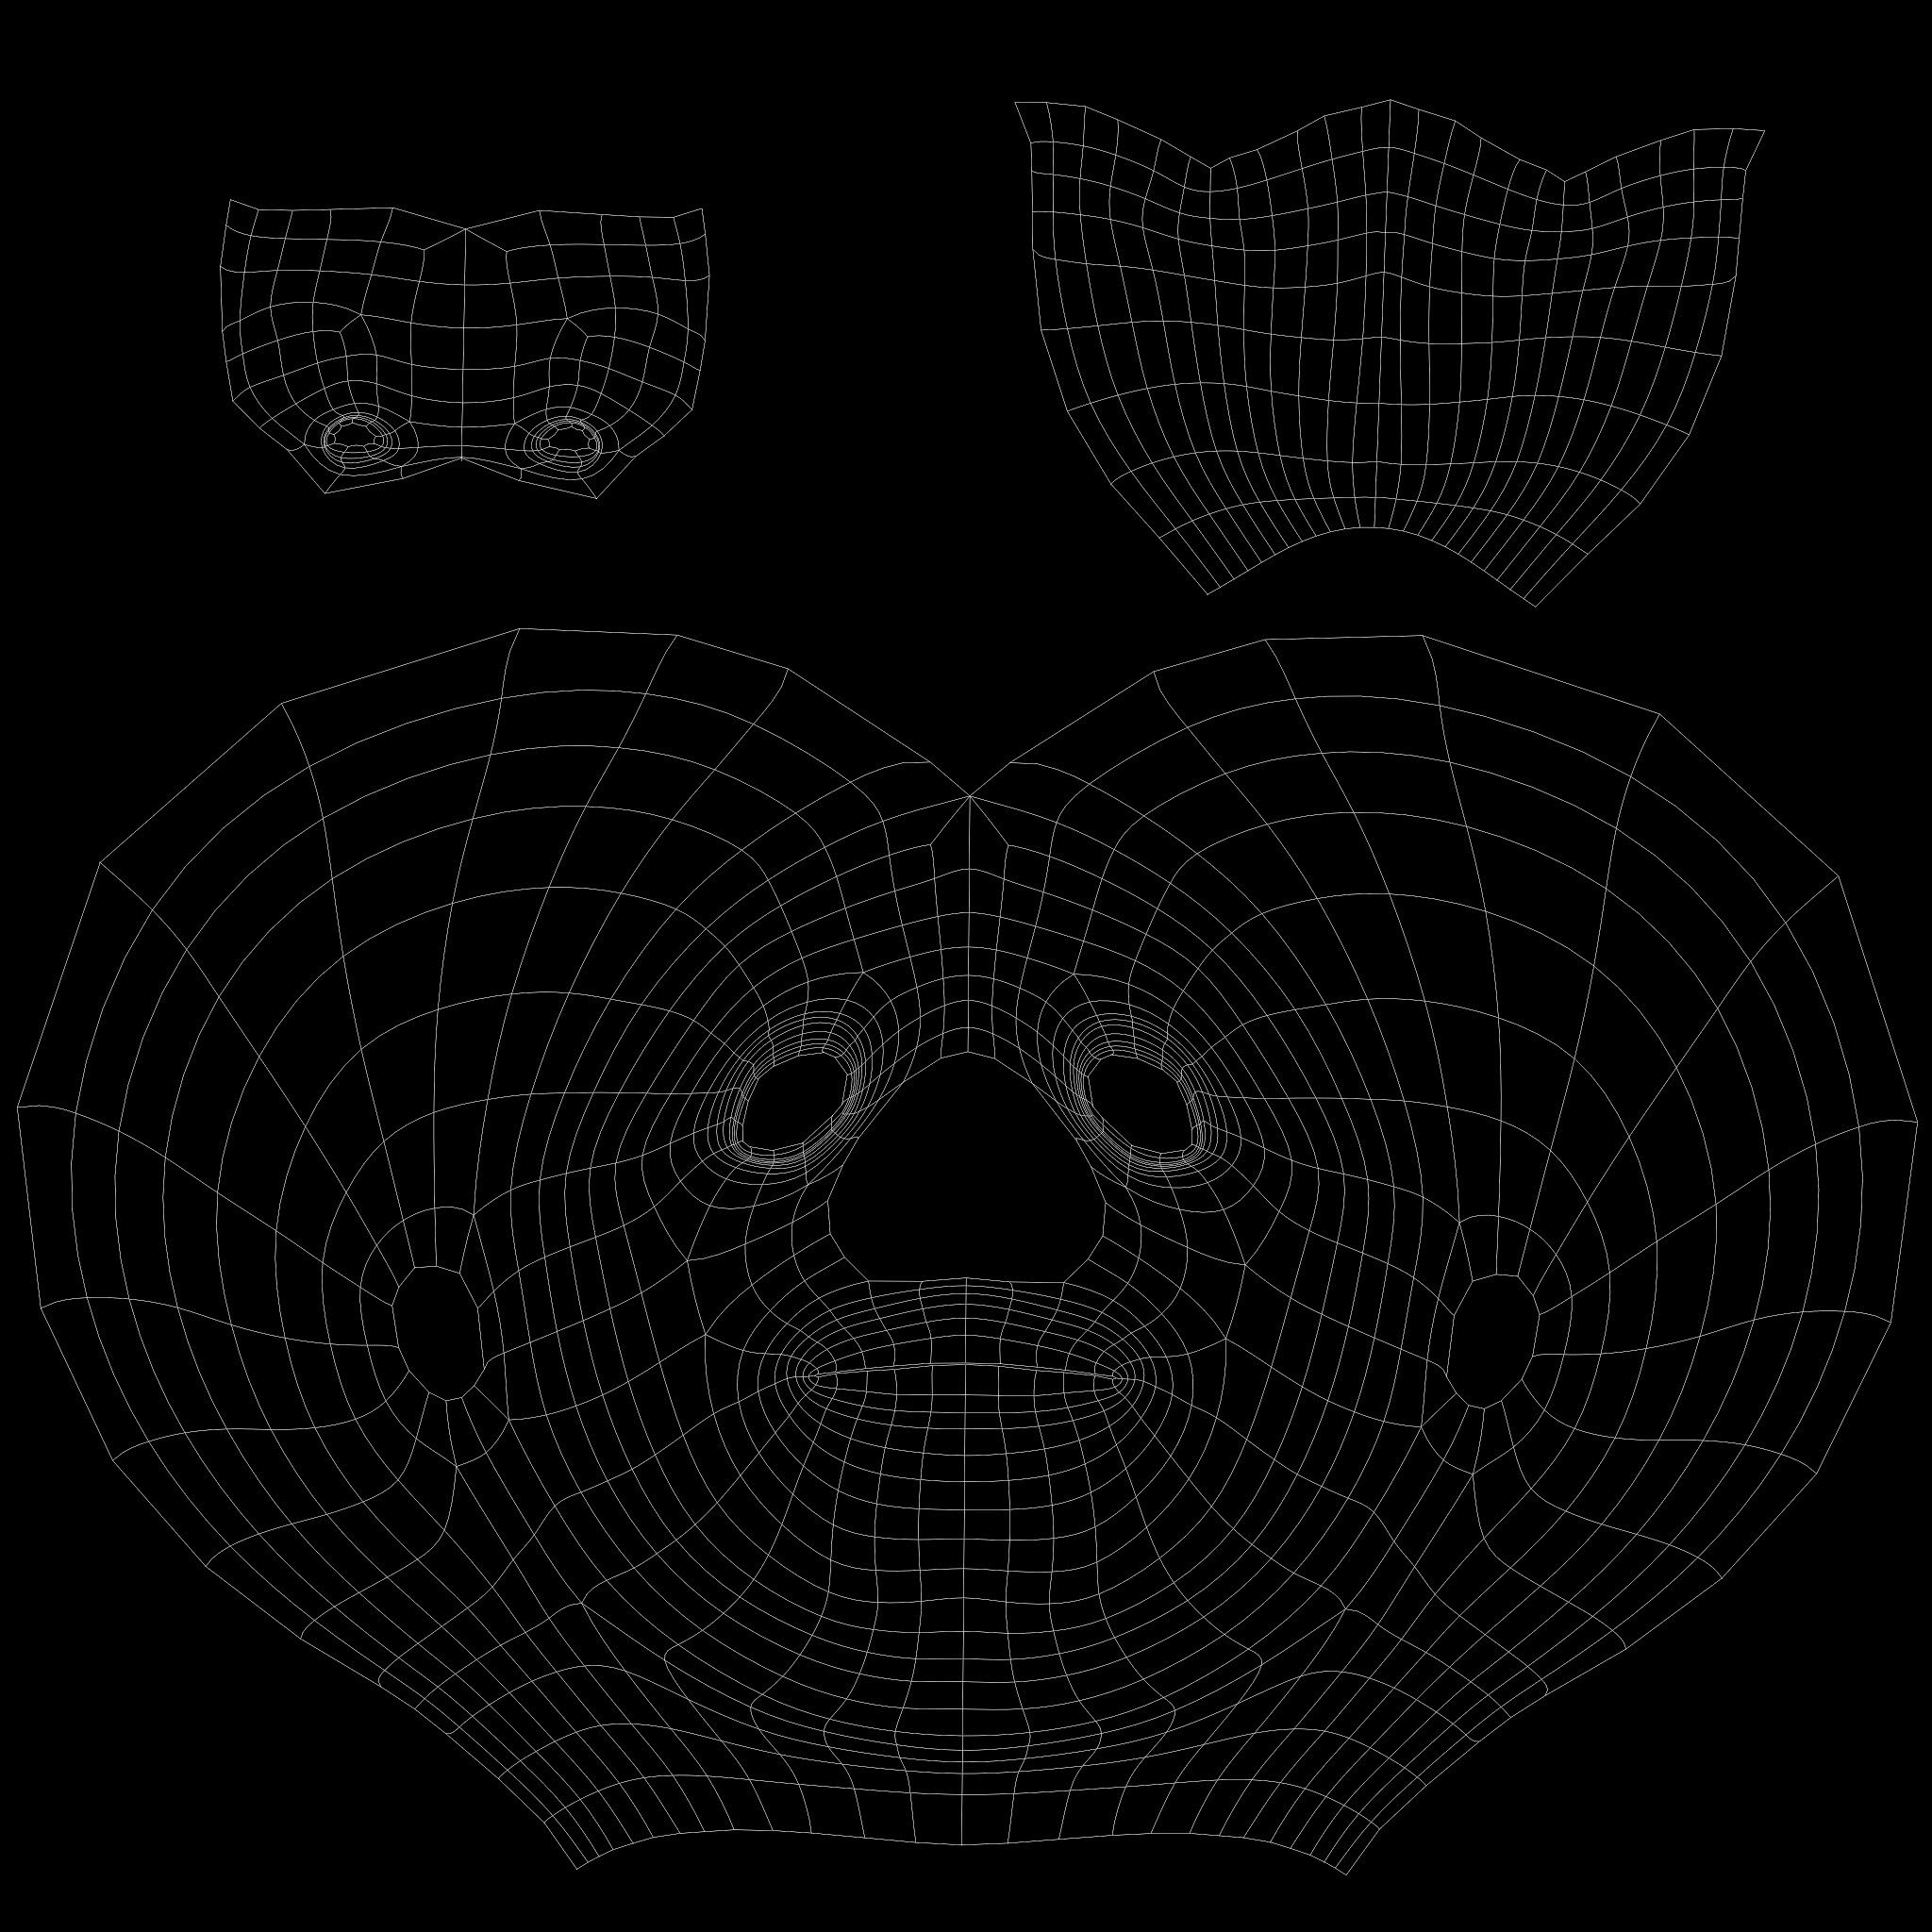 |
| Face UV's |
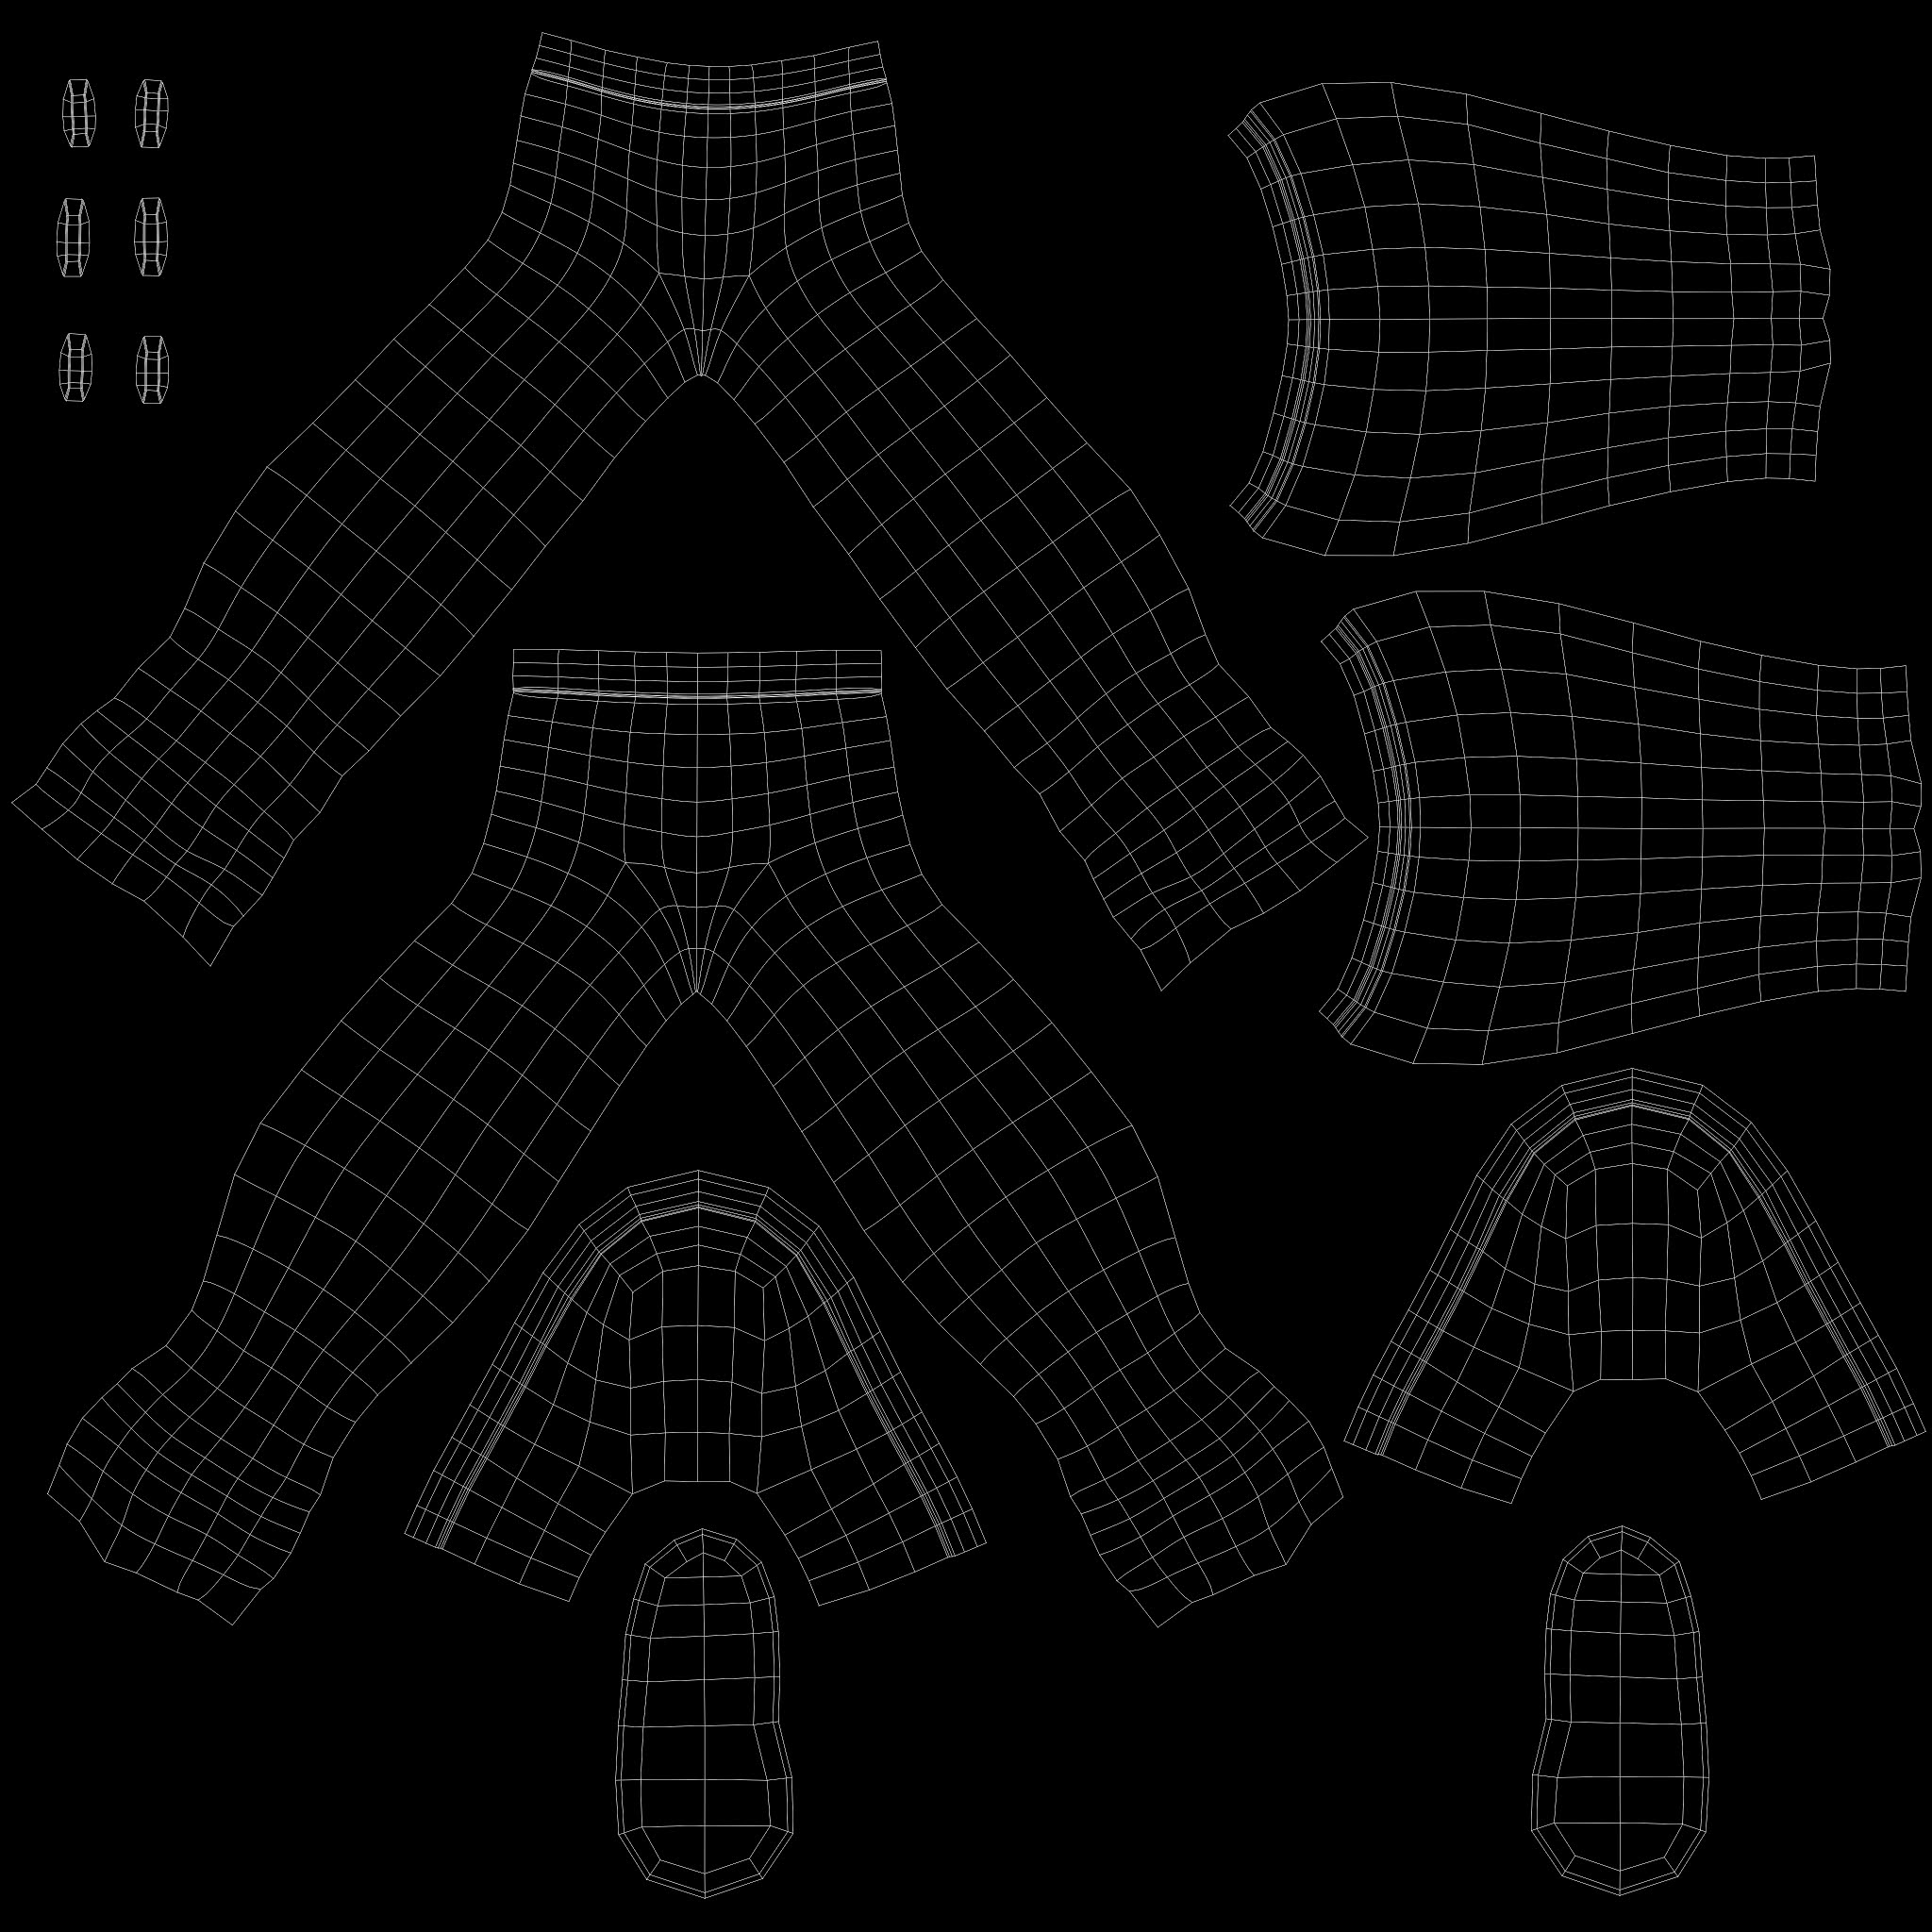 |
| Leg UV's |
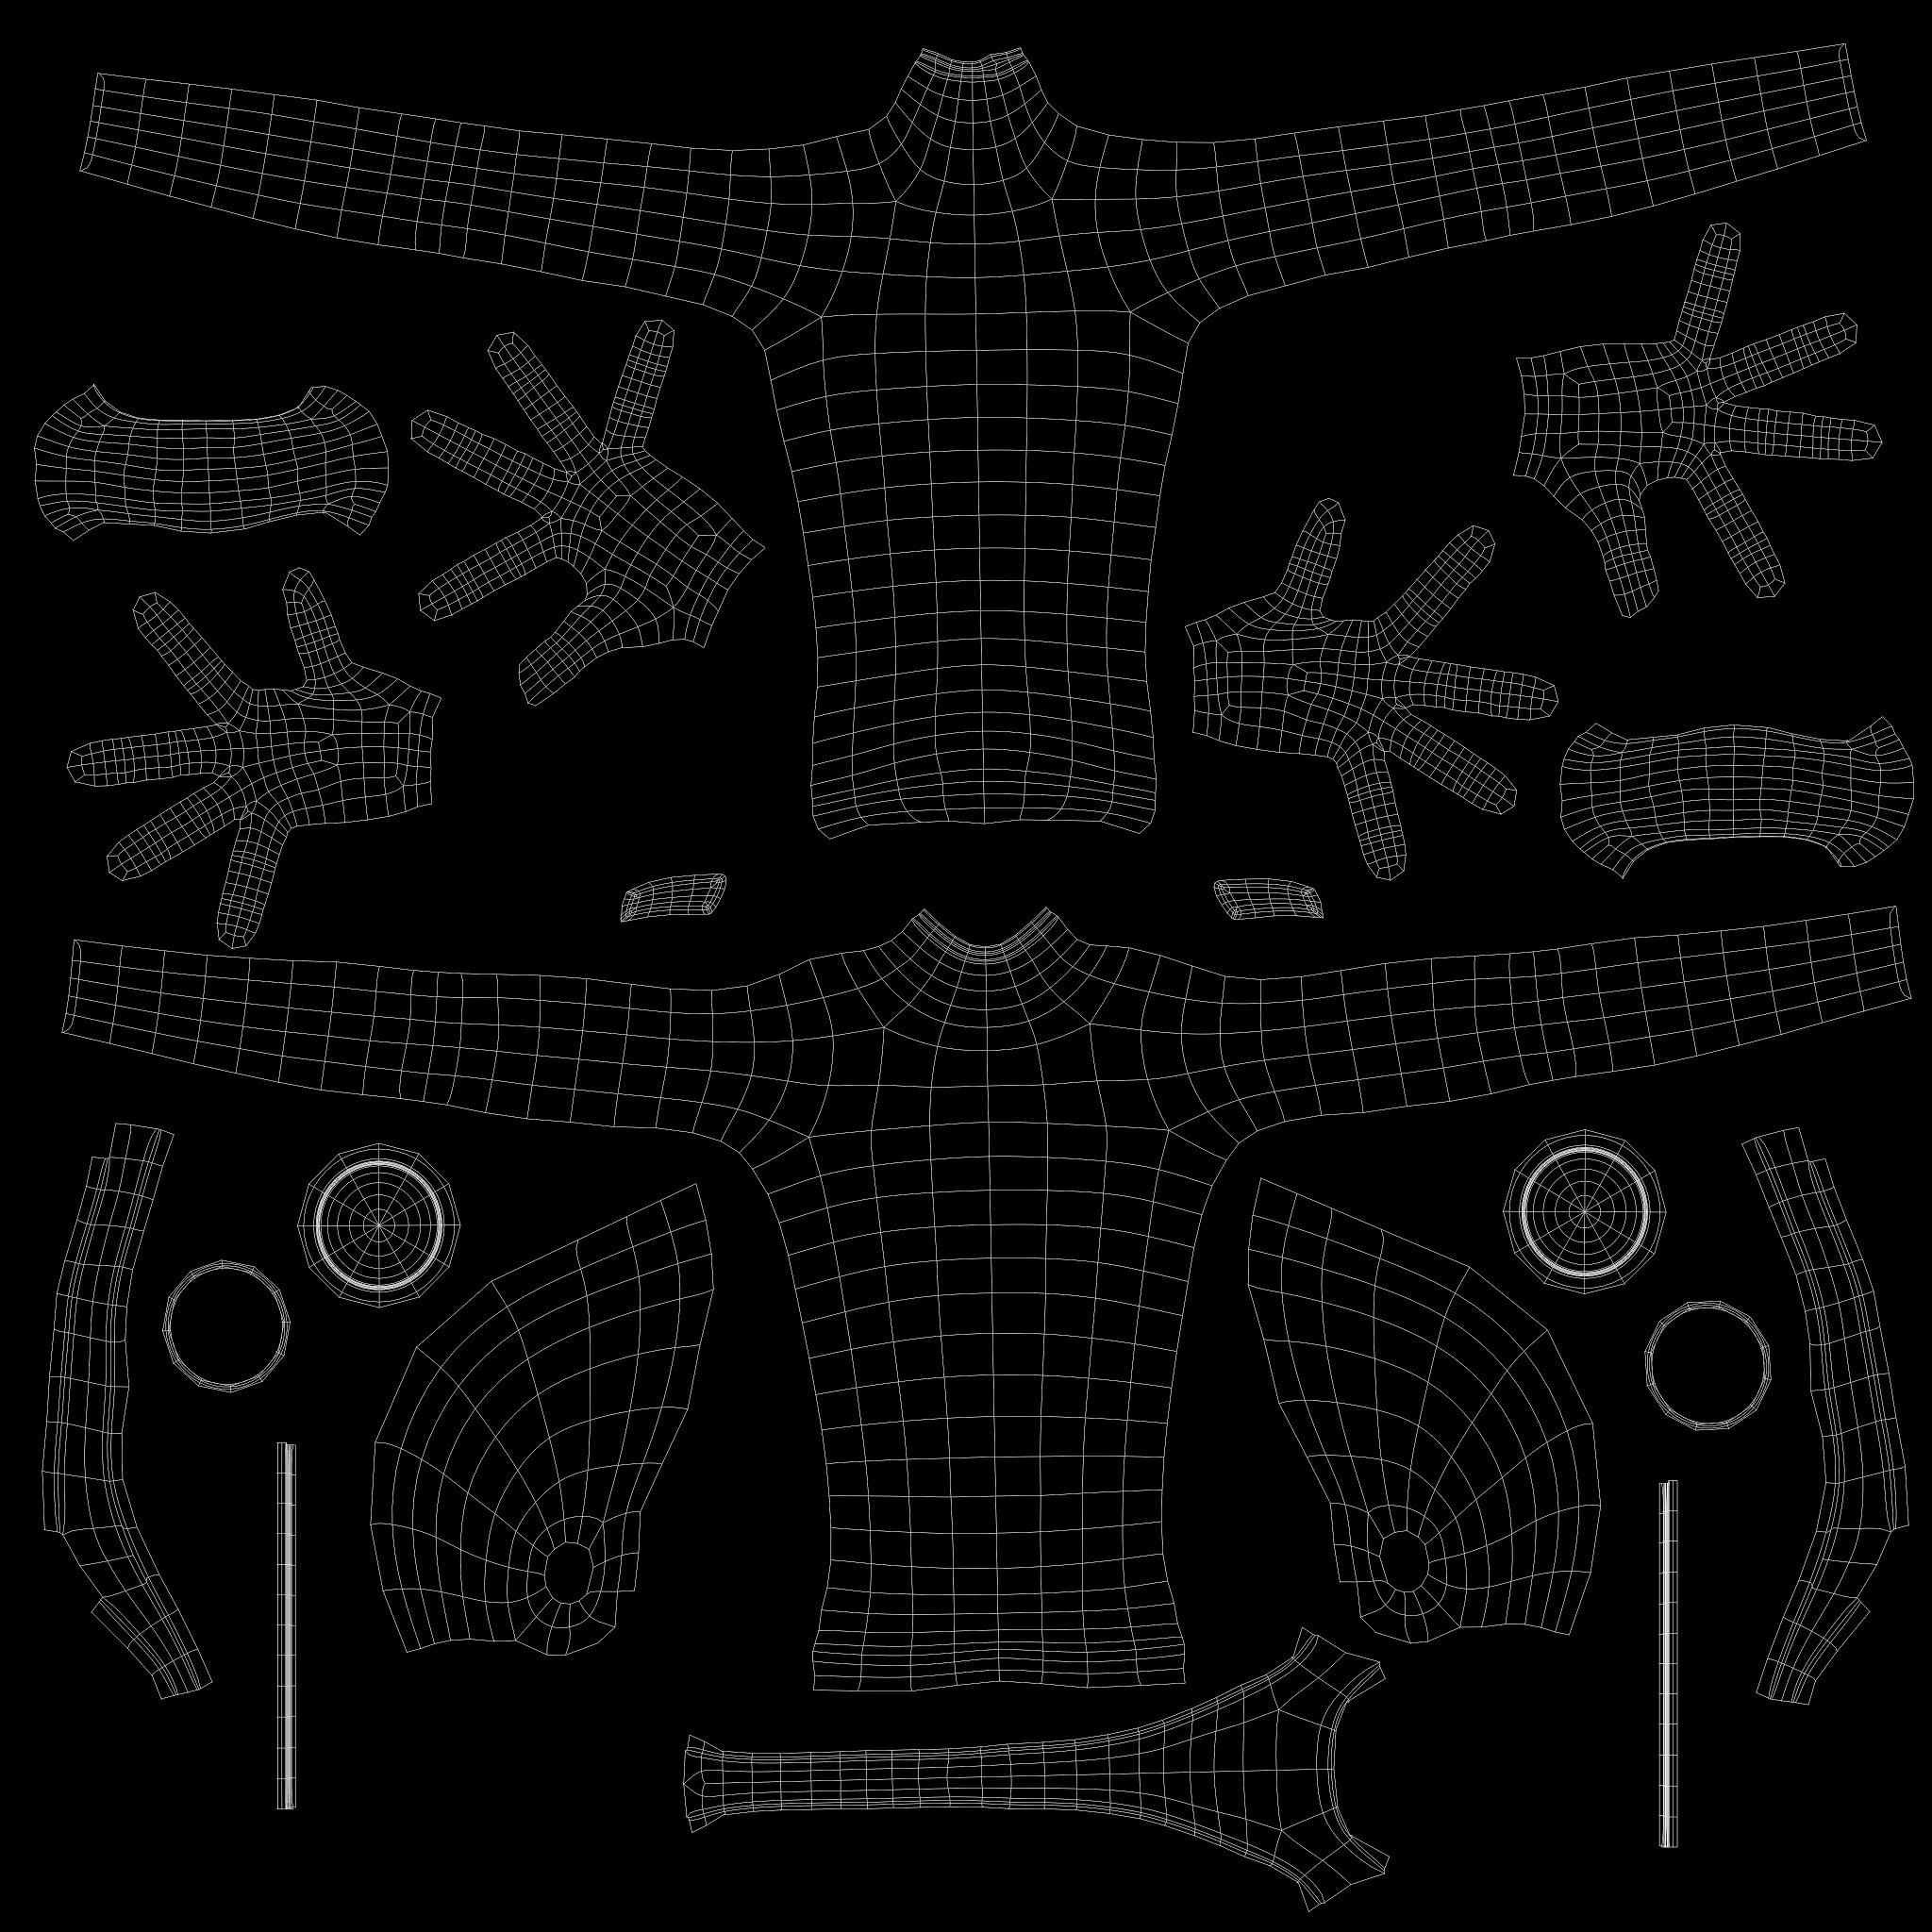 |
| Torso UV's |
 |
| Texture Mapping Lambert |


No comments:
Post a Comment
Note: Only a member of this blog may post a comment.