Before anything else, the next task was to make the Fence and and Ground Layer, placing based Surface shaders for colours. Bringing all the elements together in a new scene, using a layout map for the correct placement and sizing. Also, A sky dome and directional lighting was entered so to gain a idea of shadowing and light reflection. Also, a new camera was created and placed to get the best shot for our fully rendered scene. Basic shadard shaders was placed on all the main objects to give a base colour.
After creating and lining up our UV's for the Barn walls, Coop panels and flooring in the UV editor (in the 1-0 graph to make sure we have correct sizing and wrap), we then transferred the saved UV snapshot's into Photoshop. Once place on a layer, Screen mode allowed us to see the faint outlines of the objects on the main colour, which we had selected from the gammar corrected swatches. To make our wood panels grains, liquify help to create a natural wave and placing a added detail of wood knots gives more variation. When happy with our grains, we multiplying and rotate them to stop repetitiveness. As all the textures was positioned on both sides, they was then saved as a .Tiff file, and placed in Maya on the AiStandardSurface.
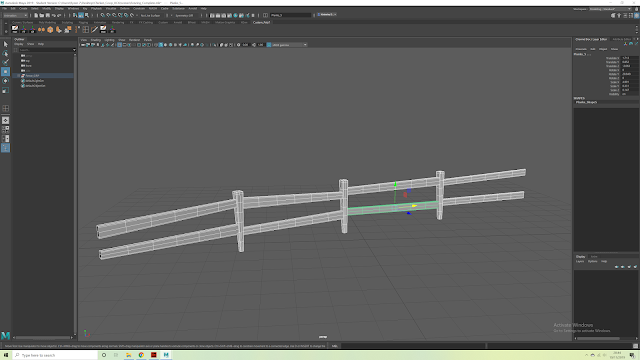 |
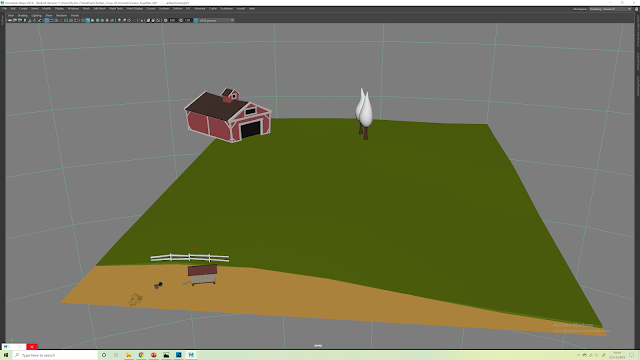
| Fence Model |
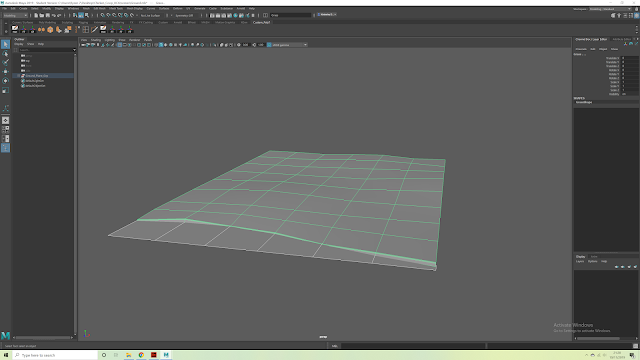 |
| Grass and Sand using two plane polygons |
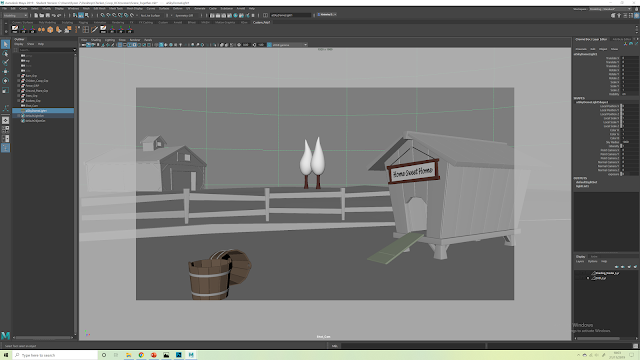 |
| Scene items and Shot-Cam placed for Rendering |
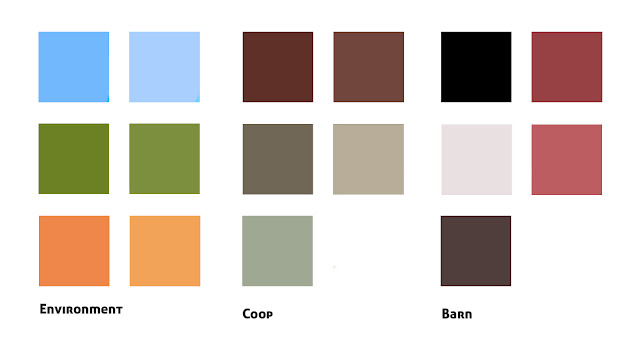 |
| Original Swatches |
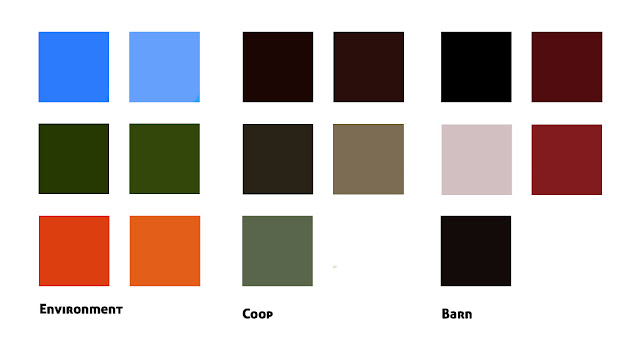 |
| Gammer Corrected Swatches |
 |
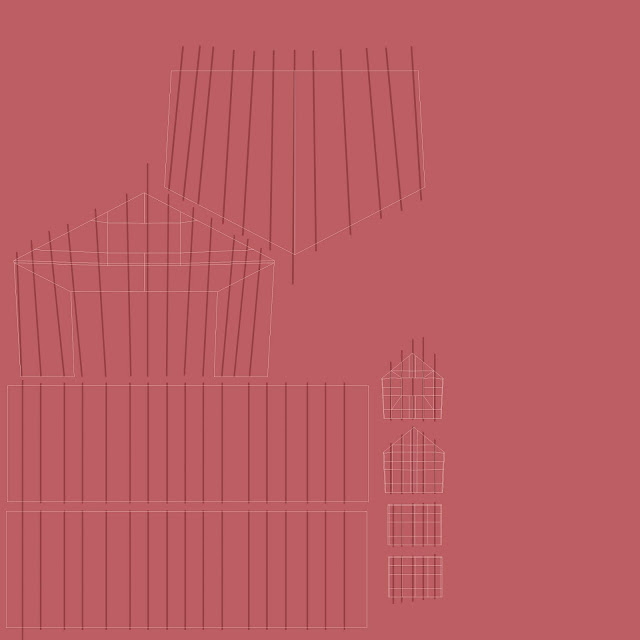
| Block-Shaders added before Texturing |
 |
| All Block-Shaded |
 |
| First Rendered View with Directional Light |
 |
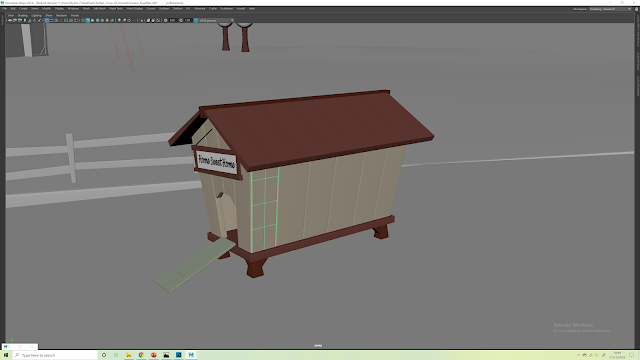
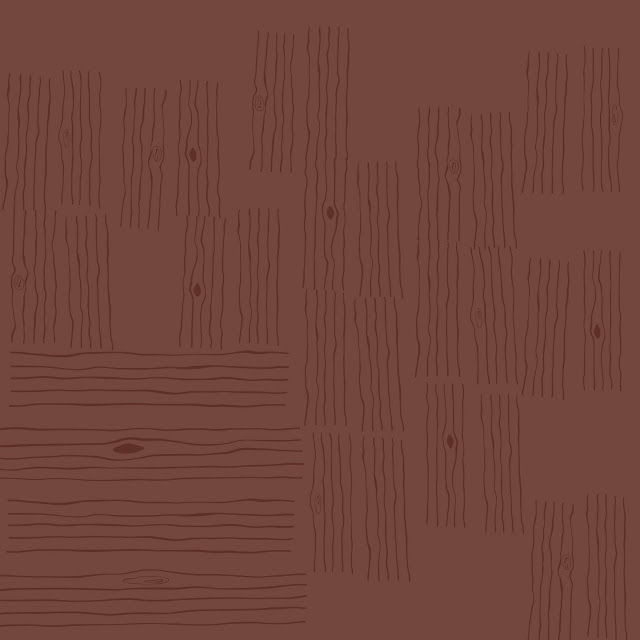
| Barn Textures |
 |
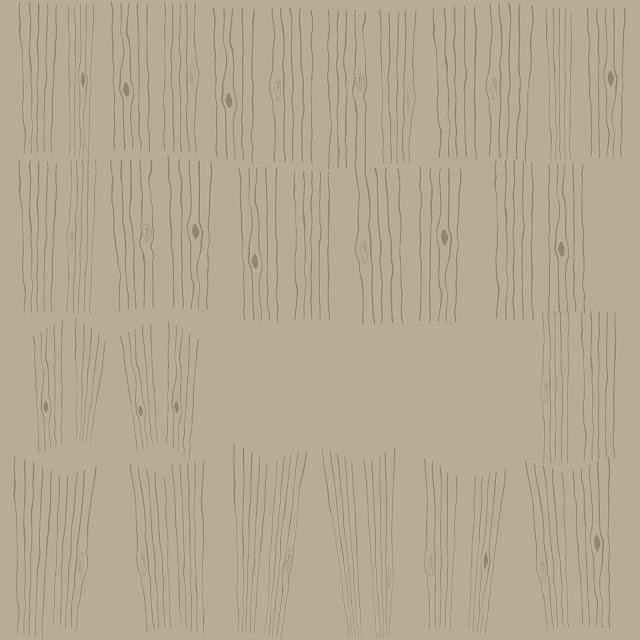
| Coop Roof and Floor Textures |
 |
| Coop Panel Textures |
 |
| Ground Textures and Stipplings |
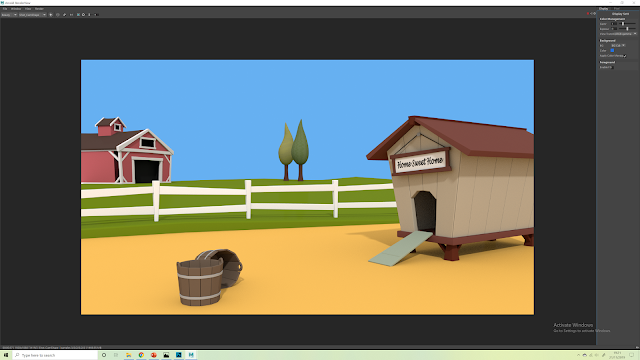
For the Sky, to break up the solid blue from the Arnold Renderer. we created a sphere and blew it up to 300 (then reversing it so the light side was face the scene). Adding the Ramp shaders allowed for more then 1 tone, giving a more natural sky appearance. Once again, using the gammer corrected swatches (done in PS), the best colours where chosen. Then the shy and scene individually saved as a .EXR files, ready to be placed in PS for final alterations. In Photoshop, we slightly blurred the sky with Gaussian Blur to give a slight wrap around the objects, and giving more interesting effect. Now all completed, the whole scene was saved back out a .JPEG, ready to be used in other areas.
I feel the shadows have gotten lost some where or have become overly soft, but for a first attempt its turned out well. Now I have a small idea on how to create a scene in Maya, hopefully it will become easier each time I make one.
Final Fully Rendered Scene


No comments:
Post a Comment
Note: Only a member of this blog may post a comment.