The current Progress with the Ink Pots, these was done using the presets on the AiStandardSurface (Chrome and frosted glass). I didn't want it to be overly shiny, so I increased the roughness. The second one gave me a little trouble as it was all modelled from one polygon., and this took a lot longer then hoped. I;m not sure if ill keep them like this, but it was good for experimentation.
Saturday, November 30, 2019
What If?Metropolis - Crate Textures and UV's
Moving into adding textures to my models, I started with the Crates. Firstly placing a AiStandardShader with block colours, then moving my UV maps into Photoshop. Once changing the UV's to screen mode, I placed a rough wood texture on Overlay, and used a rough textured brush to make the details. when it came to the second crate, already having textures meant I could copy parts and manipulate them to have a different appearance.
 |
 |
| 1st Crate with Textures |
 |
| 1st Crate with Block Shaders |
 |
| 2nd Crate with Textures |
 | ||
Both Crates Textured
|
 |
| Crate 1 Frame - Dark Wood |
 |
| Crate 1 Dark wood Texture |
 |
| Crate 1 Light Wood Texture |
 |
| Crate 2 Dark wood frame UV's |
 |
| Crate 2 Panels UV's |
 |
| Crate 2 Panels Textures |
Friday, November 29, 2019
What If? Metropolis - Continued Models
Coming to the last of the modelling for the internal environment, I have completed the Hero Props of the Cabinet, Table (and Bench) and the light. Also, I have modelled some other items, these are not going to have UV's but will just have AiSurfaceShaders. These items will be placed around the room, duplicated and transformed slightly. I have made inkwells, paper piles (Although I'm not overly happy with these), arches, books and brown shipping bags. There may be another smaller lamp to add, but this comes down to time. There is still the completion of the matte Painting and lighting to consider. I now have to set the UV's, sort any out that are wrong and think about transferring into photoshop for texturing.
 |
| Cabinet (Hero Prop) |
 |
| Cabinet (Hero Prop) |
 |
| Table (Hero Prop) |
 |
| Table and Bench (Hero Prop) |
 |
| Arches (these can be transformed to fit the Matte Painting) |
 |
| Shipping Bags (May be painted) |
 |
| Shipping Bags |
 |
| Books (one open and closed) |
 |
| Books |
 |
| Ink Wells |
 |
| Paper Piles (I may redo these) |
Tuesday, November 26, 2019
What If? Metropolis - Crate Modelling
Carrying on with my What If? Metropolis - Diomira Internal Scene, I have made a couple of creates that I will duplicate as background objects. These will have basic shaders. However, I need to experiment with sizing, these are a general size, so I need to figure out a way of shrinking and rotating them without causing distortion.
 |
| Crate 1 |
 |
| Crate 2 |
 |
Maya Lesson - Final Chicken Coop and Barn Scene Renders
Before anything else, the next task was to make the Fence and and Ground Layer, placing based Surface shaders for colours. Bringing all the elements together in a new scene, using a layout map for the correct placement and sizing. Also, A sky dome and directional lighting was entered so to gain a idea of shadowing and light reflection. Also, a new camera was created and placed to get the best shot for our fully rendered scene. Basic shadard shaders was placed on all the main objects to give a base colour.
After creating and lining up our UV's for the Barn walls, Coop panels and flooring in the UV editor (in the 1-0 graph to make sure we have correct sizing and wrap), we then transferred the saved UV snapshot's into Photoshop. Once place on a layer, Screen mode allowed us to see the faint outlines of the objects on the main colour, which we had selected from the gammar corrected swatches. To make our wood panels grains, liquify help to create a natural wave and placing a added detail of wood knots gives more variation. When happy with our grains, we multiplying and rotate them to stop repetitiveness. As all the textures was positioned on both sides, they was then saved as a .Tiff file, and placed in Maya on the AiStandardSurface.
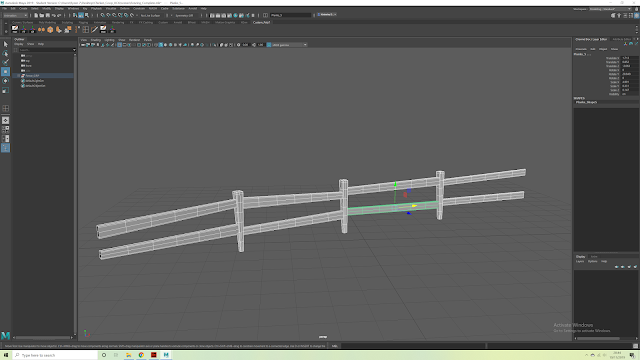 |
| Fence Model |
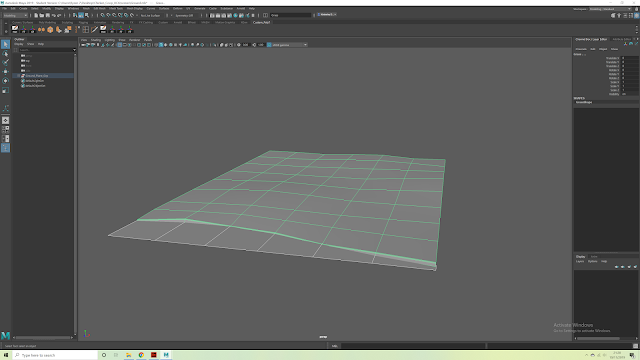 |
| Grass and Sand using two plane polygons |
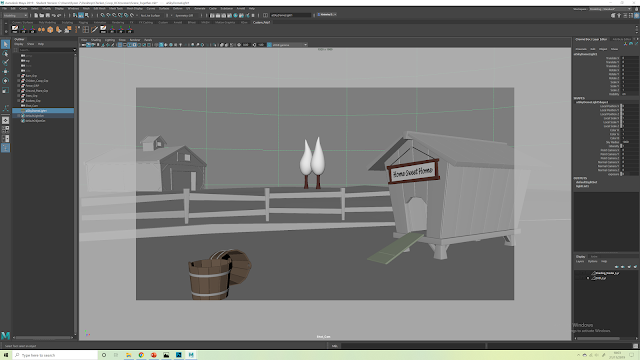 |
| Scene items and Shot-Cam placed for Rendering |
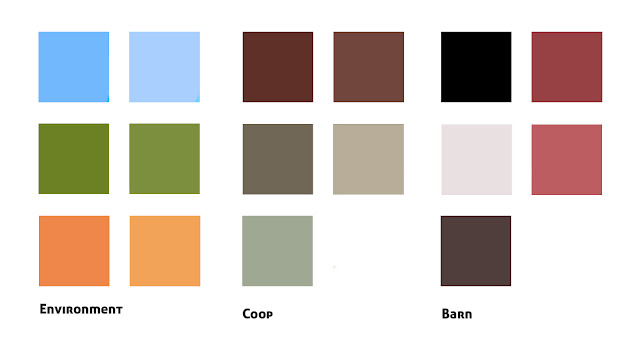 |
| Original Swatches |
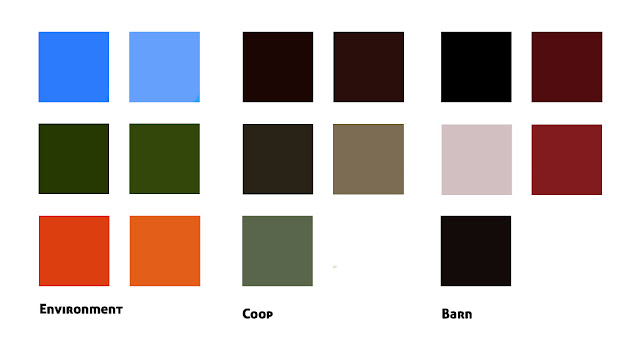 |
| Gammer Corrected Swatches |
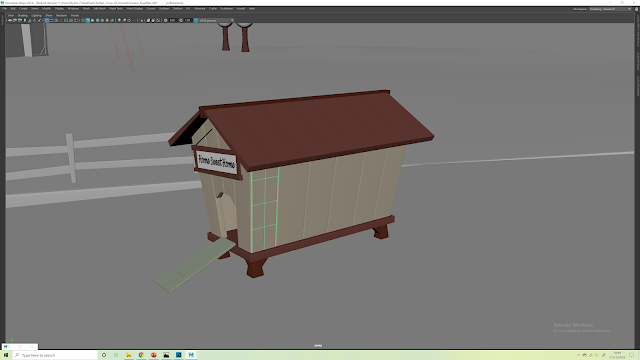 |
| Block-Shaders added before Texturing |
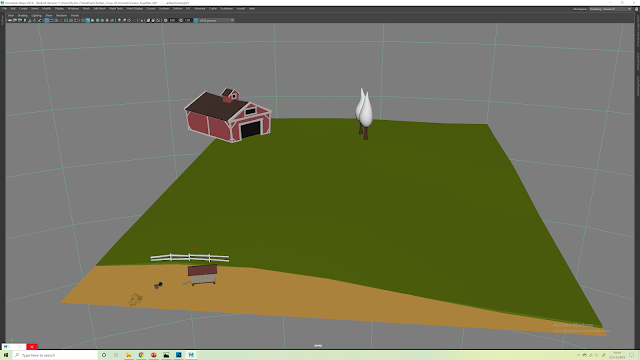 |
| All Block-Shaded |
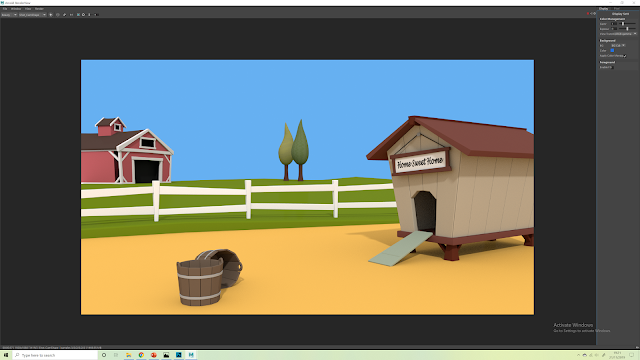 |
| First Rendered View with Directional Light |
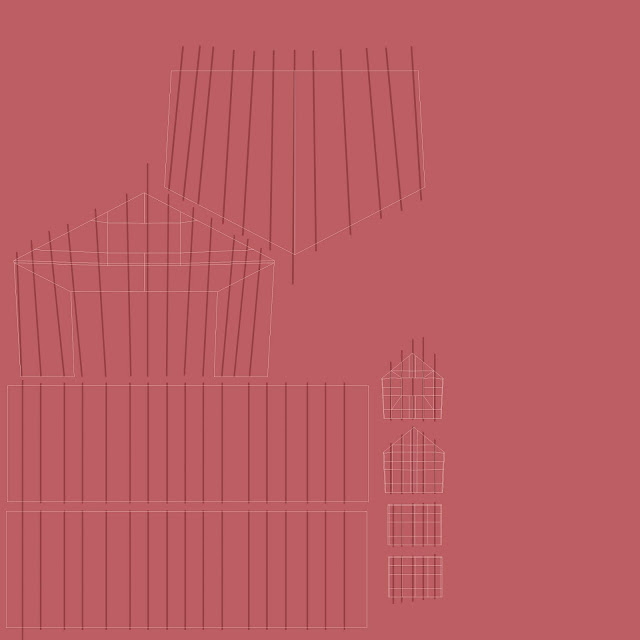 |
| Barn Textures |
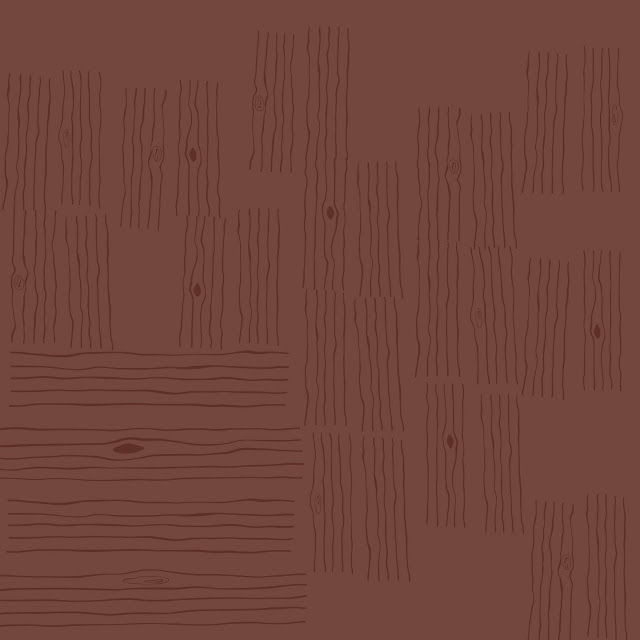 |
| Coop Roof and Floor Textures |
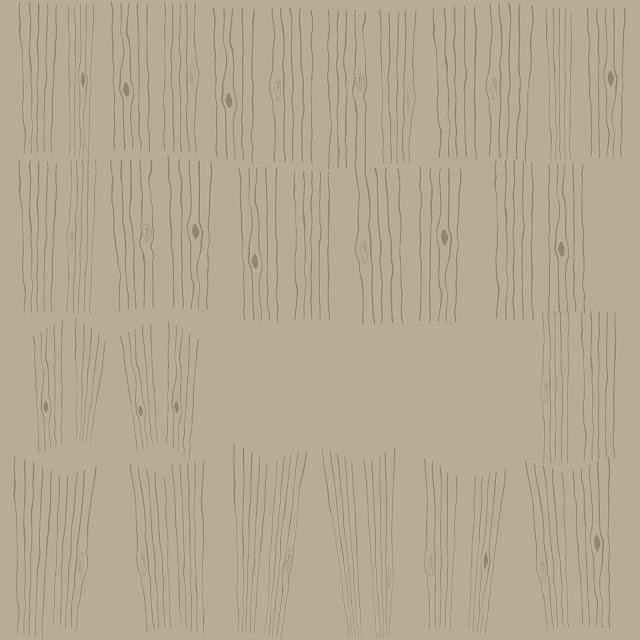 |
| Coop Panel Textures |
 |
| Ground Textures and Stipplings |
For the Sky, to break up the solid blue from the Arnold Renderer. we created a sphere and blew it up to 300 (then reversing it so the light side was face the scene). Adding the Ramp shaders allowed for more then 1 tone, giving a more natural sky appearance. Once again, using the gammer corrected swatches (done in PS), the best colours where chosen. Then the shy and scene individually saved as a .EXR files, ready to be placed in PS for final alterations. In Photoshop, we slightly blurred the sky with Gaussian Blur to give a slight wrap around the objects, and giving more interesting effect. Now all completed, the whole scene was saved back out a .JPEG, ready to be used in other areas.
I feel the shadows have gotten lost some where or have become overly soft, but for a first attempt its turned out well. Now I have a small idea on how to create a scene in Maya, hopefully it will become easier each time I make one.
Final Fully Rendered Scene
Monday, November 25, 2019
What If? Metropolis - Light Model in Maya
So, my first attempt at modelling a light all on my own. This took me a lot longer then I wanted to create, and there was quite a few re-do's in areas, but hopefully it will be all good to texture. There is still some smaller details to do, but I feel this may take a little more time to sort out.
 |
| Light Model |
Saturday, November 23, 2019
What If? Metropolis - Continued Matte Painting
Continuing on with my Matte painting, I have kept the previous style with outlines (changing the colours) and used more rough texture brushes so to avoid the overly soft blended appearance. I wanted to try and give some character by adding textures to the carpets and flooring, and added some scuffed markings as this is a trades persons house with lots of crates/ goods. I feel there isn't much more I can do now, once I have completed all my models, I will have a better idea of lighting. I will probably make some change to this, and move bits around.
 |
| With Sketch Lines |
 |
| Just Lighting Lines for the Foreground Objects |
 |
| Half Complete Matte Painting GIF |
Subscribe to:
Comments (Atom)
Major - Submission Post: Final Animation, Reflective Statement and Links
Final Reflective Statement When starting the Major Project, there was still quite a lot of work left over from Minor for the planned final...

-
Final Reflective Statement When starting the Major Project, there was still quite a lot of work left over from Minor for the planned final...
-
Before making a more finalized set, I created some Orthographics of the main assets to help with the modeling process. For the rest of the...


