Monday, April 19, 2021

Premise - "Pipe Dwellers" Orthographics and Colour Variation

I have now done the orthographics for the "Pipe Dweller" and done some colour variations, however I'm not sure if I'm happy with the colours for the "Stealer. Although it's meant to be more adapted to the room palette and be brighter, I feel the blue is better suited so these may change. 

I have only done a front and side orthographic for the "Dweller", if it is needed I will make a back version.

"Dwellers" Front Orthographic

"Dweller" Side Orthographic

"Dweller" Head Front Orthographic

"Dweller" Head Side Orthographic

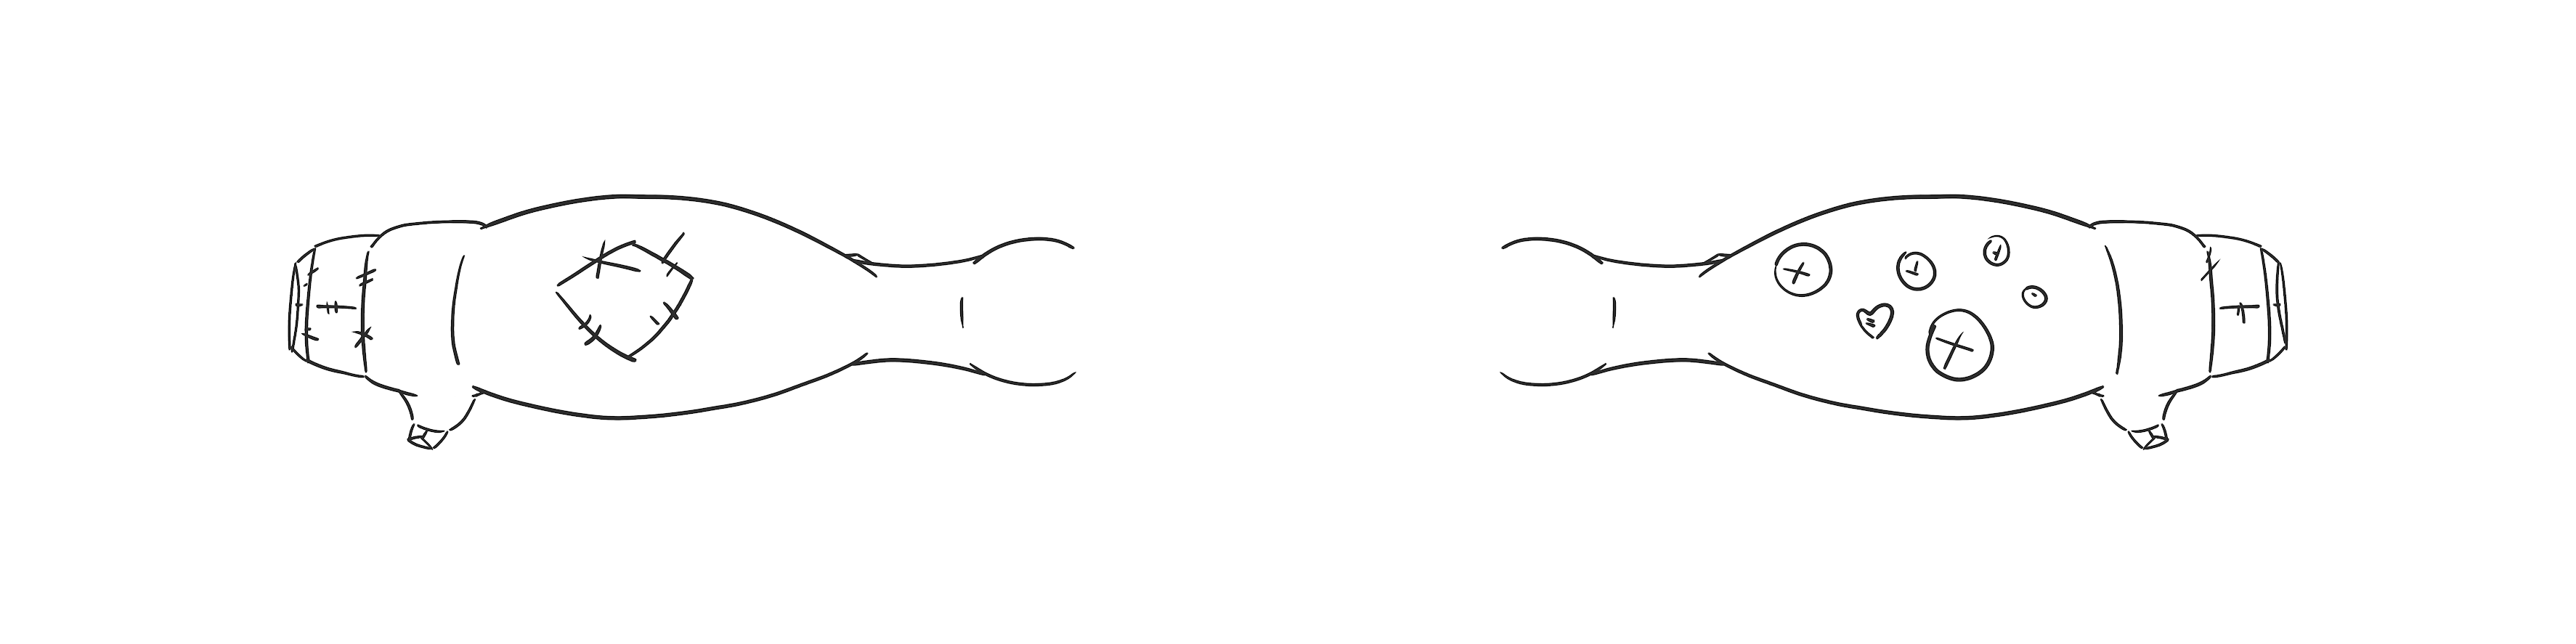
"Stealer" Front Colour Orthographic

"Stealer" Back Colour Orthographic

"Dweller" Front Colour Orthographic

"Dweller" Side Colour Orthographic


All that is needed is a bag orthographic for the "Stealer" and then to move on with 3D testing. 
 

Friday, April 16, 2021

Pipeline 1: Jetpack Jones - Cheek Thinning

 Before moving into the final steps for the facial rigging, a corrective blendshape was created for the cheek thinning. This was done in a similar way to the other blendshapes.

  Two heads was duplicated with the skinning node off, one open and one closed. The open one was duplicated again and both was renamed as positive/negative, the last one is going to be the cheek thinning connection.

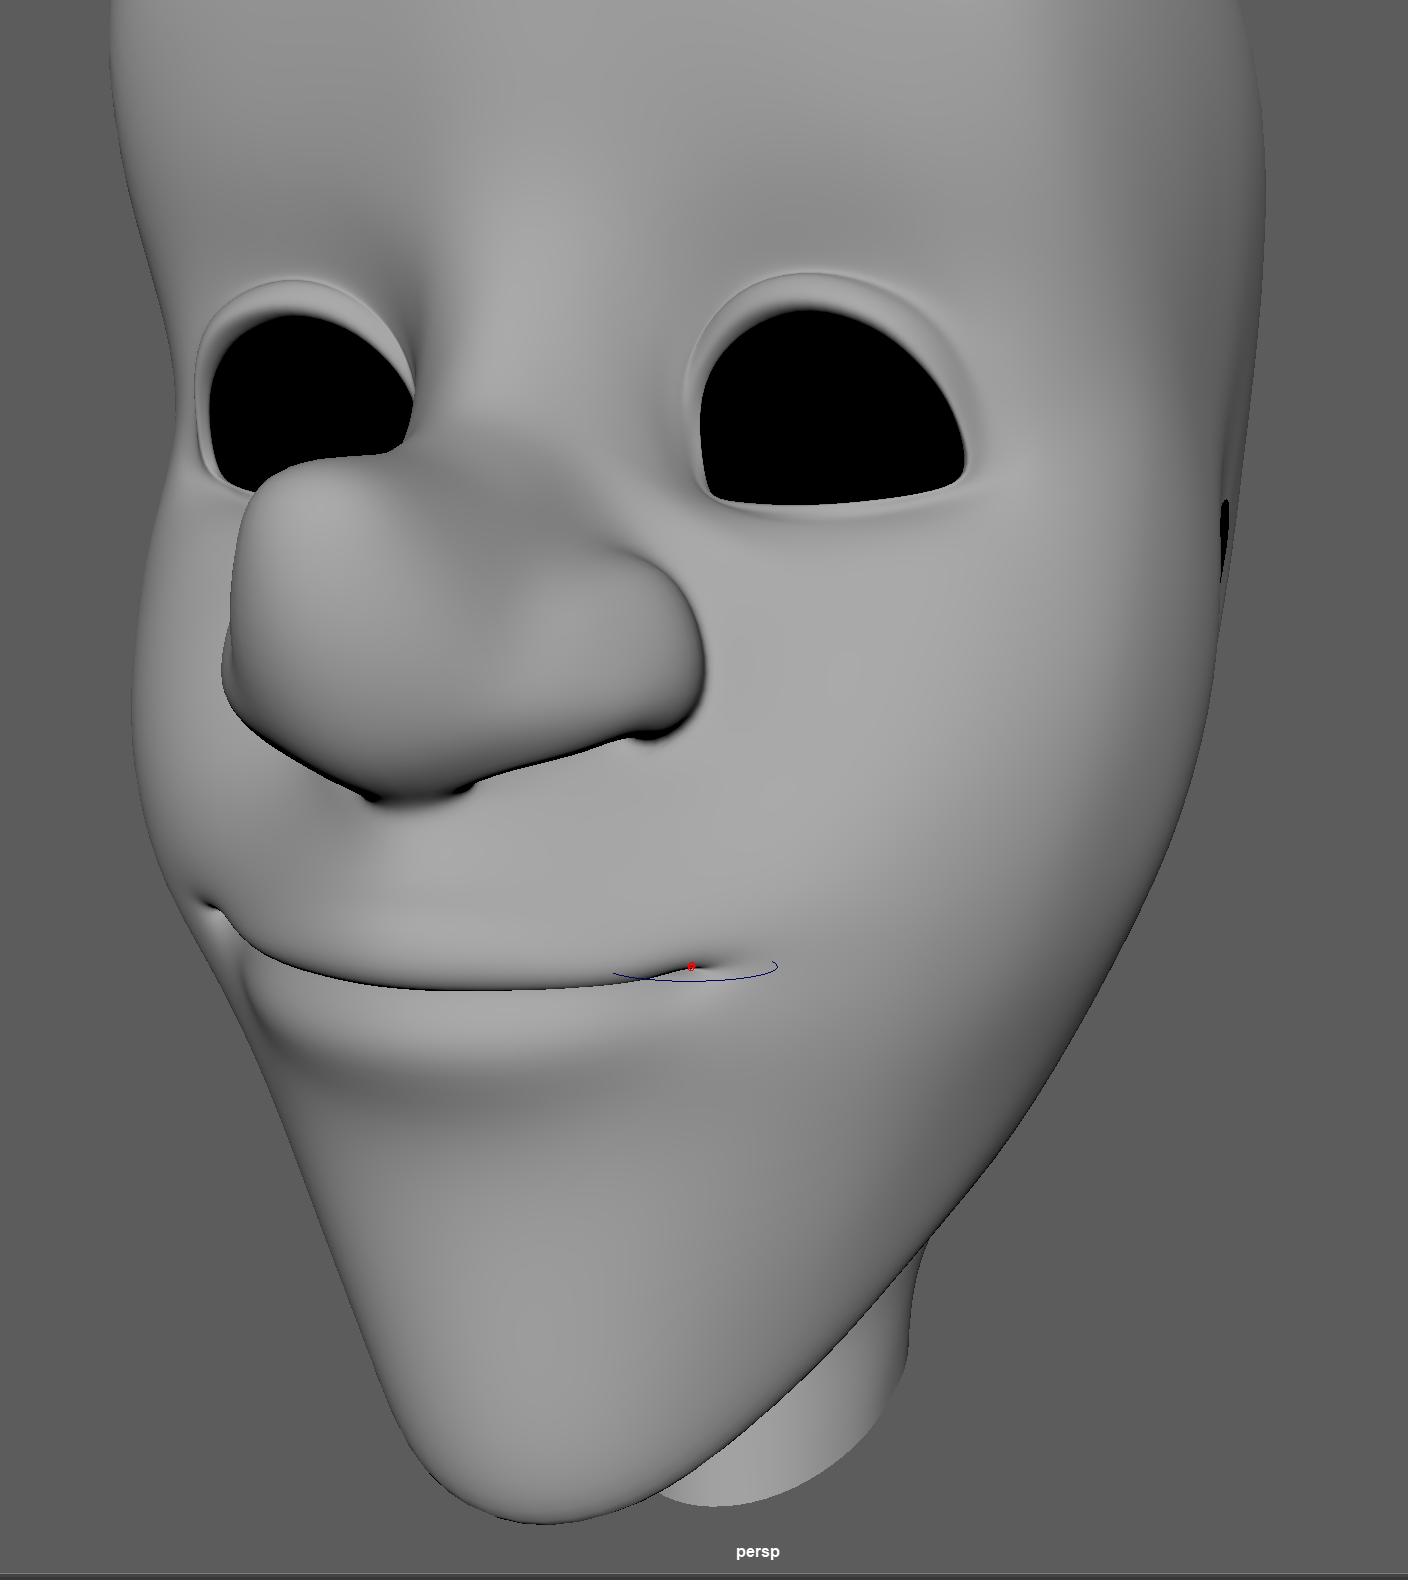
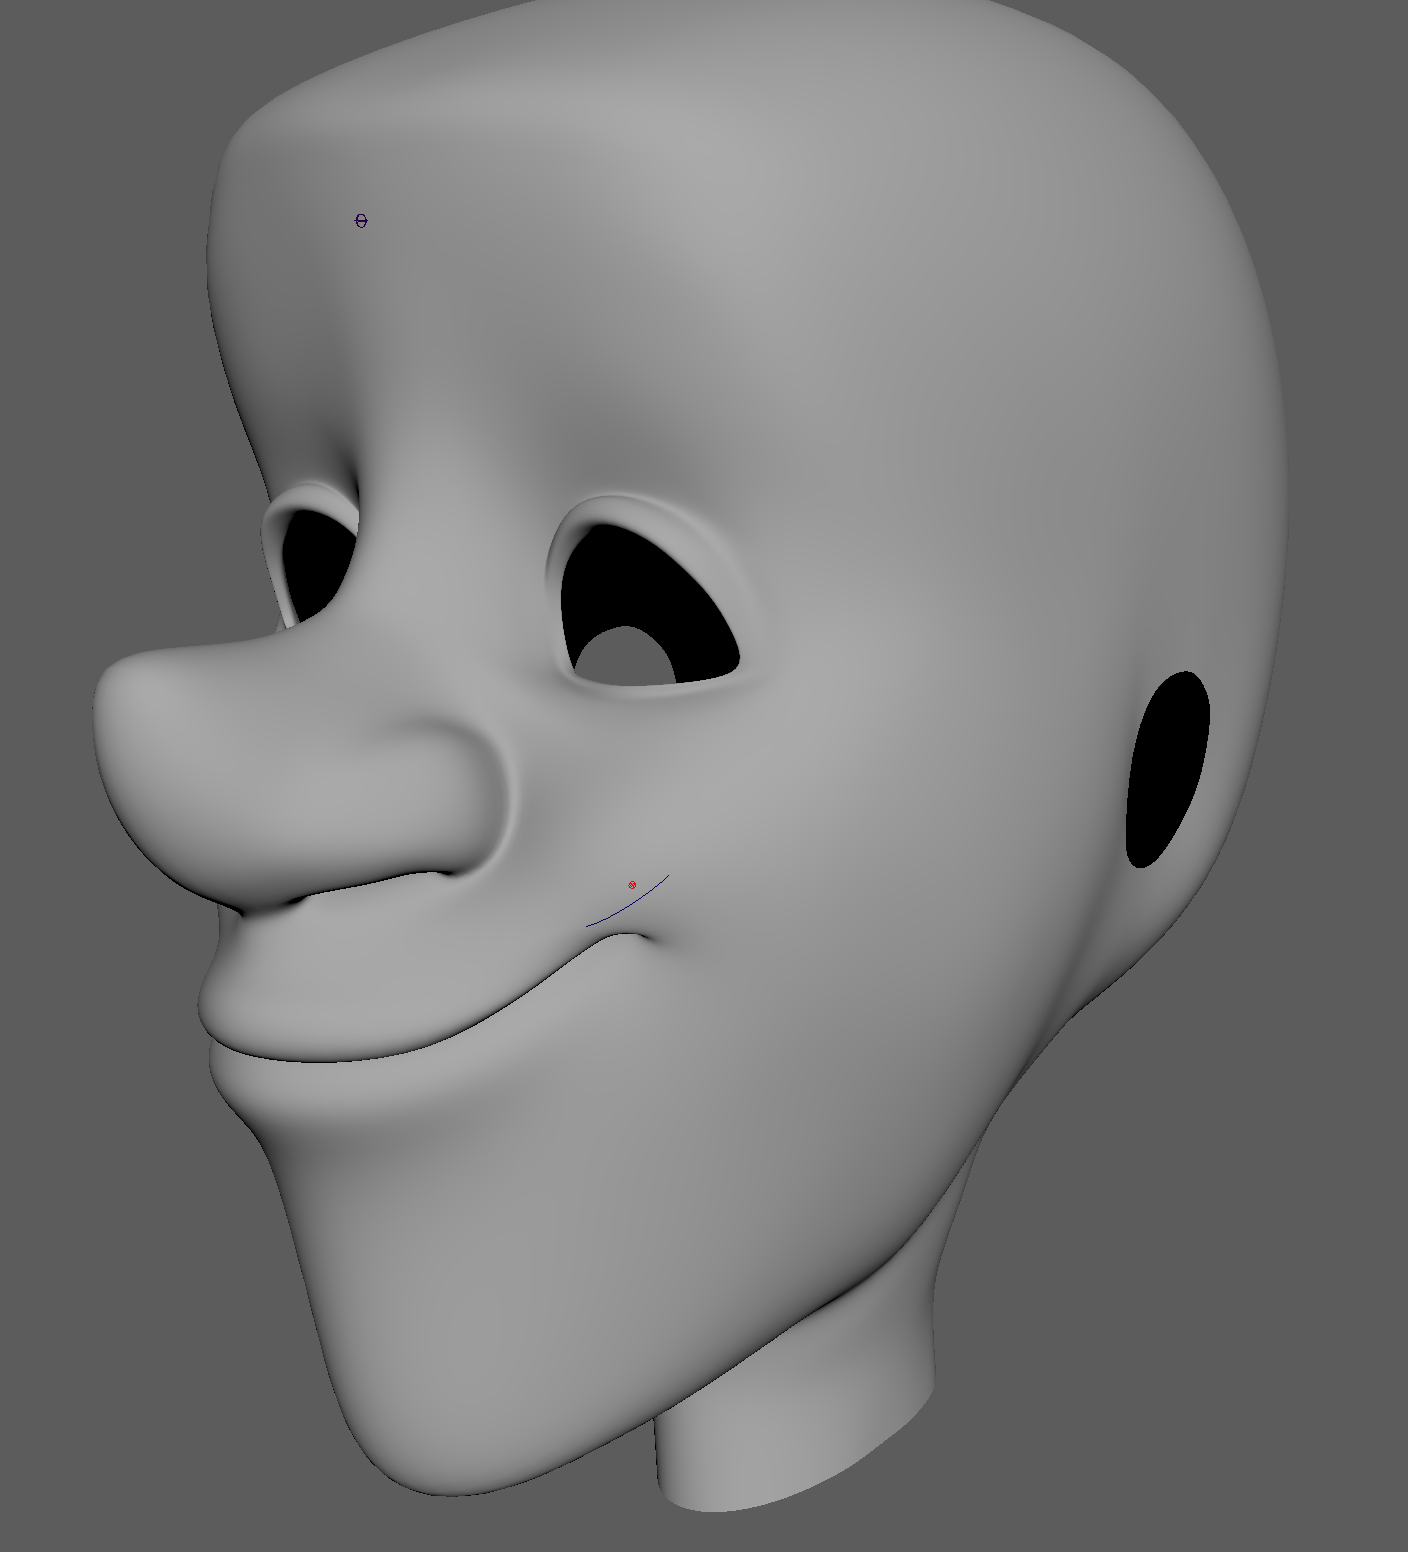
Positive/Negative Heads

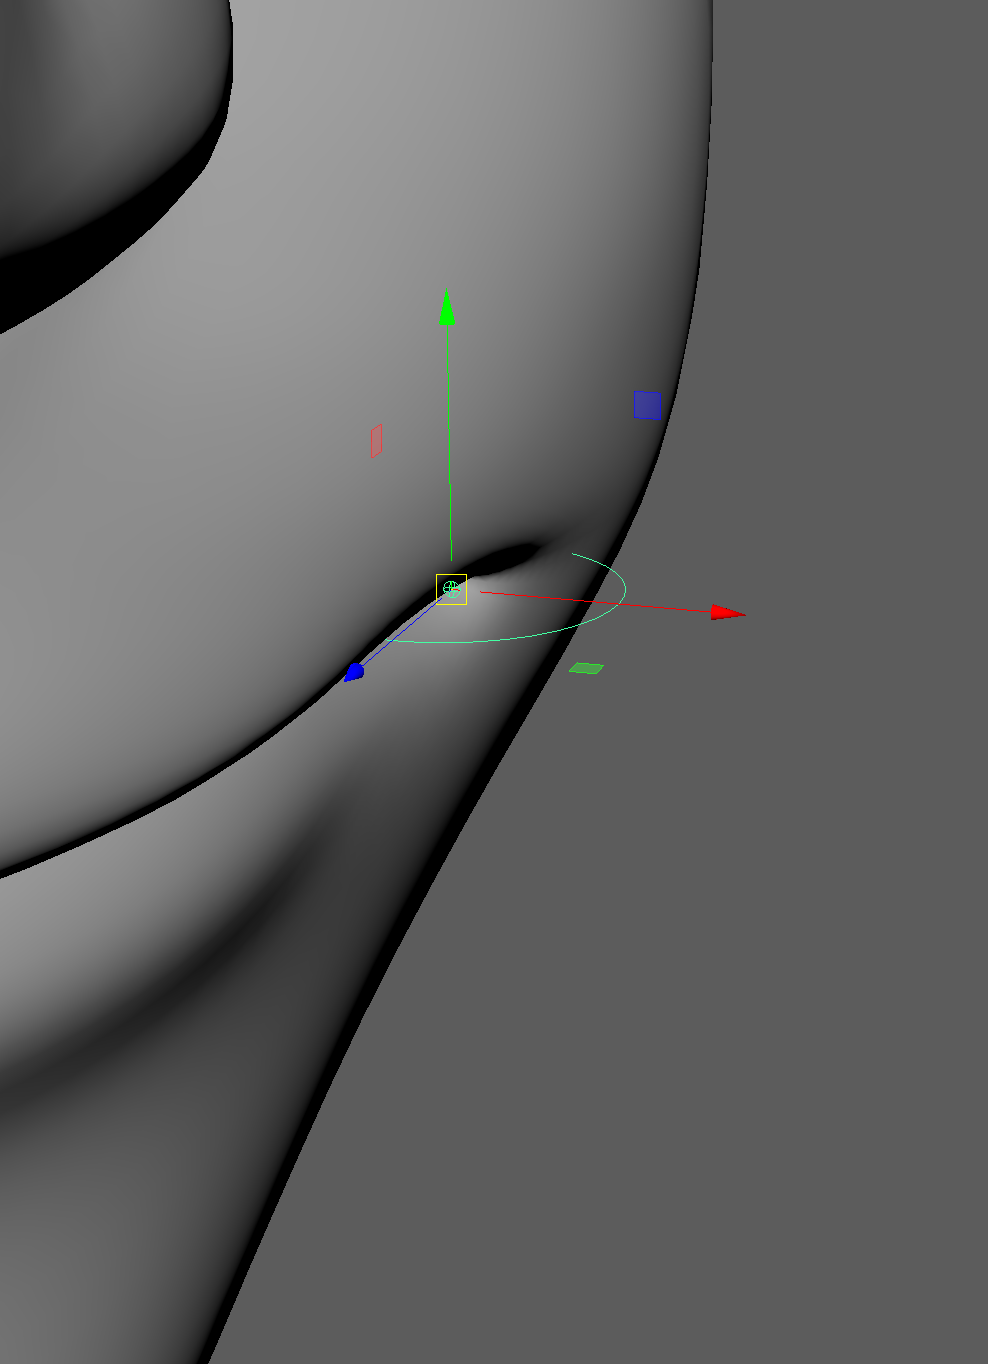
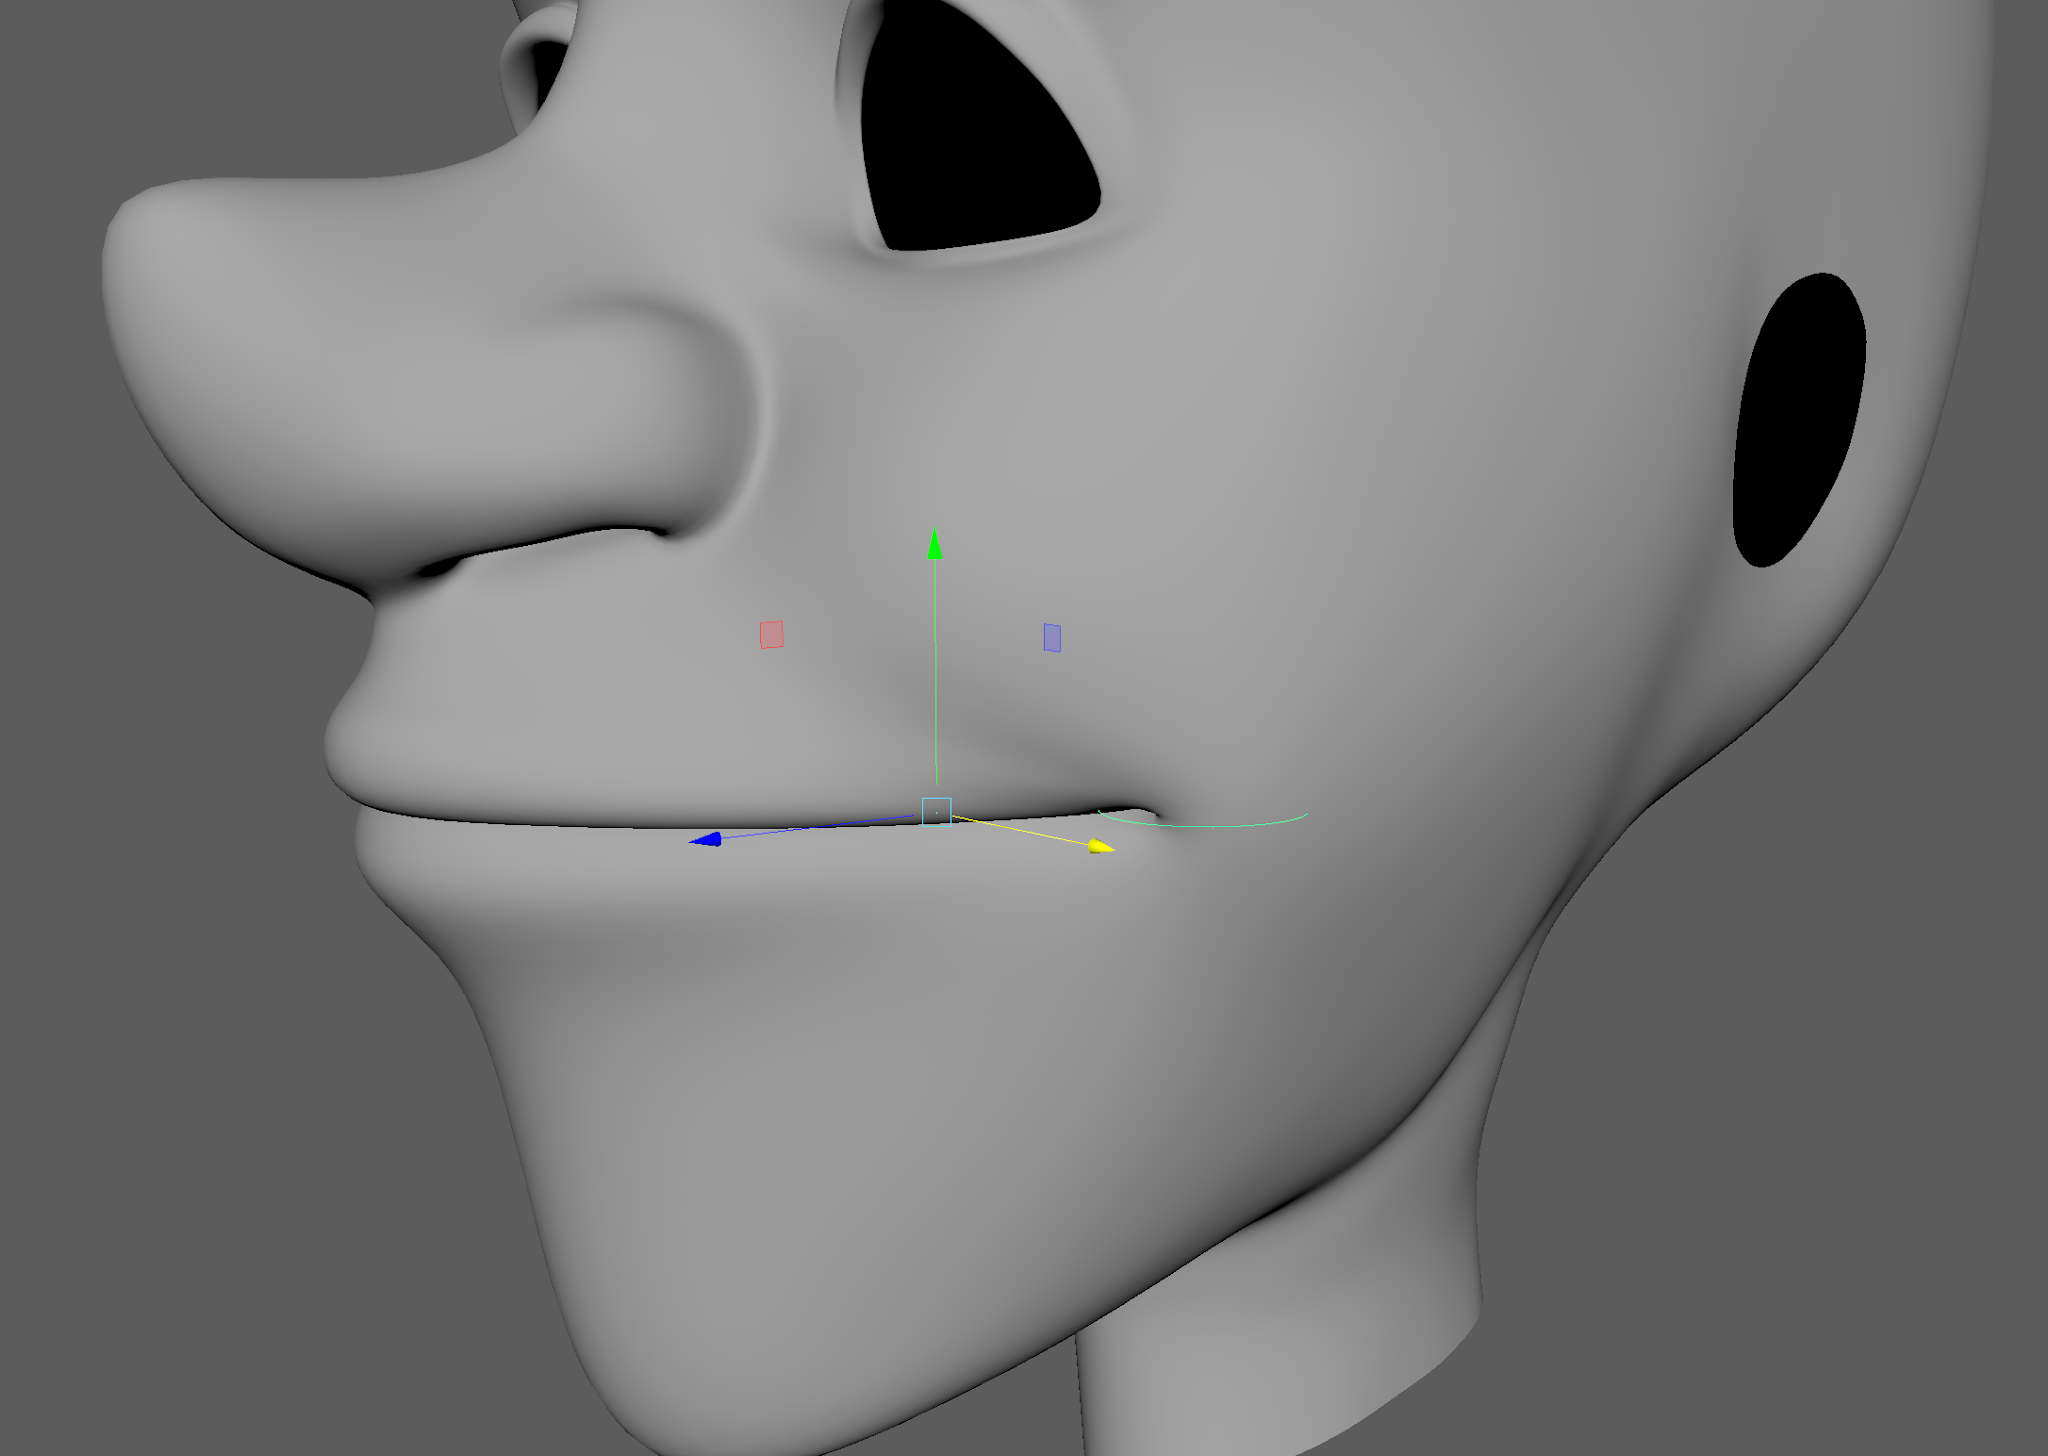
  Following this, some geometry was chosen around the corners of the mouth and using the symmetry/soft selection, was brought inwards. Using a  parallel blendshape  connection between these and the to the closed head, changing the channel boxes to 1/-1 brought the final shape. 

  The new head was then added as a blendshape (under the Input_Bshape) and a set driven key placed so the cheeks only thin when the mouth is being opened.

Without Cheek Thinning

With Cheek Thinning


Premises - Animatic Version 2 and Revised "Sock-Stealer" Orthographics.

 Following the OGR discussion with my tutor, some changes have been made to the Animatic. This included some shot changes, revision of timing and some alterations to the sounds. The Animatic is now over 4 minutes long as the previous being only 3 and a time code has been added. 

Where Do All the Socks Go? Animatic Version 2.


Added Timecode


The "Sock-Stealer" Orthographics

  I have also completed the orthographics for the "Sock-Stealer", I tried to keep them as accurate as possible but some alterations may be needed. I have brought the shoulders down a little and added the tail detail to the original designs. Also, I have made two sets of arms as I'm not sure whether to create a "mit" structure or something closer to a hand. 

  I haven't worried too much about placing button detailing on them as I'm hope to model these separately and use rivets to attach them. 

  The jacket will also be modelled separately but as I have already drawn the orthographics, I decided I can use these to model it. 
Front With Jacket
Front Without Jacket
Back With Jacket

Back Without Jacket
Side With Jacket

Side Without Jacket
Front Head View

Back Head View
Side Head View

Top View Version 1

Top View Version 2

Wednesday, April 14, 2021

Toolkit 2 - Lip Sync Pt 1: The Jaw Bounce

   In yesterday's lesson, we started learning lip sync. The first step was to try and capture how the jaw would bounce with certain sounds. This was not just a case of moving the jaw to the words, but how the words are pronounced/ exaggerated. 

  Getting this right was quite tricky, but I feel have a good starting point. Some areas do need to be gone over to really capture the right movements.

Tuesday, April 13, 2021

Premise: "Sock-Stealer" Orthograpths

  In today's tutorial following the easter break, talks was aimed around the next steps in the project. An area that came up was there is some shots/ timing changes need for the animatic, following this will be trying some 3D testing and modeling.

  I'm a bit nervous about making the models, this is mainly due to my self-confidence. However, I know once I've started and as the work starts to come together, the nerves will calm down. 

 Before the tutorial, I started on the othograths for the "Sock-Stealer" so I will complete these before going back over the animatic. As I'm not sure on the jacket (modelling it on the "Stealer" or separately), I have made orthographics with and without it whilst trying to keep them as accurate as possible. 

I have made the front, back and head ones so far, next will be the side and top views. 

Front Orthograph with Jacket

Front Orthograph without Jacket
 
Back Orthograph with Jacket

Back Orthograph without Jacket

Head Front Orthograph

Head Back Orthograph


Friday, April 9, 2021

Premise: Final Room Palette and Grey/Bluescale

  After a little bit of deliberation and experimentation, a final decision has been made for the room palette. The grey scale was then altered with a multiple/ screen layer and placed over top, hopefully creating a some night-time ambience.  Although its not perfect and some of the contrast can do with some work, I'm happy with how it came out.

Final Palette


Colour Palette plus Grey Scale

Colour Palette plus Blue Scale


Monday, April 5, 2021

Premise: Beat Sheets and Shot Plan

   The first draft of the beat sheets, created in two parts to reduce document size. Also, a small shot plan has been made.

Beat Sheet Part 1

Where Do All the Socks Go? ... by Kimberley Davis


Beat Sheet Part 2

Where Do All the Socks Go? Beat Sheet Part 2, Version 1 by Kimberley Davis on Scribd


Shot Plan

Where Do All the Socks Go - Shot Plan by Kimberley Davis on Scribd

Saturday, April 3, 2021

Pipeline 1: Jetpack Jones - Lateral Mouth Movements 1 & 2

Starting the Blend Shapes     

  Making another head duplicate and bringing it up in Translate Y (15), the left mouth corner joint is duplicated and then brought up to the correct position in a group.  Making the joint bigger, a new control was created and was placed into a off set group.

  Bringing the joint to be under the control, the control needs to be rotated to work along the cheek to help with creating the blend shapes. This was done by changing the rotation of the off set group. 

  Adding a new joint and placing it on the forehead (base_joint), the skin is then bound to the new joints. Using the painting weights tool and some animation, the weights are repainted to the right areas to gain the correct mouth shapes (vertex/ edge selection, smoothing and flooding).
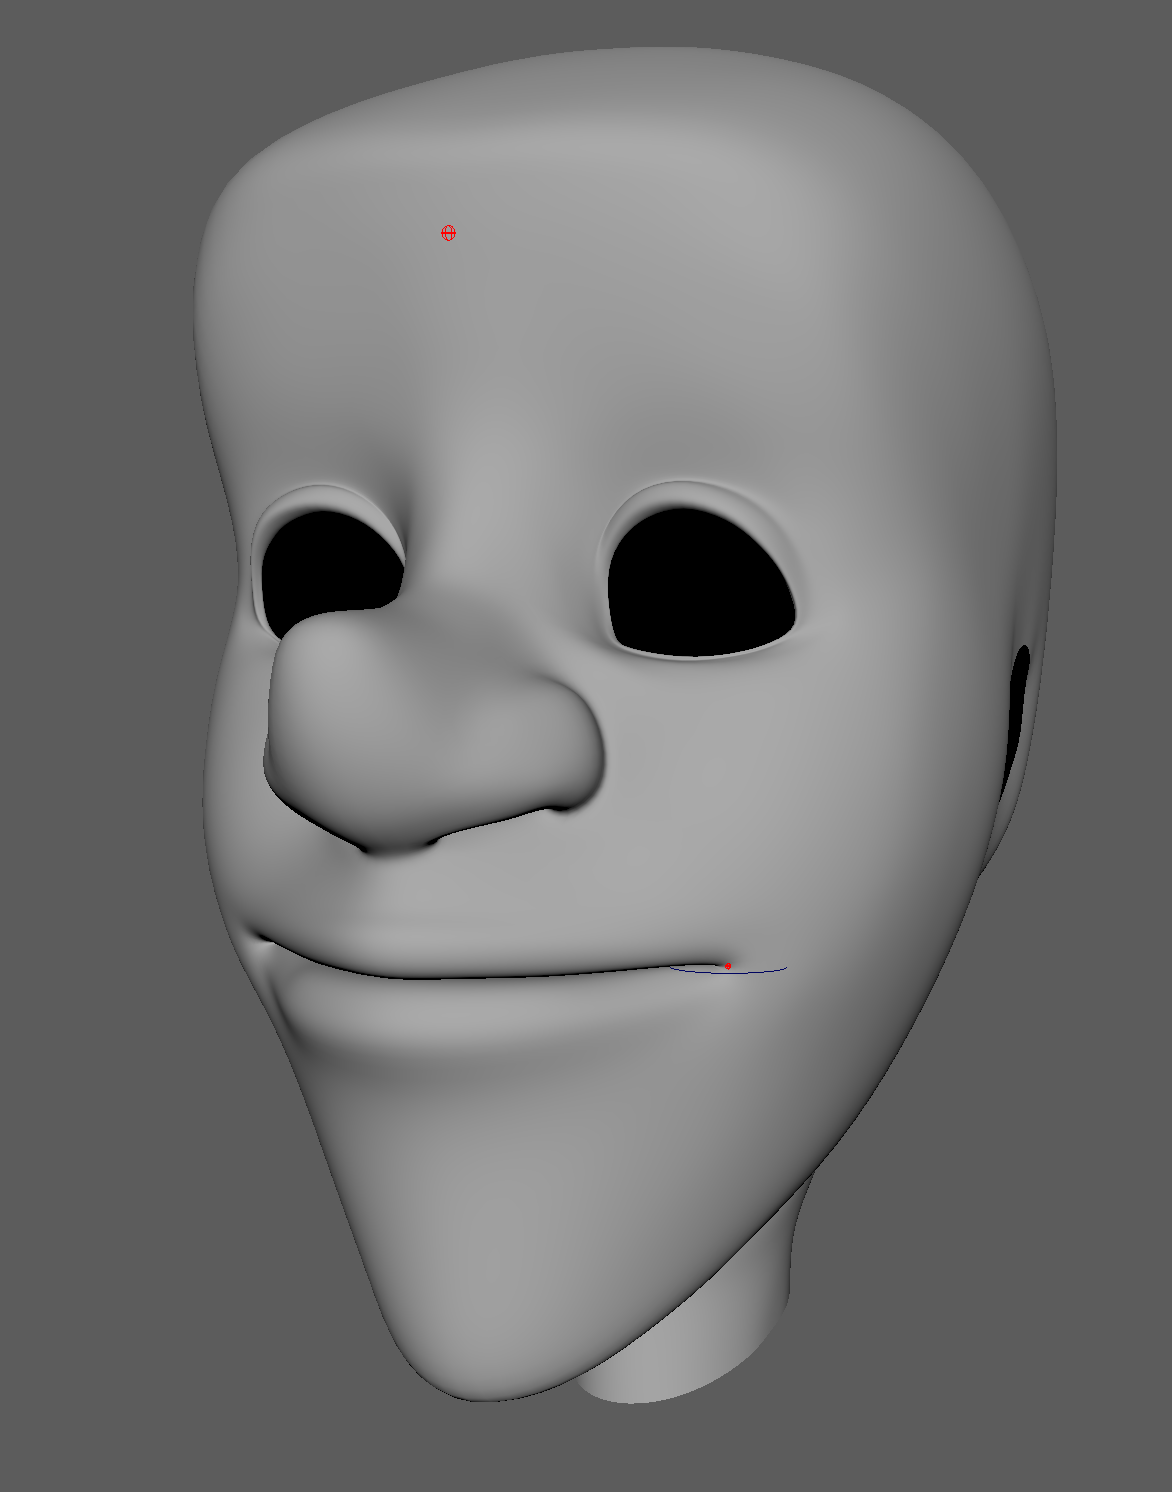
Base and Cheek Modelling Joints

New Rotation

In shape

Up Shape

Modelling the Out Shape

   It may have taken longer then needed to get these right, there was a few attempts that I wasn't happy with so I ended up doing a few restarts. When the shapes are done, they are placed into the correct position and then duplicated. These will new duplicates will be the bases for the mouth blend shapes and are renamed as A,B,C and D in a clockwise.
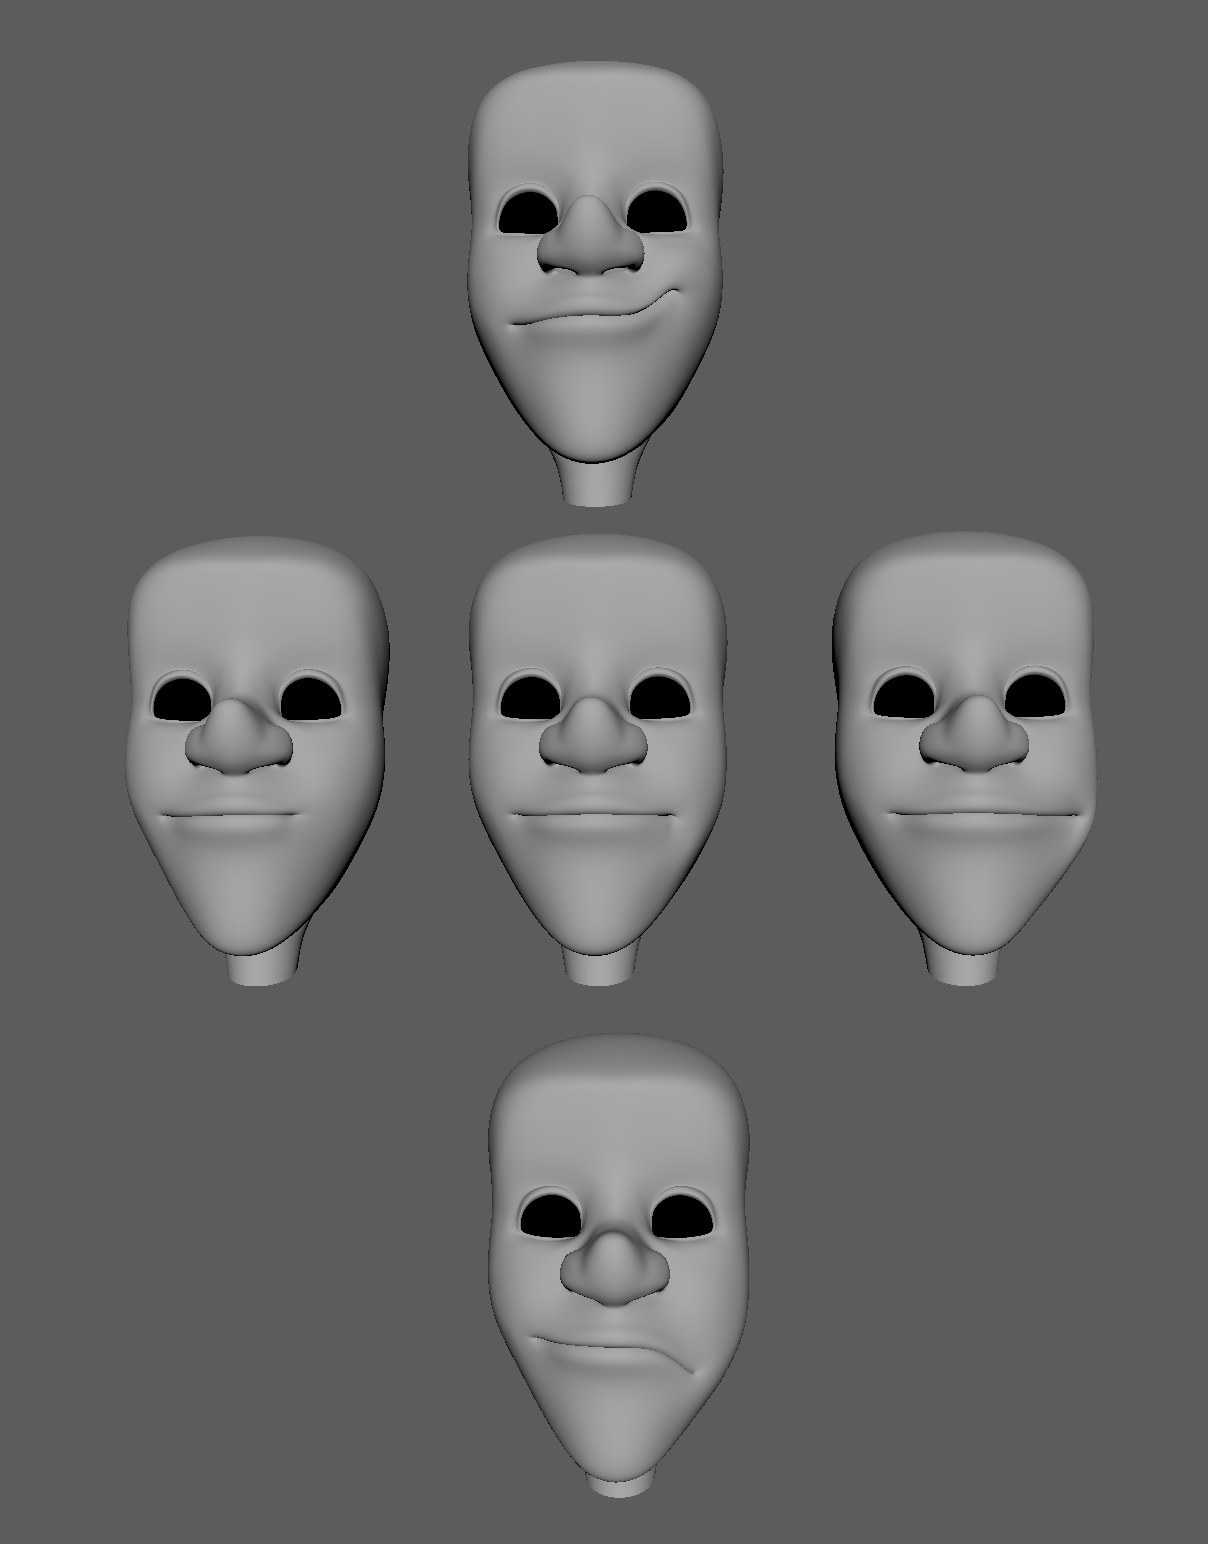
 
Final Shapes


Corrective Blend Shapes


  Selecting two heads, we use the Deform: Blend Shape option to create some temporary in-betweens. Bringing the blend shape controls to 100 so to turn on both the shapes, a new mouth movement is made and  then duplicated. To removed the blend shape deformation from the original, the history needs to be deleted and a new deformation can be made. 

Some areas may need altering to make a better shape, I had to do a lot of alterations.
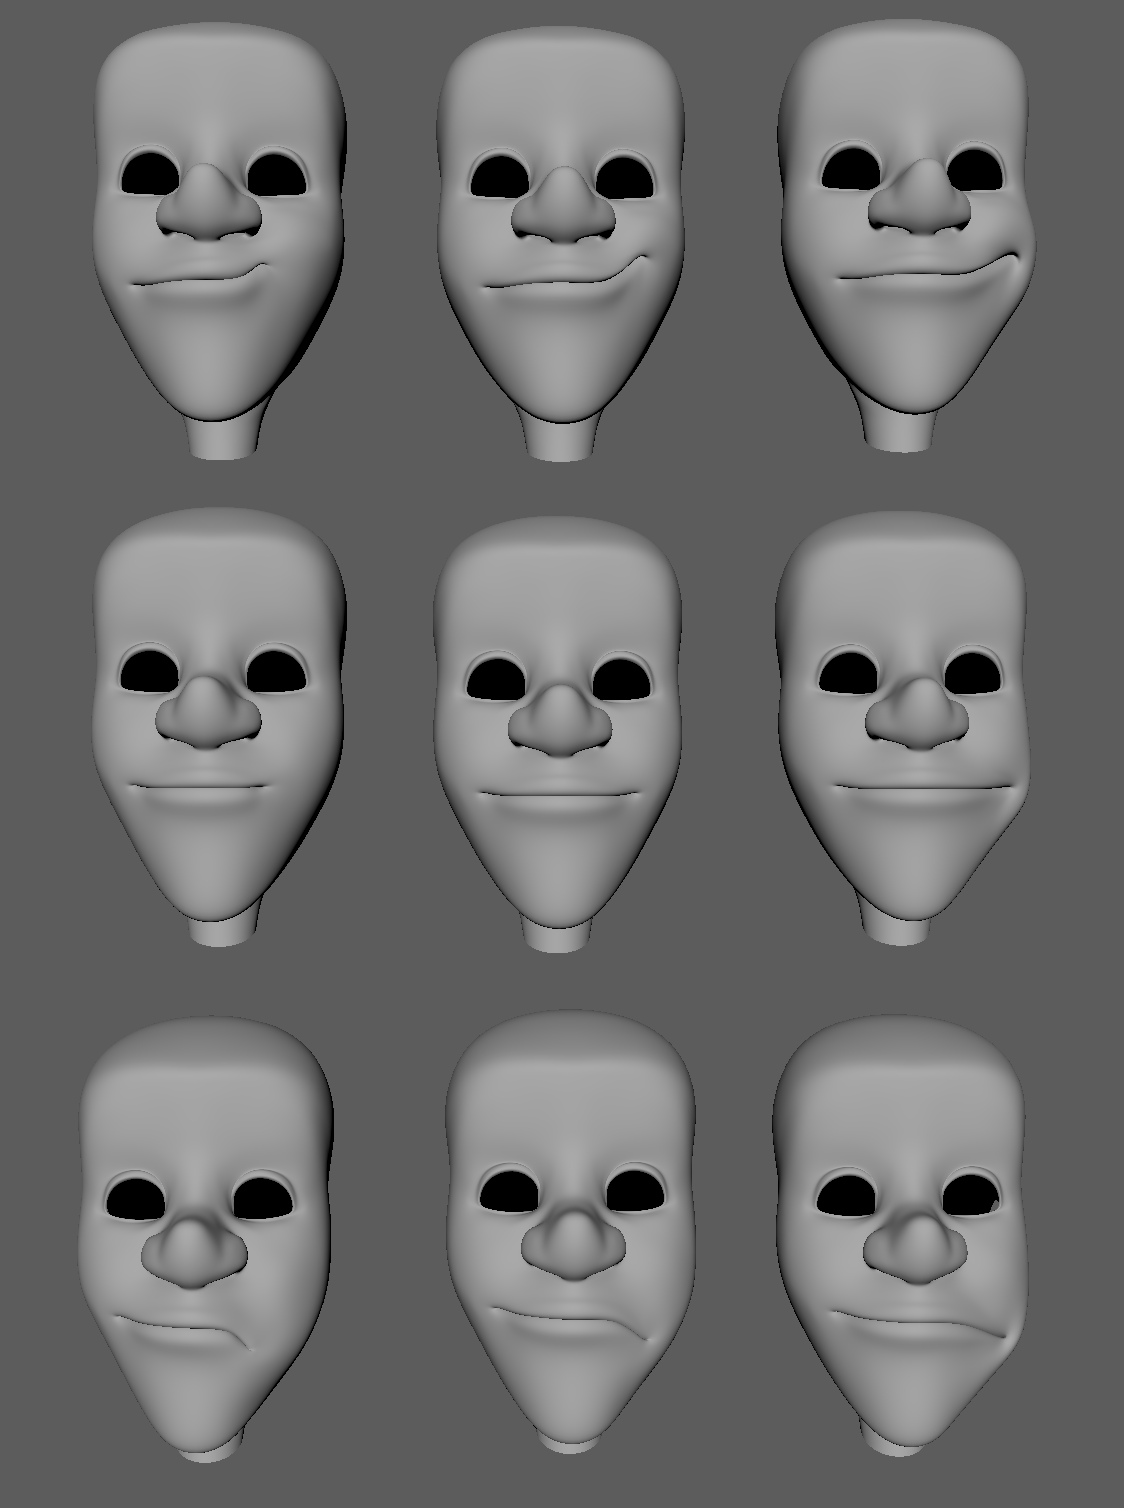
New Temporary Blend Shapes

  For the next step, we need to subtract shapes to each other to make the final corrective shapes, this is know as parrell shapes.

  Selecting the four left top shapes first, in the blend shape options we switch to Parell in advanced. Then placing the following attributes in to the controls,  duplicates can be made of outcome. As with the previous blend shapes, the history is deleted to remove the deformation and the process is repeated till we have 4 new shapes. The heads need to renamed as AB, BC, CD and DA.
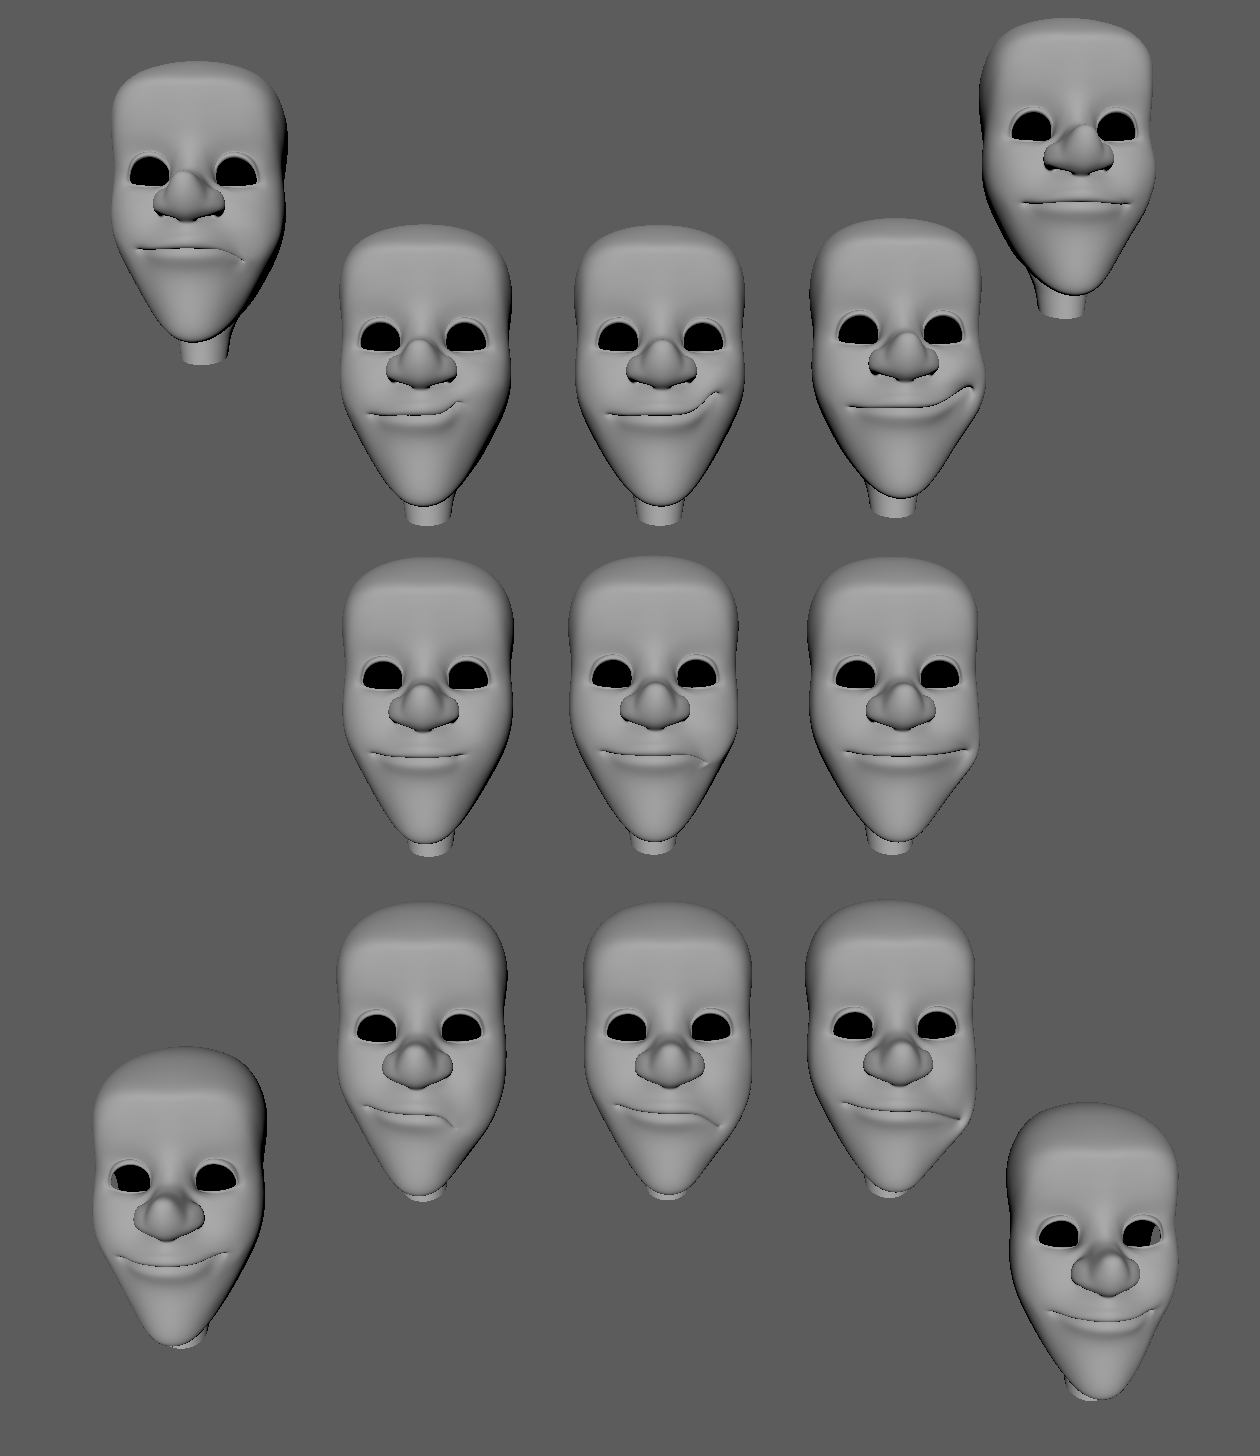

Four New Blend Shapes

  Placing the original shapes onto a layer (for exporting) the new ones are then moved to replace them. These are renamed as L_ and then duplicated (and rename as R_) to be placed on the right hand side.

  Adding a new head duplicate (from the original so to not have any deformations), this one is known as a bridge for the blend shape connection.
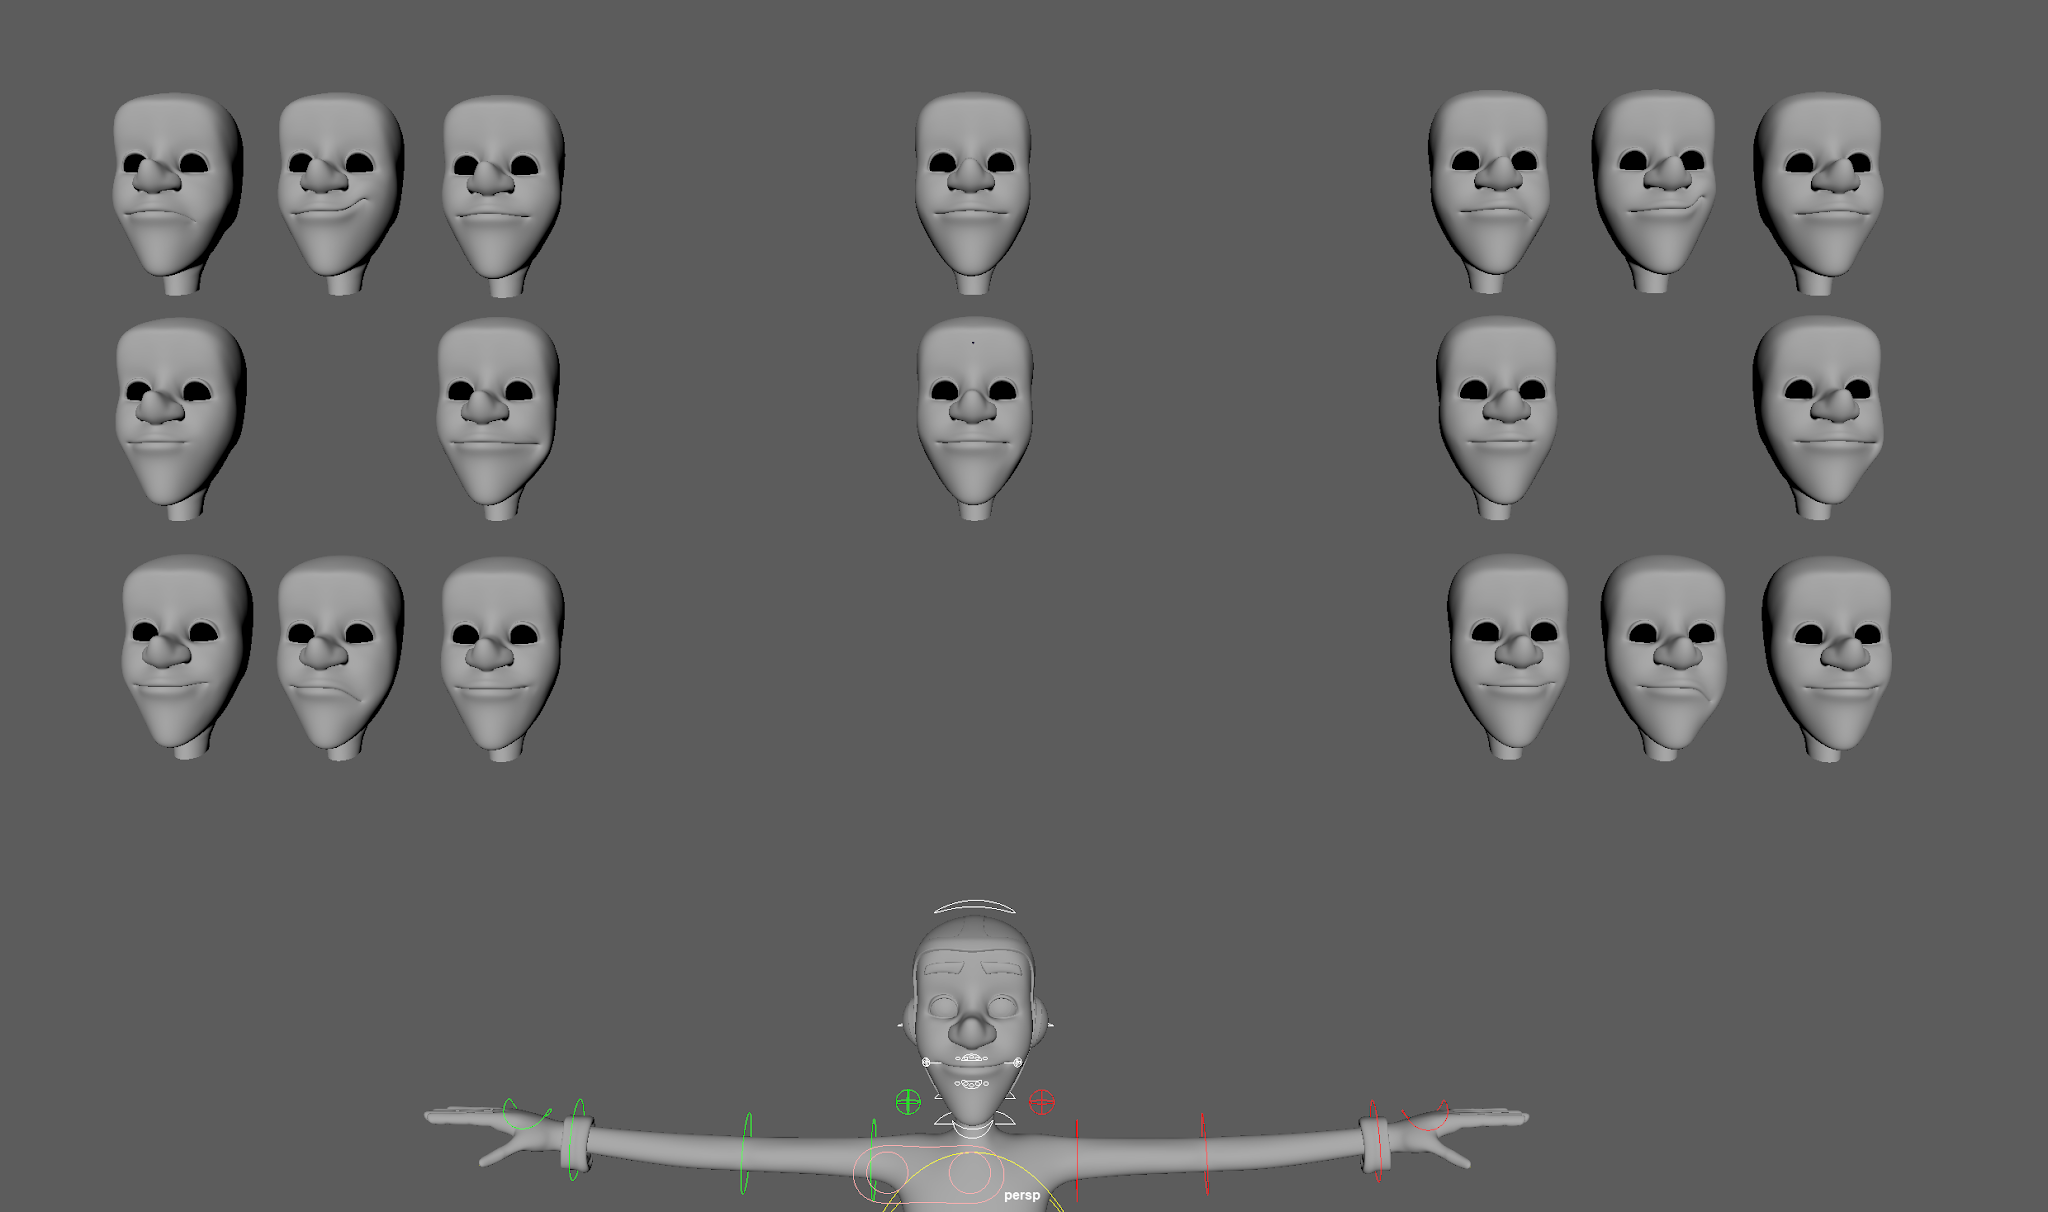
Left and Right Blend Shapes

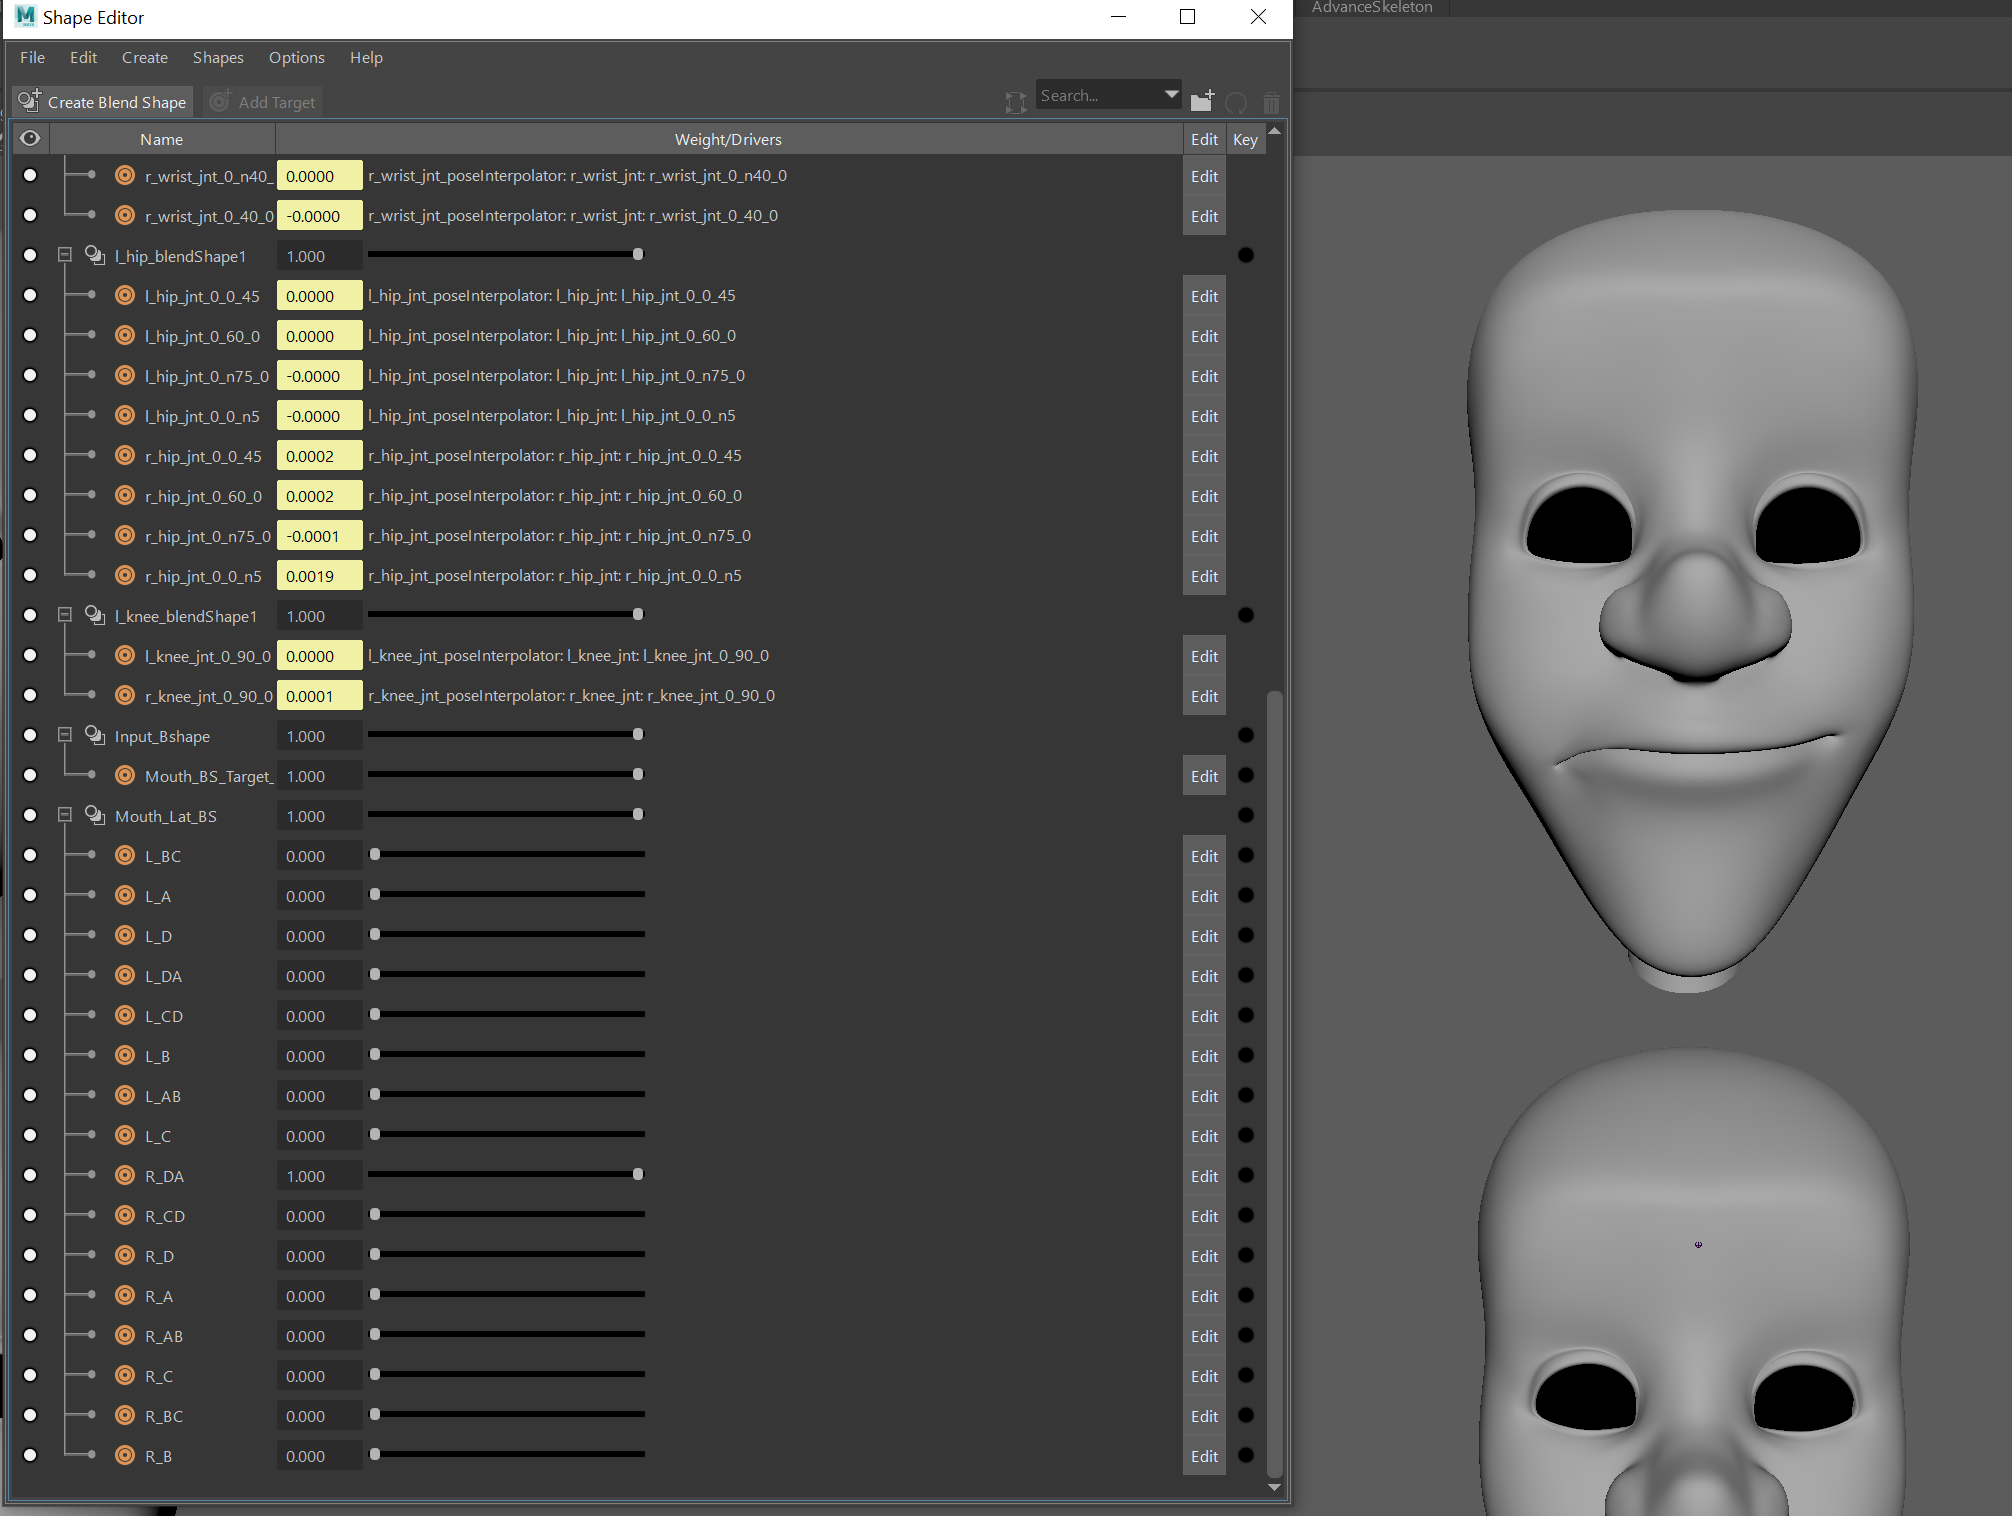
  All the heads, then the bridge is selected and a new automatic blend shape connection is made. To make a shape to work on the right side, the allocated right-side controls in the blend shape editor is selected and then the target flipped.
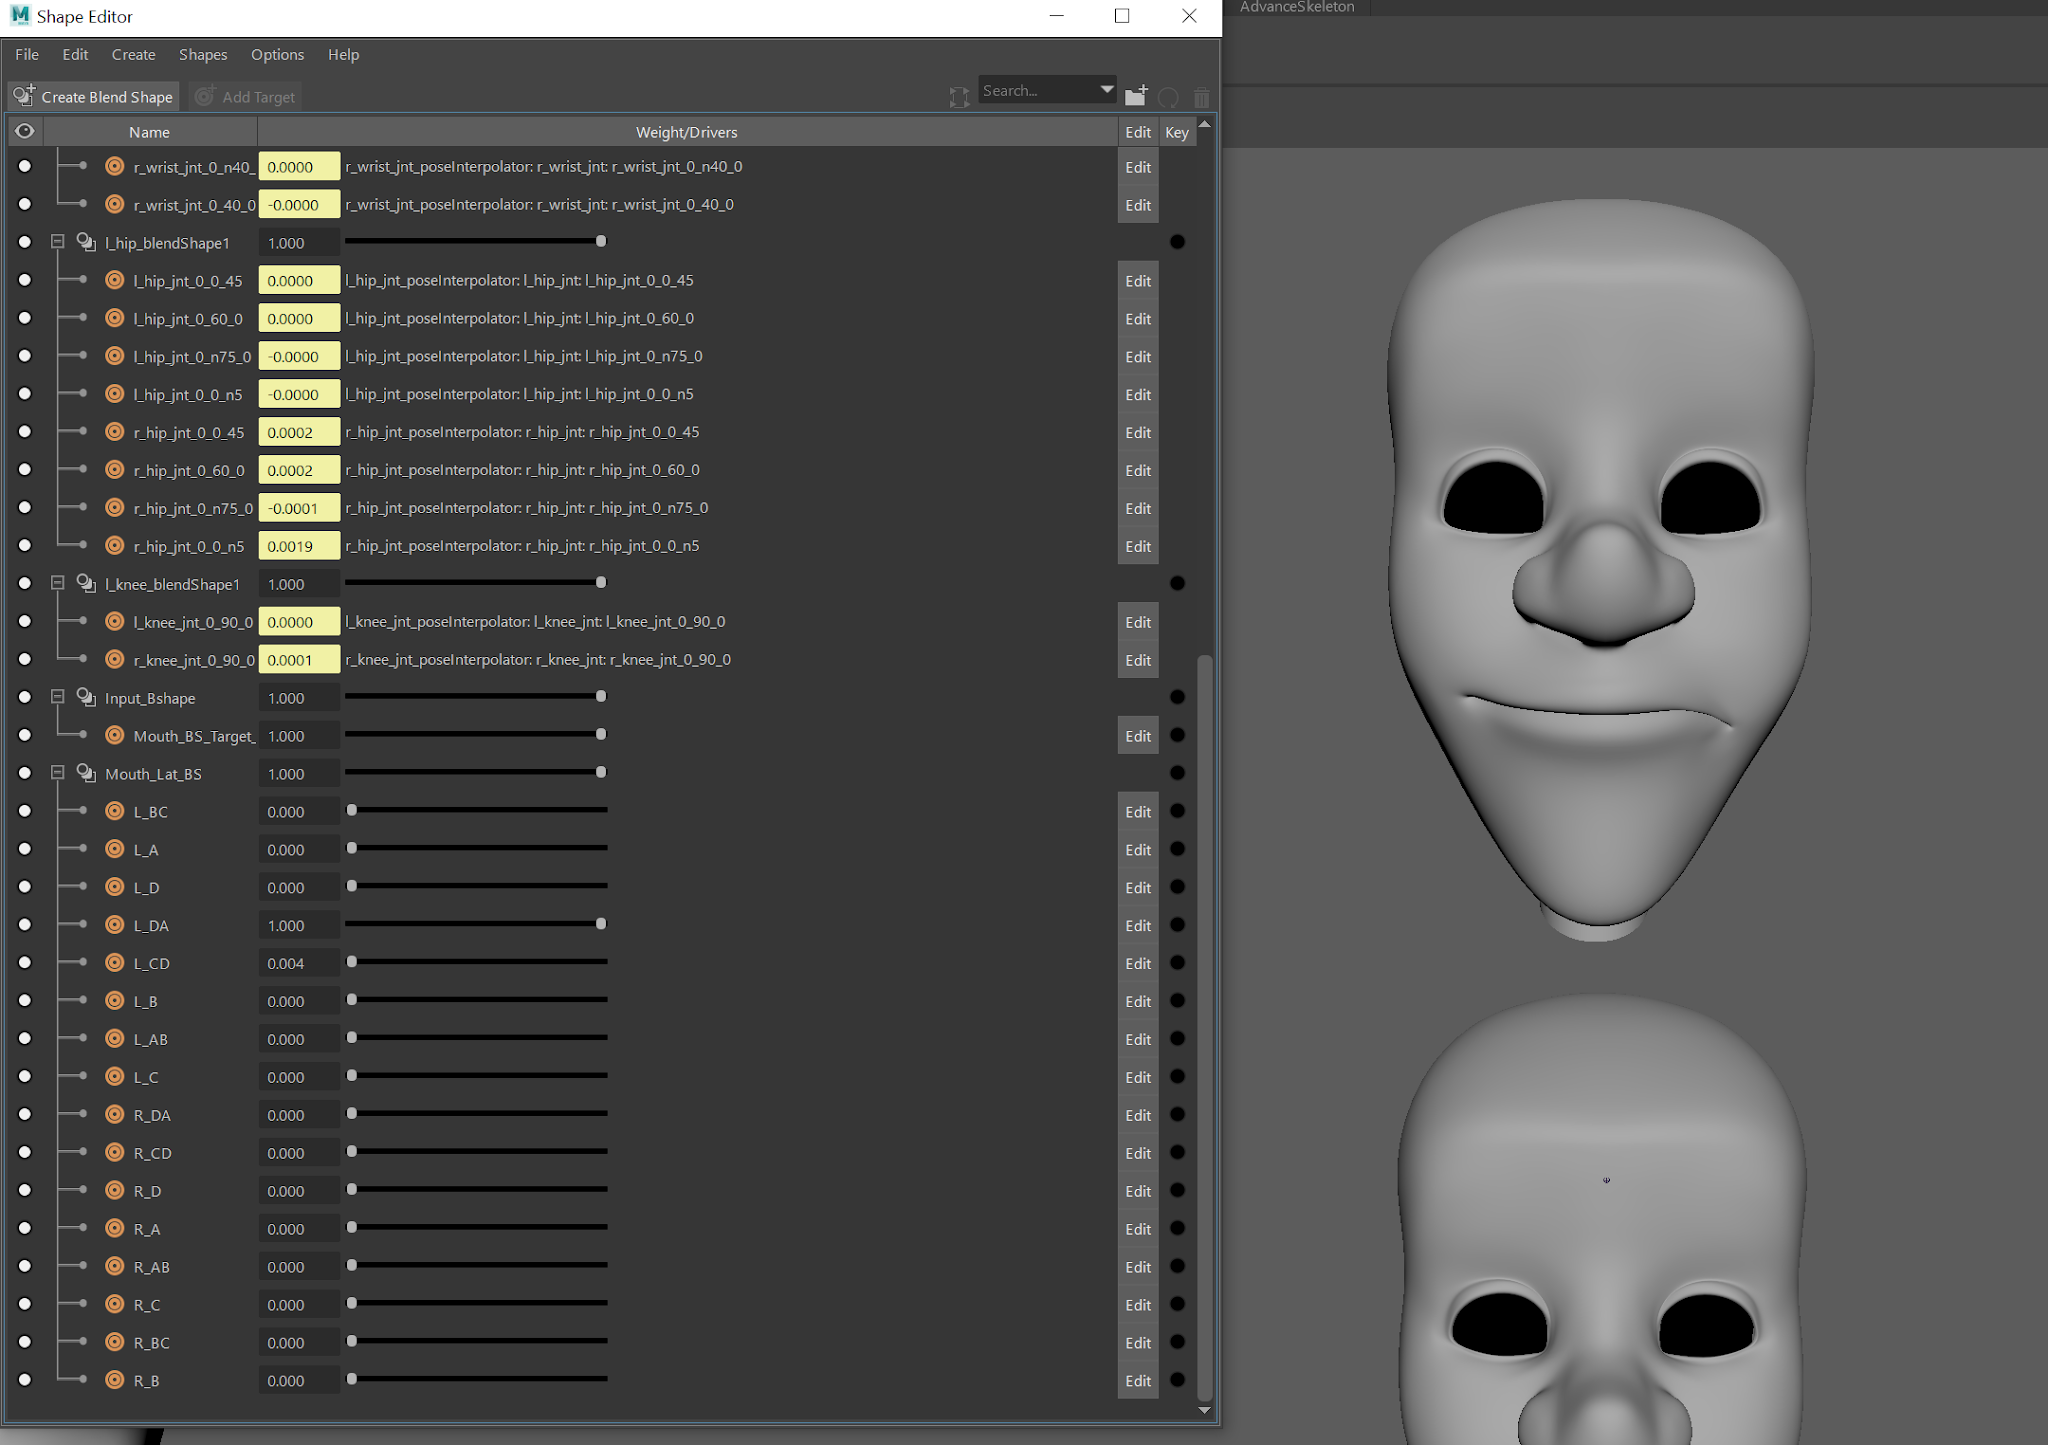
The Shape Editor - Left

The shape Editor - Right

  Duplicating, grouping and flipping the mouth controls to the right side, the joints are removed and the controls renamed as L/R mouth_lat_off_controls. The new controls are repositioned down to the original model. These are then placed into the mouth corner SDK groups, placing the corner master controls into 2 new groups and then moving them under the Lateral controls. (Creating the new groups stop any errors occurring from the values on the Lateral controls).


  Set Driven keys are placed between the Lateral controls and the mouth blend shapes, using the maximum limits as the keys. To be able to see that the set driven keys are working on the main model, a blend shape target is placed using the Input_Bshape as the node. This now makes a Mouth_Target_Geo and a Lat_Bridge_Geo, allowing for the Blend Shapes to be turned on and off.


To finish up, scripts are needed to have the corrective shape work. In the shape editor and using the expression editor, the following script is created;

Mouth_Lat_BS.L_AB = Mouth _Lat_BS.L_A*Mouth_Lat_BS._B

  This means that Blendshape AB will work when Blend Shapes A/B are multiplied by each other. This is then placed and altered as needed on each of the other channels in the Shape Editor. To show they are working, they turn pink and blue.
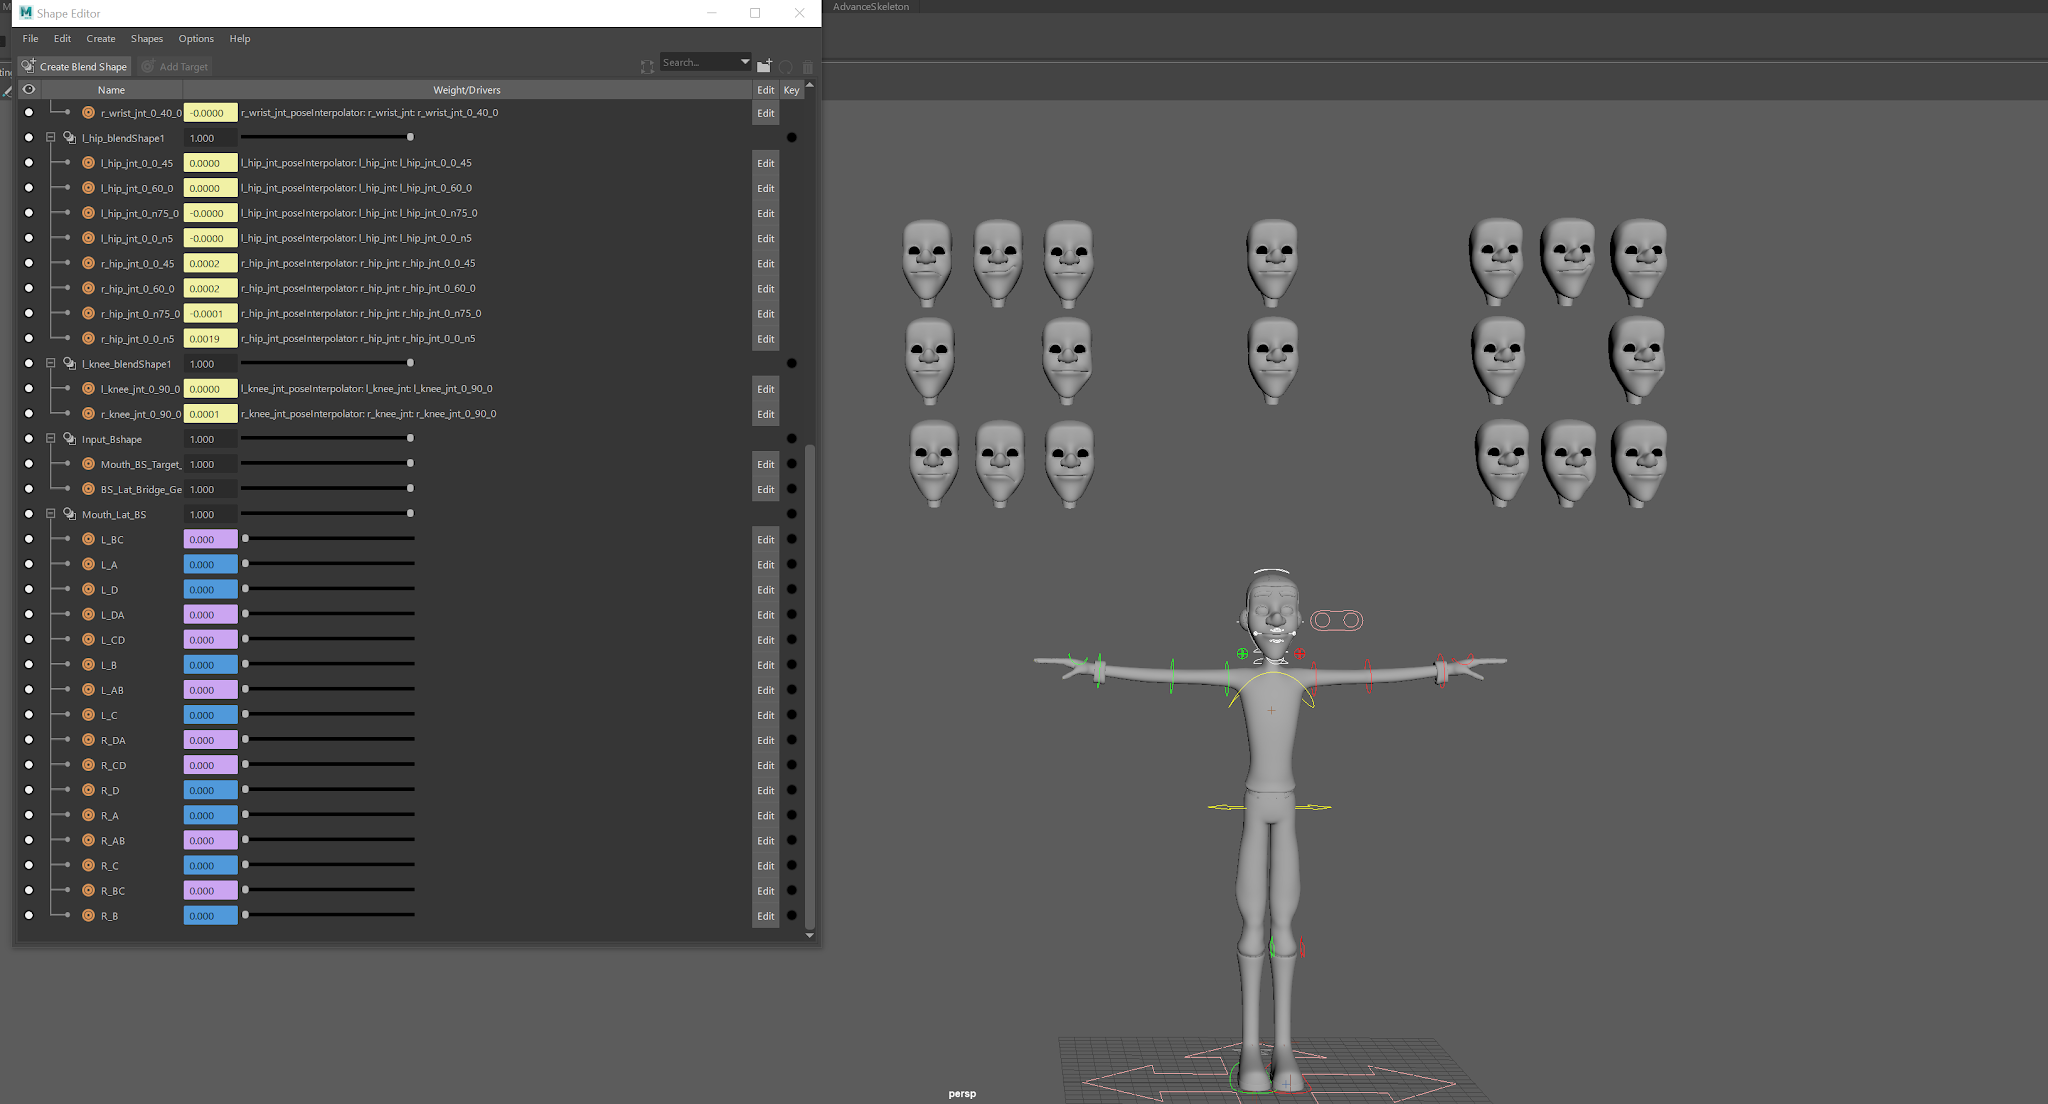
Placing the Script

  As with some of the previous control, limits are placed in the translate attributes, this stops any tearing of the model. Also, all the set driven keys need to placed to linear in the graph editor. 

  The controls are then positioned around the corner master controls with the CVs and anything that needs to be exported, removed from the scene. 
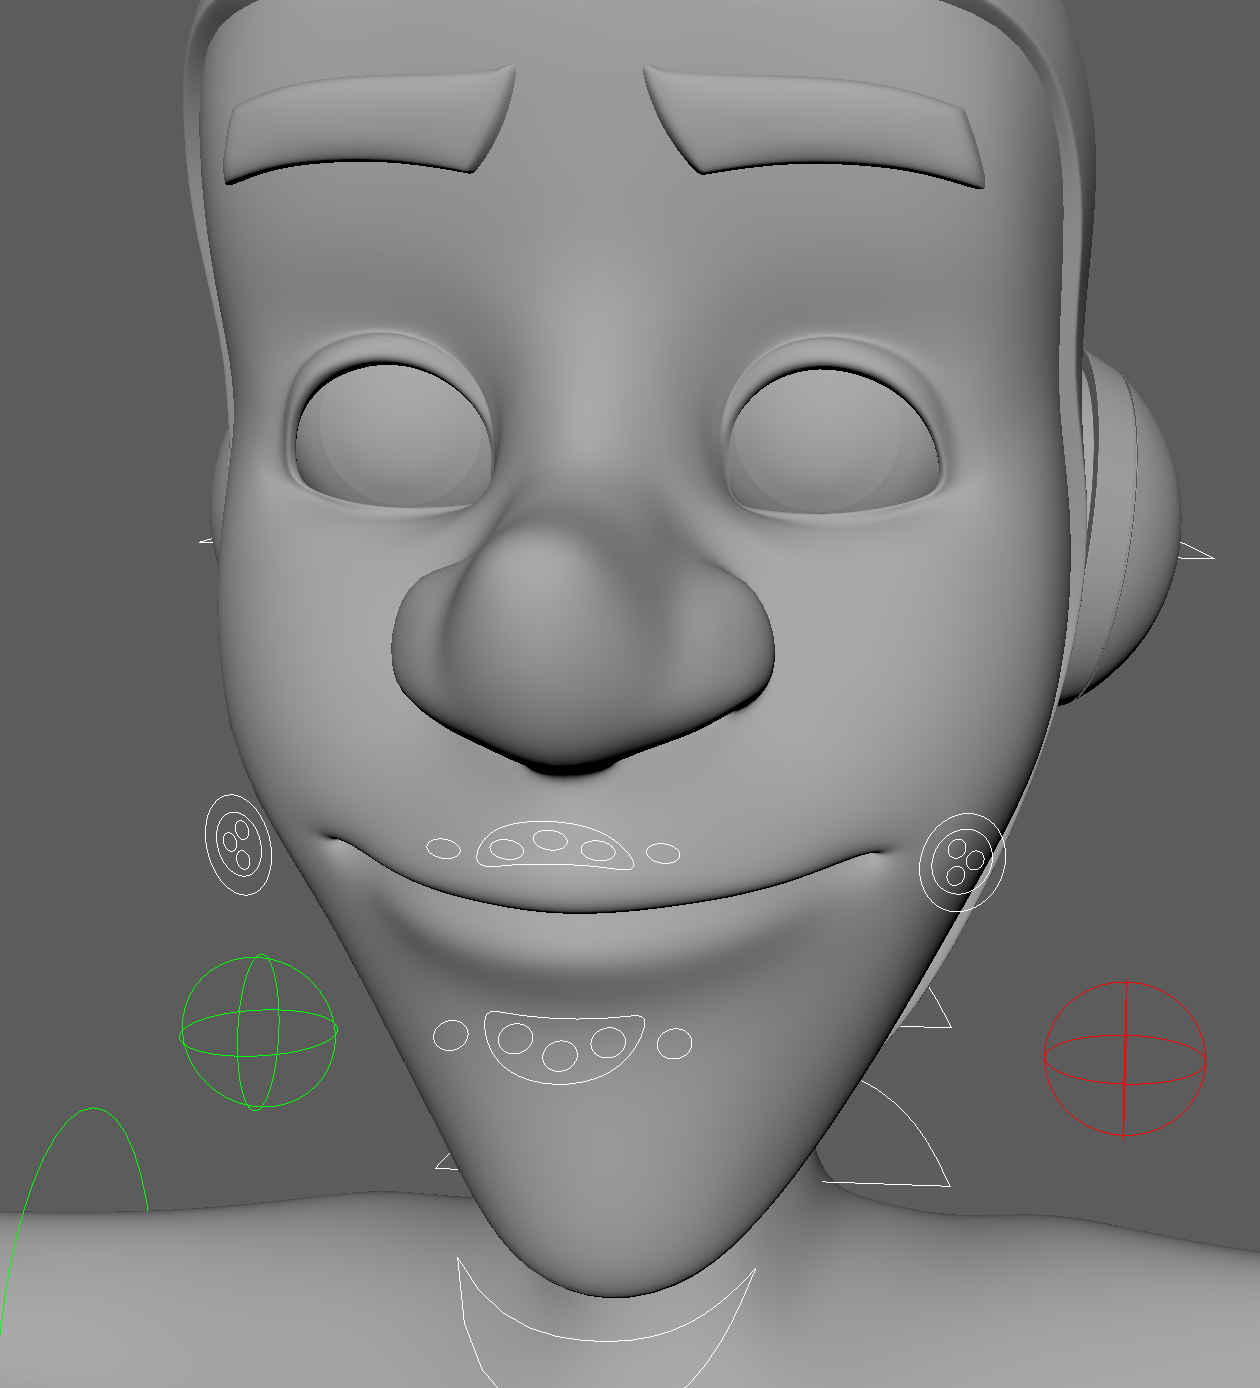
Final Lateral Control Placement


By far, I found this the most difficult part to complete. I had to do this a few times to get it right and there is still a few problems, but the blend shapes work so I happy with them.

Pipeline 1: Jetpack Jones - Adding a Tongue and Teeth

 *When resizing the teeth and tongue, the UV's need to be exported out again* 

  Importing the provided teeth and tongue into the scene, these was positioned into the correct place via the front and side view. In order to be able to resize them and see the inside of the mouth, the bottom teeth and gums are placed into a lattice (3x3) and parented to the lower jaw joint. This enables resizing whilst seeing the inside of the mouth.

  Removing the history will get rid of the lattice and remove the parenting hierarchy. 

  This process is then repeated for the tongue and the upper jaw, making sure the teeth need have contact when closing. However, due to the size of the jaw in my model, there was a slight overlap.

 Placing the lower teeth and gums into a group (Lower_Teeth_Set_Grp) and then a off set group, these are parented to the lower jaw joint. The set group will hold all the animation connection and controls. 

This is then repeated for the upper teeth and parented under the Lower head joint. 

  A chain of joints are placed in to the tongue geometry (8 in total) and then the skin bound to the first 4 joints. As the original binding is a little flawed, manual painting was needed to rectify it. The new tongue joints are then parented under the jaw joint.

  Placing a Star Nurb next to the lower jaw and parenting it under the jaw joint, multiple new channels are added to enable control over the tongue movement (the original ones are locked and removed). 

New Tongue Control
Added Channels
Making sure the Channels are Working

  The channels are then connected in via the connection editor.

  Some channels are then placed on to the Master lip controls so to allow the teeth to move. To finish this part off, some restrictions are placed in the tongue scale channels to stop over stretching (this can be removed if needed).

Added Teeth Channels to the Lip Master Controls

Thursday, April 1, 2021

Premises: Completed Animatic Version 1 (With Sound) and Script Update

  The first completed version of the animatic (with and without sound) and a revised update of the script.  There are some issues with the soundtrack being either too quite or too loud, also some parts/ timings may need changing. However, this is good start and allow for further growth.

  There is no music during the animatic as I felt it wasn't needed at this point, the background ambience working to fill any radio silence. But like the narrative, this is also open to change.

Animatic With Sound


Animatic Without Sound  


Script Version 2

Where Do All the Socks Go? ... by Kimberley Davis

Major - Submission Post: Final Animation, Reflective Statement and Links

Final Reflective Statement When starting the Major Project, there was still quite a lot of work left over from Minor for the planned final...