Saturday, November 6, 2021

Minor - "Sock-Stealer" Body Modelling Pt 01

Now that the head was finished, I have decided to start modelling the body. There was a few issues when it came to the body, mainly revolving around connecting the neck and the legs. Sadly, I had forgotten to screen shot the main part of the modelling process and have only got these images available. 

For the neck I decided to use the scarf as a connection rather than actually connecting the neck to the body. The main reason behind this that there is more geometry in the head because of the complex mouth, therefore the vertices between the two components don't marry up, I am hoping the scarf will help to to bridge this problem. If not, I will then have to revise the geometry.

For the legs, I wanted them to have a pin like some Victorian teddies would have to give the legs flexibility. When placing the legs onto the body, on there was two things that I noticed. The first was the belly was far to round. Looking at gorillas for reference, I made a the belly droop more and created a slight slant, hopefully causing less problems when it comes to animating. Secondly, when modelled the legs was too short. they gave the appearnce of "baby" legs. when thinking about animating, the "Stealer" hunches over/ crouches slightly when walking, that means that the legs would have to be longer to accommodate this movement.

The hand took quite a bit of work to model and then attach, creating a large mitten was defiantly a challenge due to wanting to keep them soft rather than just "blocks".

When it came to the tail, I felt it was best to model a "flat" sock so to add some variation. It will be interesting to see how this rigs/skins as I have a feeling a lot of blend shapes will be needed in this area. 

There is more clean up and some more changes needed in the geometry, mainly around the thumb/hand/ bottom of the belly. Once these issues, I will move onto making the Jacket and then rigging. 


Thursday, November 4, 2021

Minor - Bedroom Texturing Pt 1

  For the texturing, I worked between Maya, Photoshop and Substance painter. For the main furniture, I wanted to create a white wood effect with some mauve accents to capture more of a "princess" bedroom style. However, I decided put some spots of dirt on the furniture and a small array of stickers so not to make it all look to perfect.

  For the stickers, I created a range of maps in photoshop (Base, Roughness, Metal, Normal and Bump), then transferred them into Substance Painter. Using a paint layer (whilst making sure that the height and normal materials are set to normal and not LGHT), I set all the maps to be a paintbrush and removed the alpha/stroke settings so it acted like a decal. As a whole, I only created a bout 10 stickers. This also meant I didn't have to draw the decals on the UV's in Photoshop, which was hugely helpful.


Tuesday, November 2, 2021

Minor - Bedroom Environment Modelling Pt 10

   At present, these are the final few models for the bedroom. I need to make the scrap pieces of material for the floor and figure out a better way to animate the little girl in the bed. Although this is a relatively tidy for a kids bedroom, I don't want to overcrowd it otherwise it will distract too much away from the animation. 

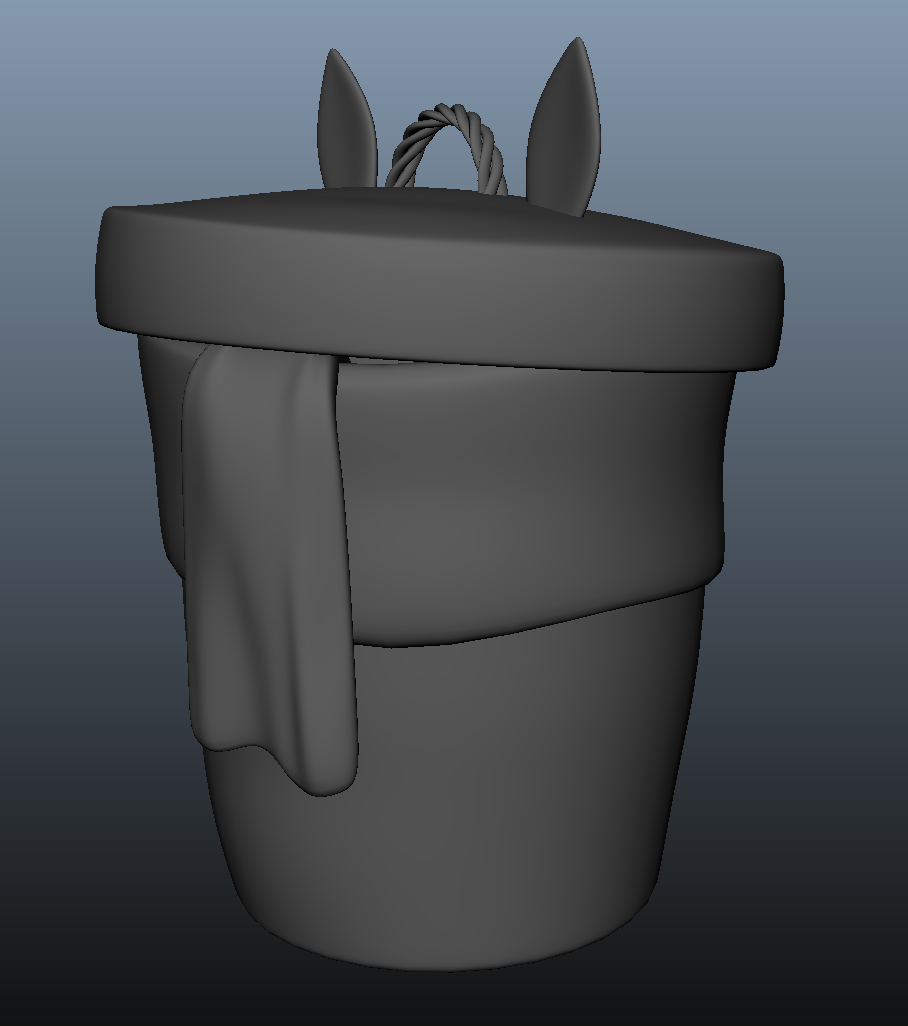
Washing Basket

Washing Basket Moodboard


Skate Helmet


Skate Board
Skateboard Moodboard


Unicorn Teddy


Door and Final Wall


Some More Renders .... 

Also, I made some trees to be placed outside of the window so to give the environment a little grounding. These have been done by creatie one model and then making proxies. 


Minor - Bedroom Environment Modelling Pt 09

 Some minor models for the desk/room.

Cotton Reels

Pin Cushion and Pins

Scissors

Childrens Sewing Machine

Sewing Machine Mood Board


Major - Submission Post: Final Animation, Reflective Statement and Links

Final Reflective Statement When starting the Major Project, there was still quite a lot of work left over from Minor for the planned final...